$ java -jar jboss-dv-6.3.0-1-installer.jarInstall Red Hat JBoss Data Virtualization
There are different ways to install Red Hat JBoss Data Virtualization:
-
Graphical mode: Graphical mode launches a graphical wizard which provides step-by-step instructions for installing and configuring the Red Hat JBoss Data Virtualization. Additional setup, including the Quickstarts and Maven Repository, is also possible with the installer.
-
Text mode: You can launch the installer in the text mode as well. Text mode provides step-by-step instructions for installing and configuring the Red Hat JBoss Data Virtualization.
-
Automated script mode: You can install multiple identical instances of Red Hat JBoss Data Virtualization using the automated script. This automated script is generated after the first installation instance. We will explain the graphical mode and automated script mode in more detail in the following paragraphs.
-
Custom scripts: You can provide your own script in order to automate the installation of the required components of Red Hat JBoss Data Virtualization.
Table of Contents
- Installing Red Hat JBoss Data Virtualization through graphical mode
- Installing Red Hat JBoss Data Virtualization through automated script mode
- Installing Red Hat JBoss Data Virtualization through custom scripts
- Provision Red Hat JBoss Data Virtualization using OpenShift 2.x
- Provision Red Hat JBoss Data Virtualization using OpenShift 3.x
Installing Red Hat JBoss Data Virtualization through graphical mode
Download
Download the Red Hat JBoss Data Virtualization installer binary by clicking the red download button at http://developers.redhat.com/products/datavirt/download/.
Start GUI installer
Open a terminal window and navigate to the location where the GUI installer was downloaded.
Run the installer using java at the command prompt:
Follow the installer prompts to complete the installation process.
|
Tip
|
If needed you can also take a look at the video "Getting Started with Red Hat JBoss Data Virtualization Installation and Configuration". See http://vimeo.com/76457404 for more details. |
License Agreement
A dialogue box will open followed by the End User License Agreement. If you accept the terms of the agreement, select I accept the terms of this license agreement and then click 

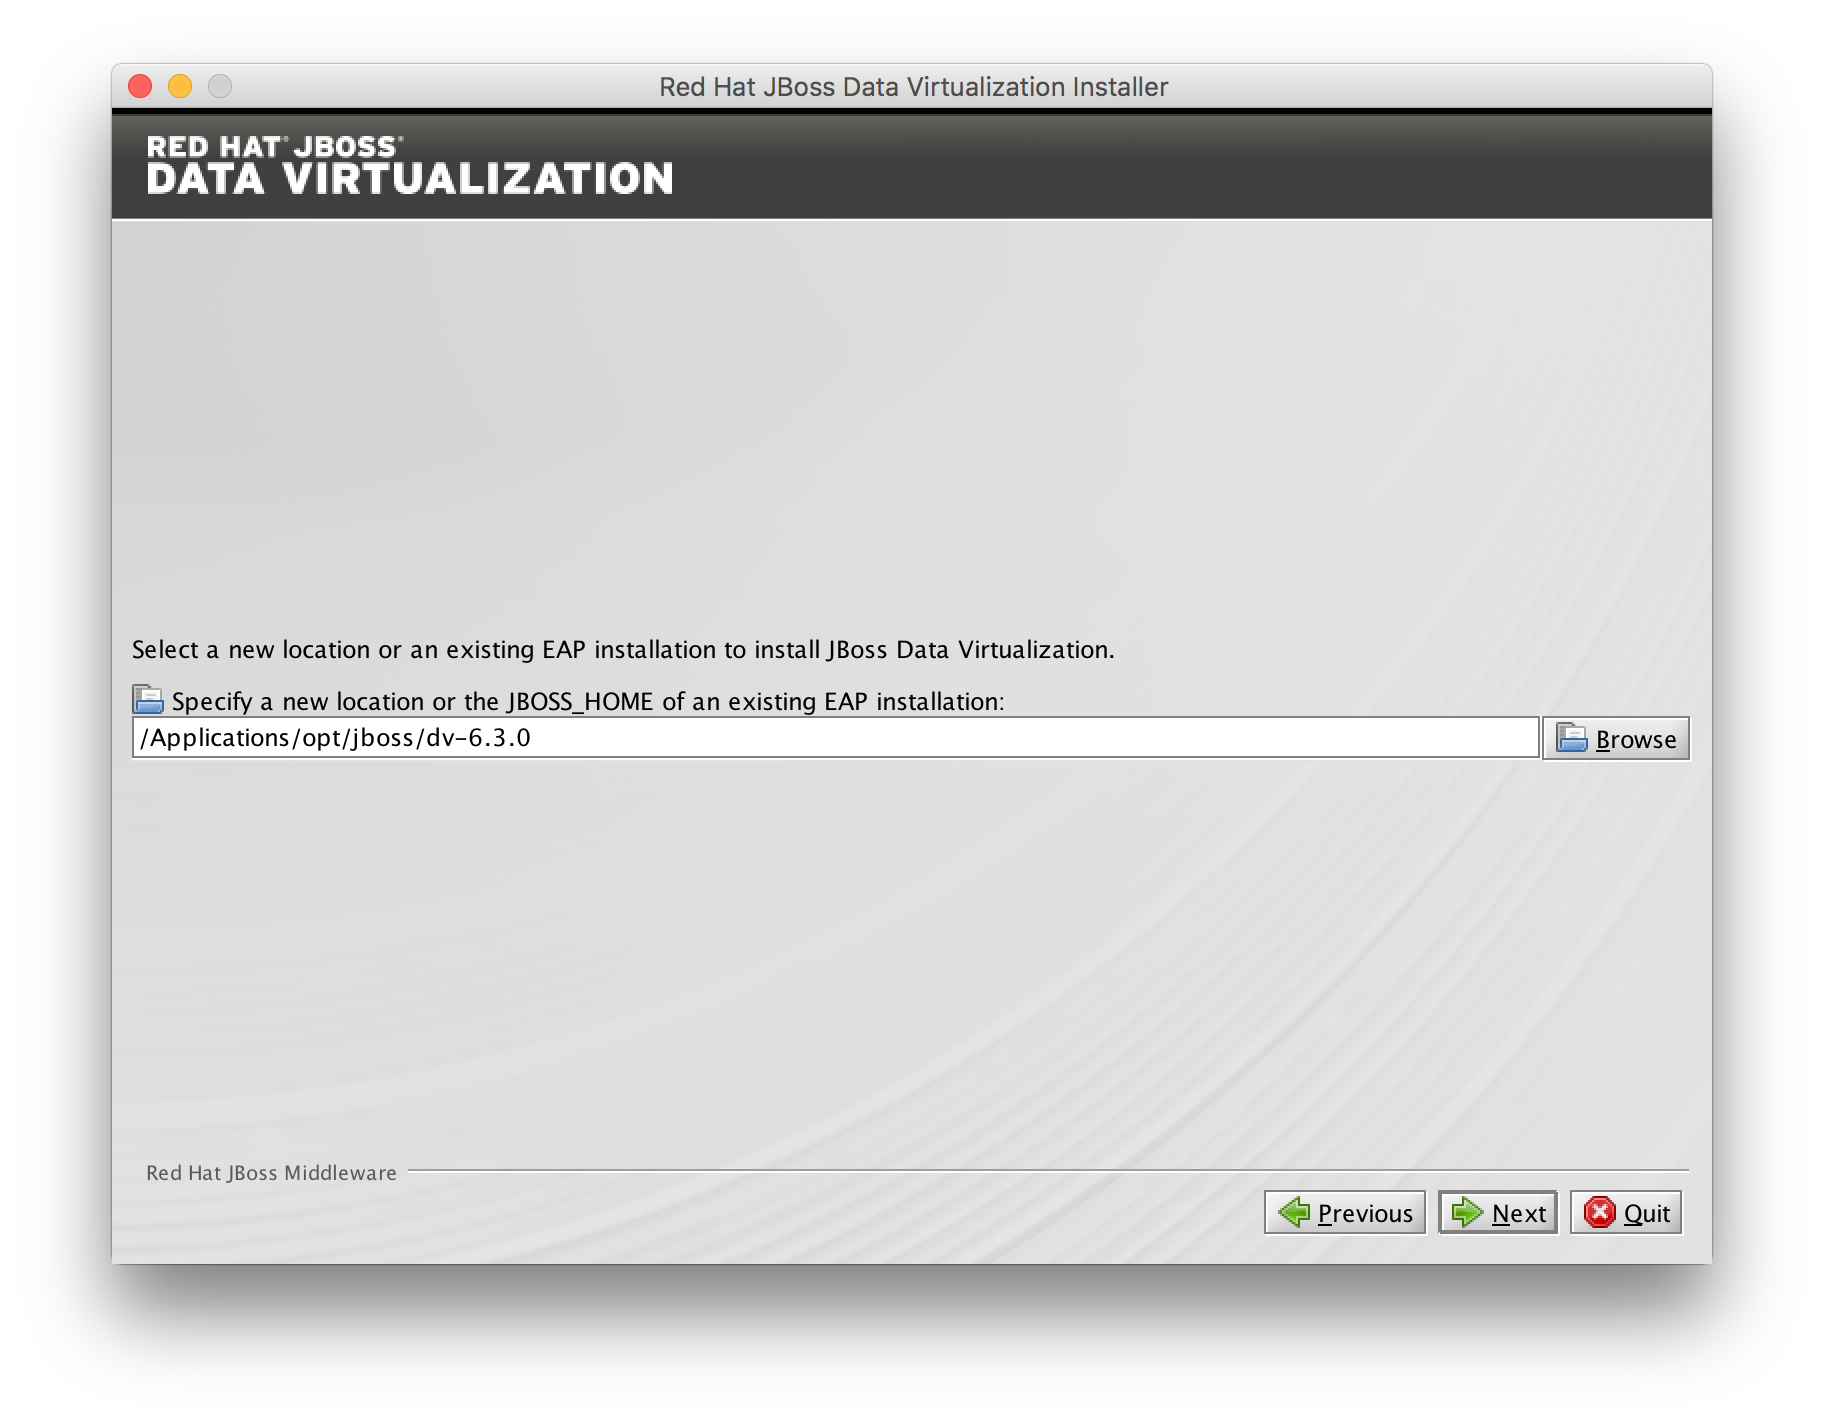
File path confirmation
A filepath confirmation dialogue box will appear. Choose an existing EAP 6 installation location to install JDV or select a new location to install JDV, click
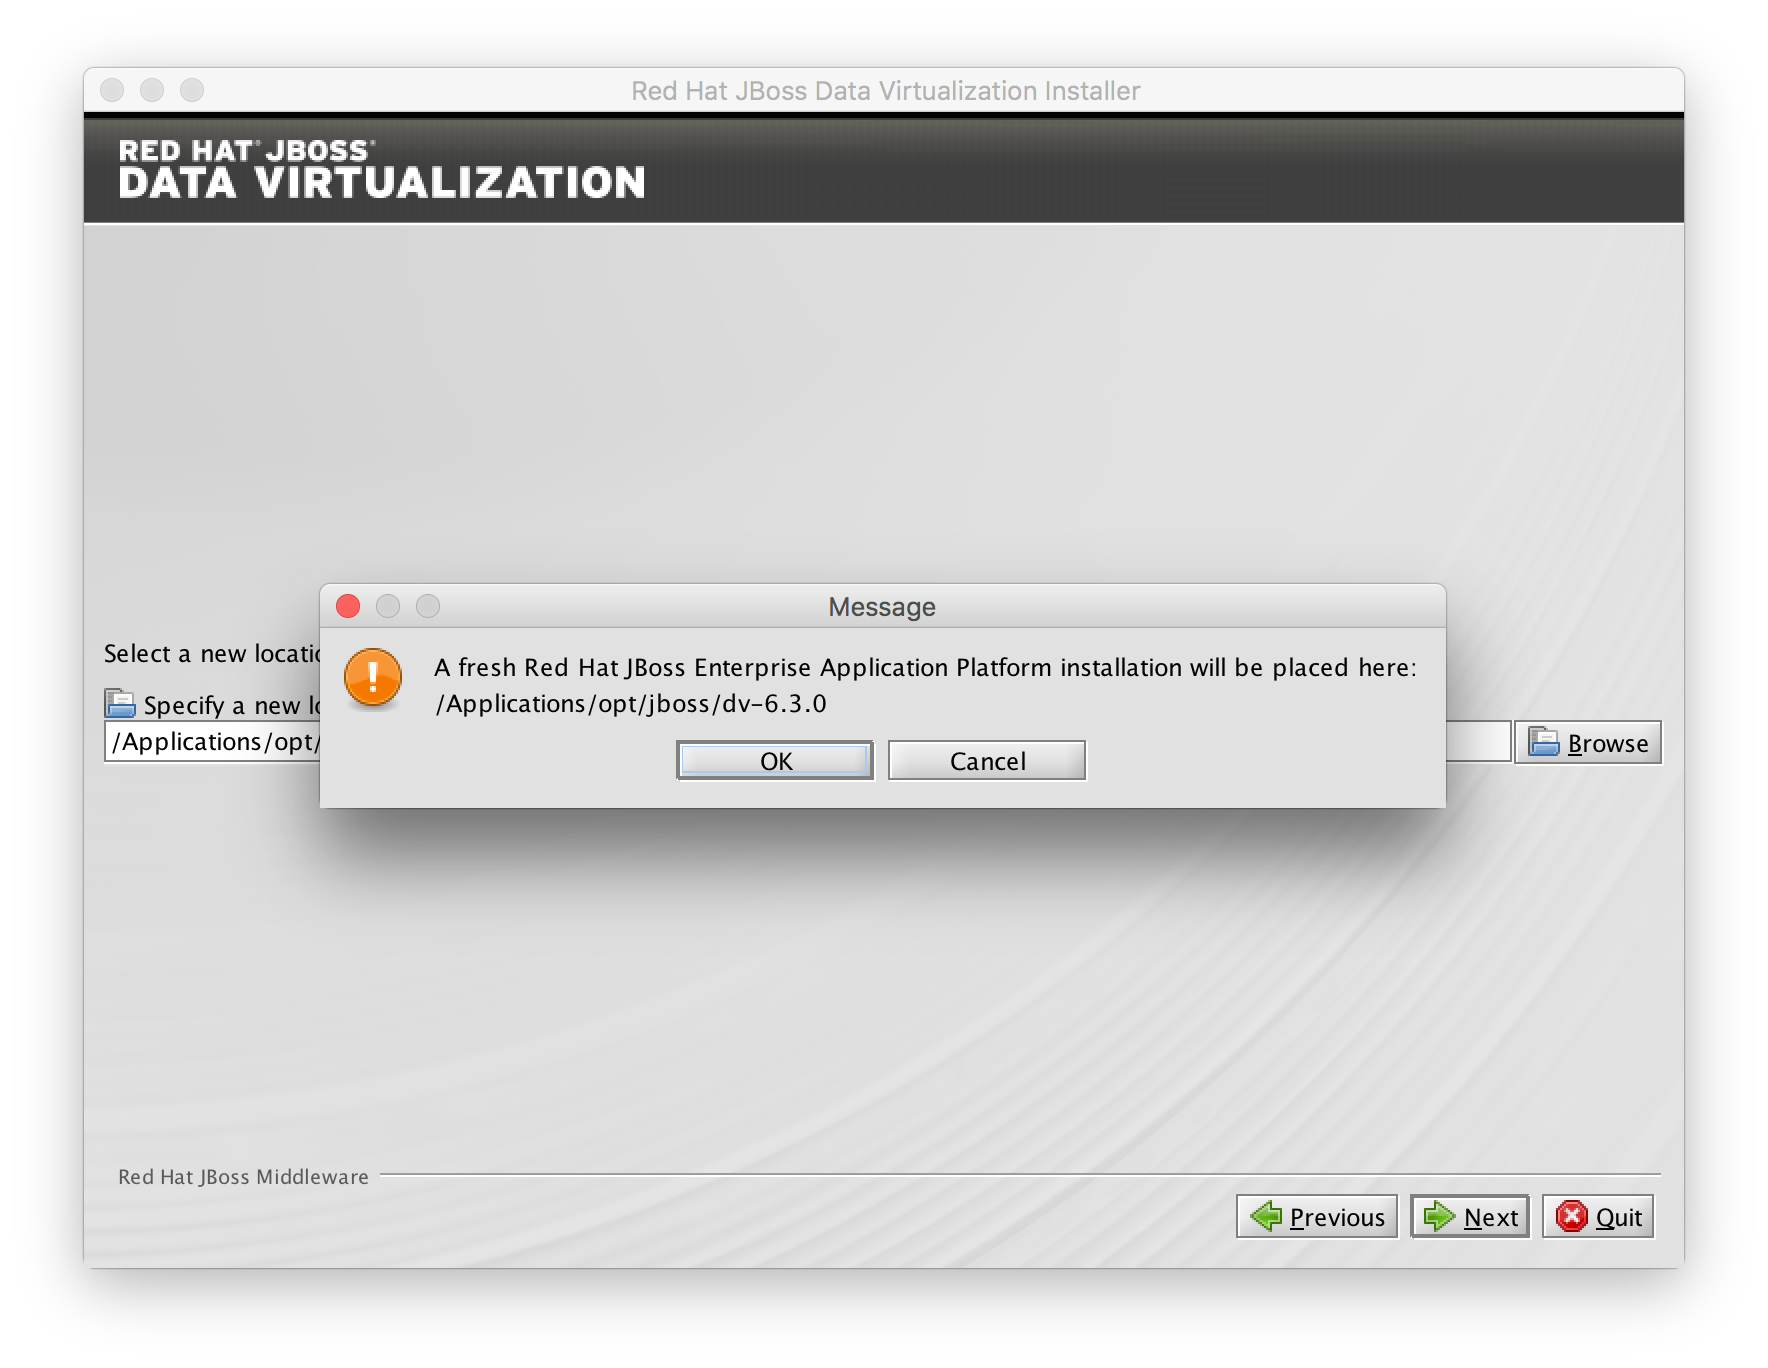
When you select a new new location to install JDV a message dialogue box will appear to notify that a fresh Red Hat JBoss Enterprise Application Platform installation will be placed.
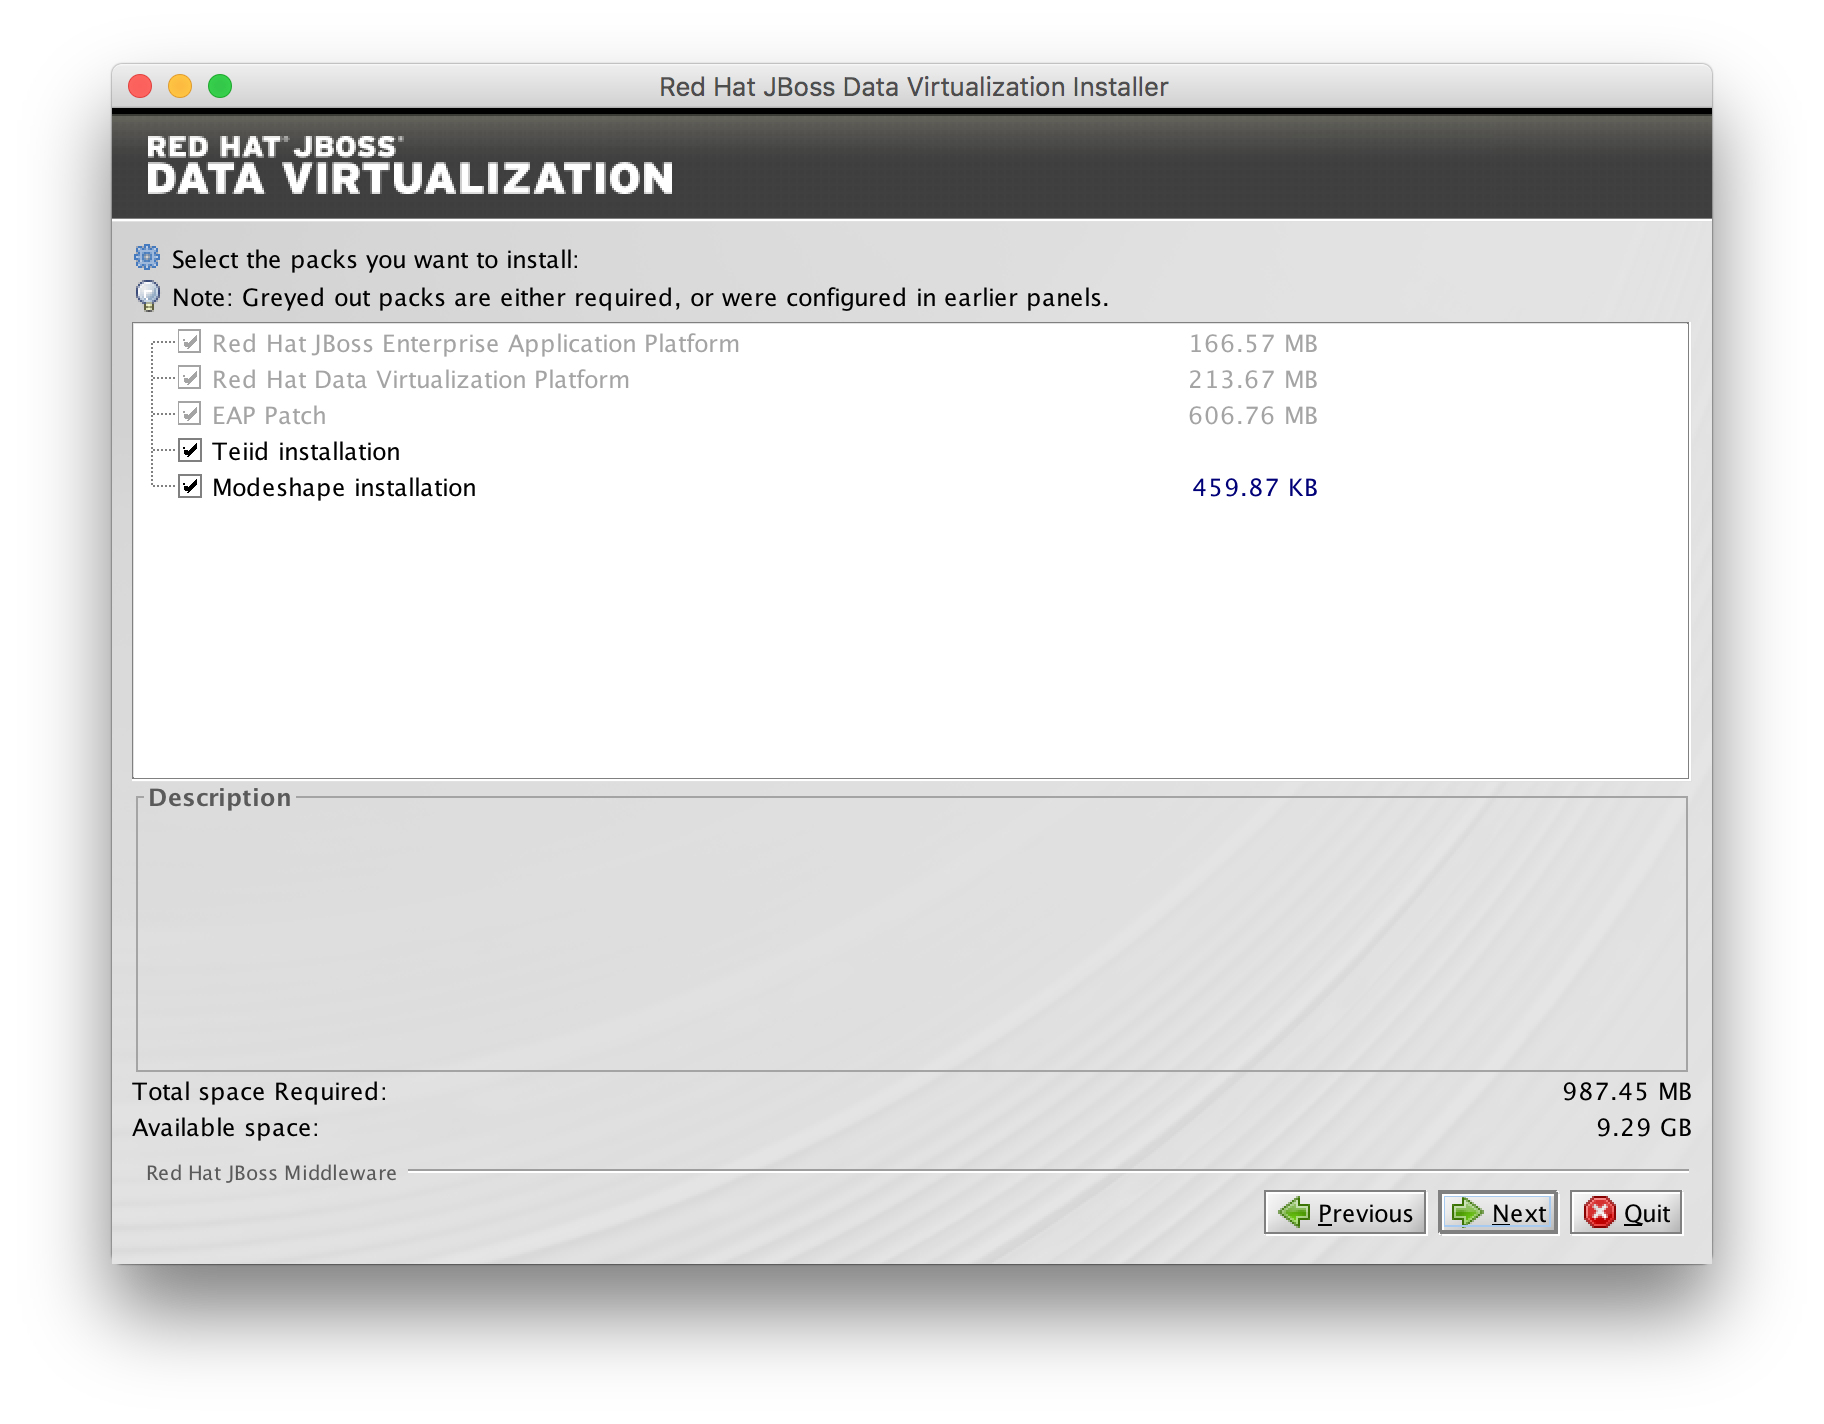
Packs selection
A select the packs dialogue box will appear. Review the packs you want to install and if satisfied, click
Create users
You will be prompted to create new users. For convenience it is possible to select one password for all default passwords. Enter the new username and password in the appropriate fields. Furthermore select the checkbox "Add OData role" and "Add logging role". After filling-out the appropriate fields click
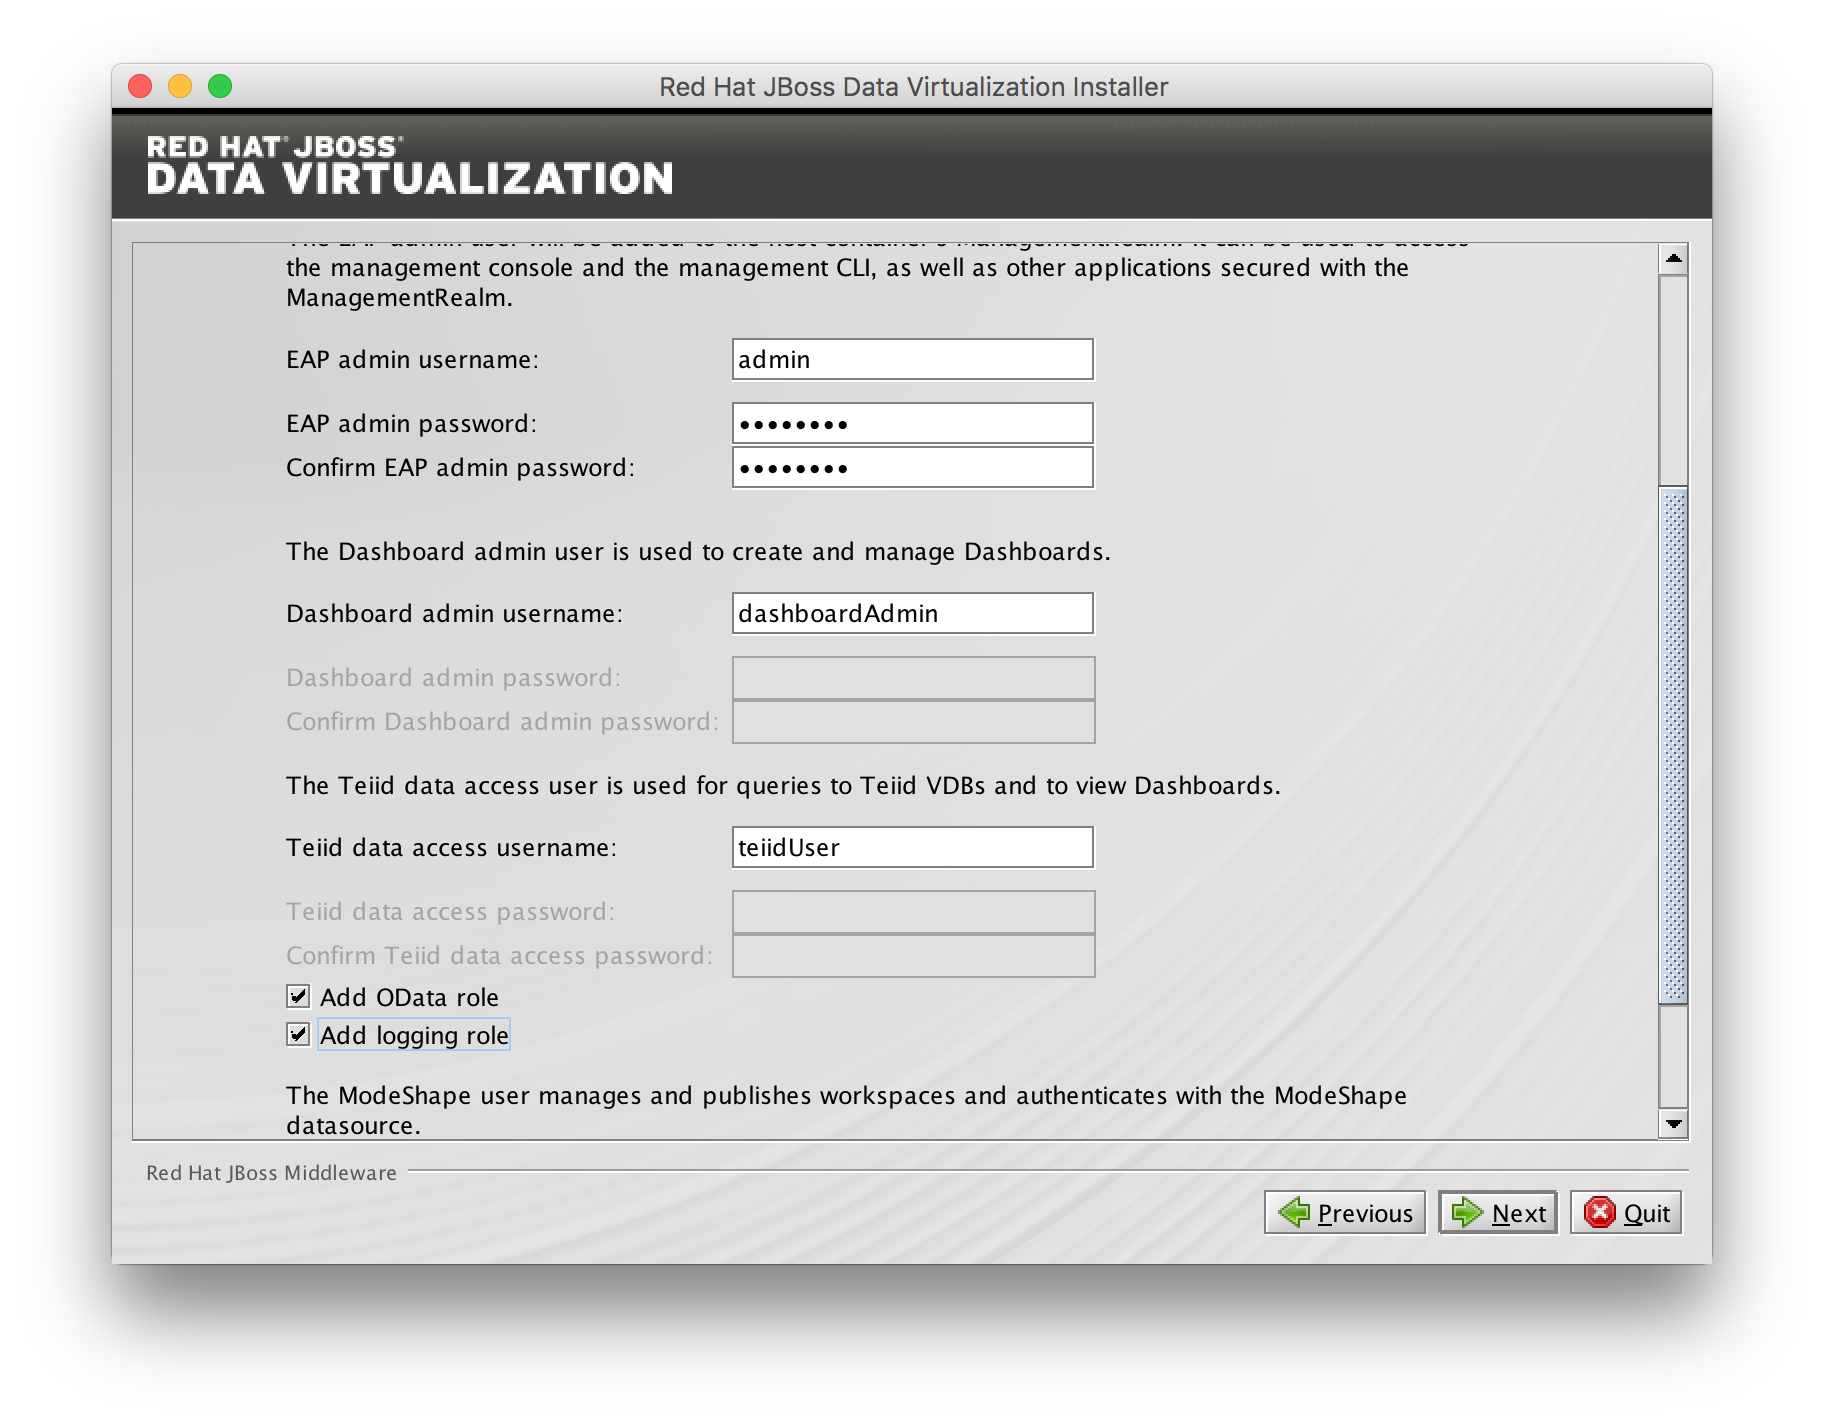
Click to proceed.
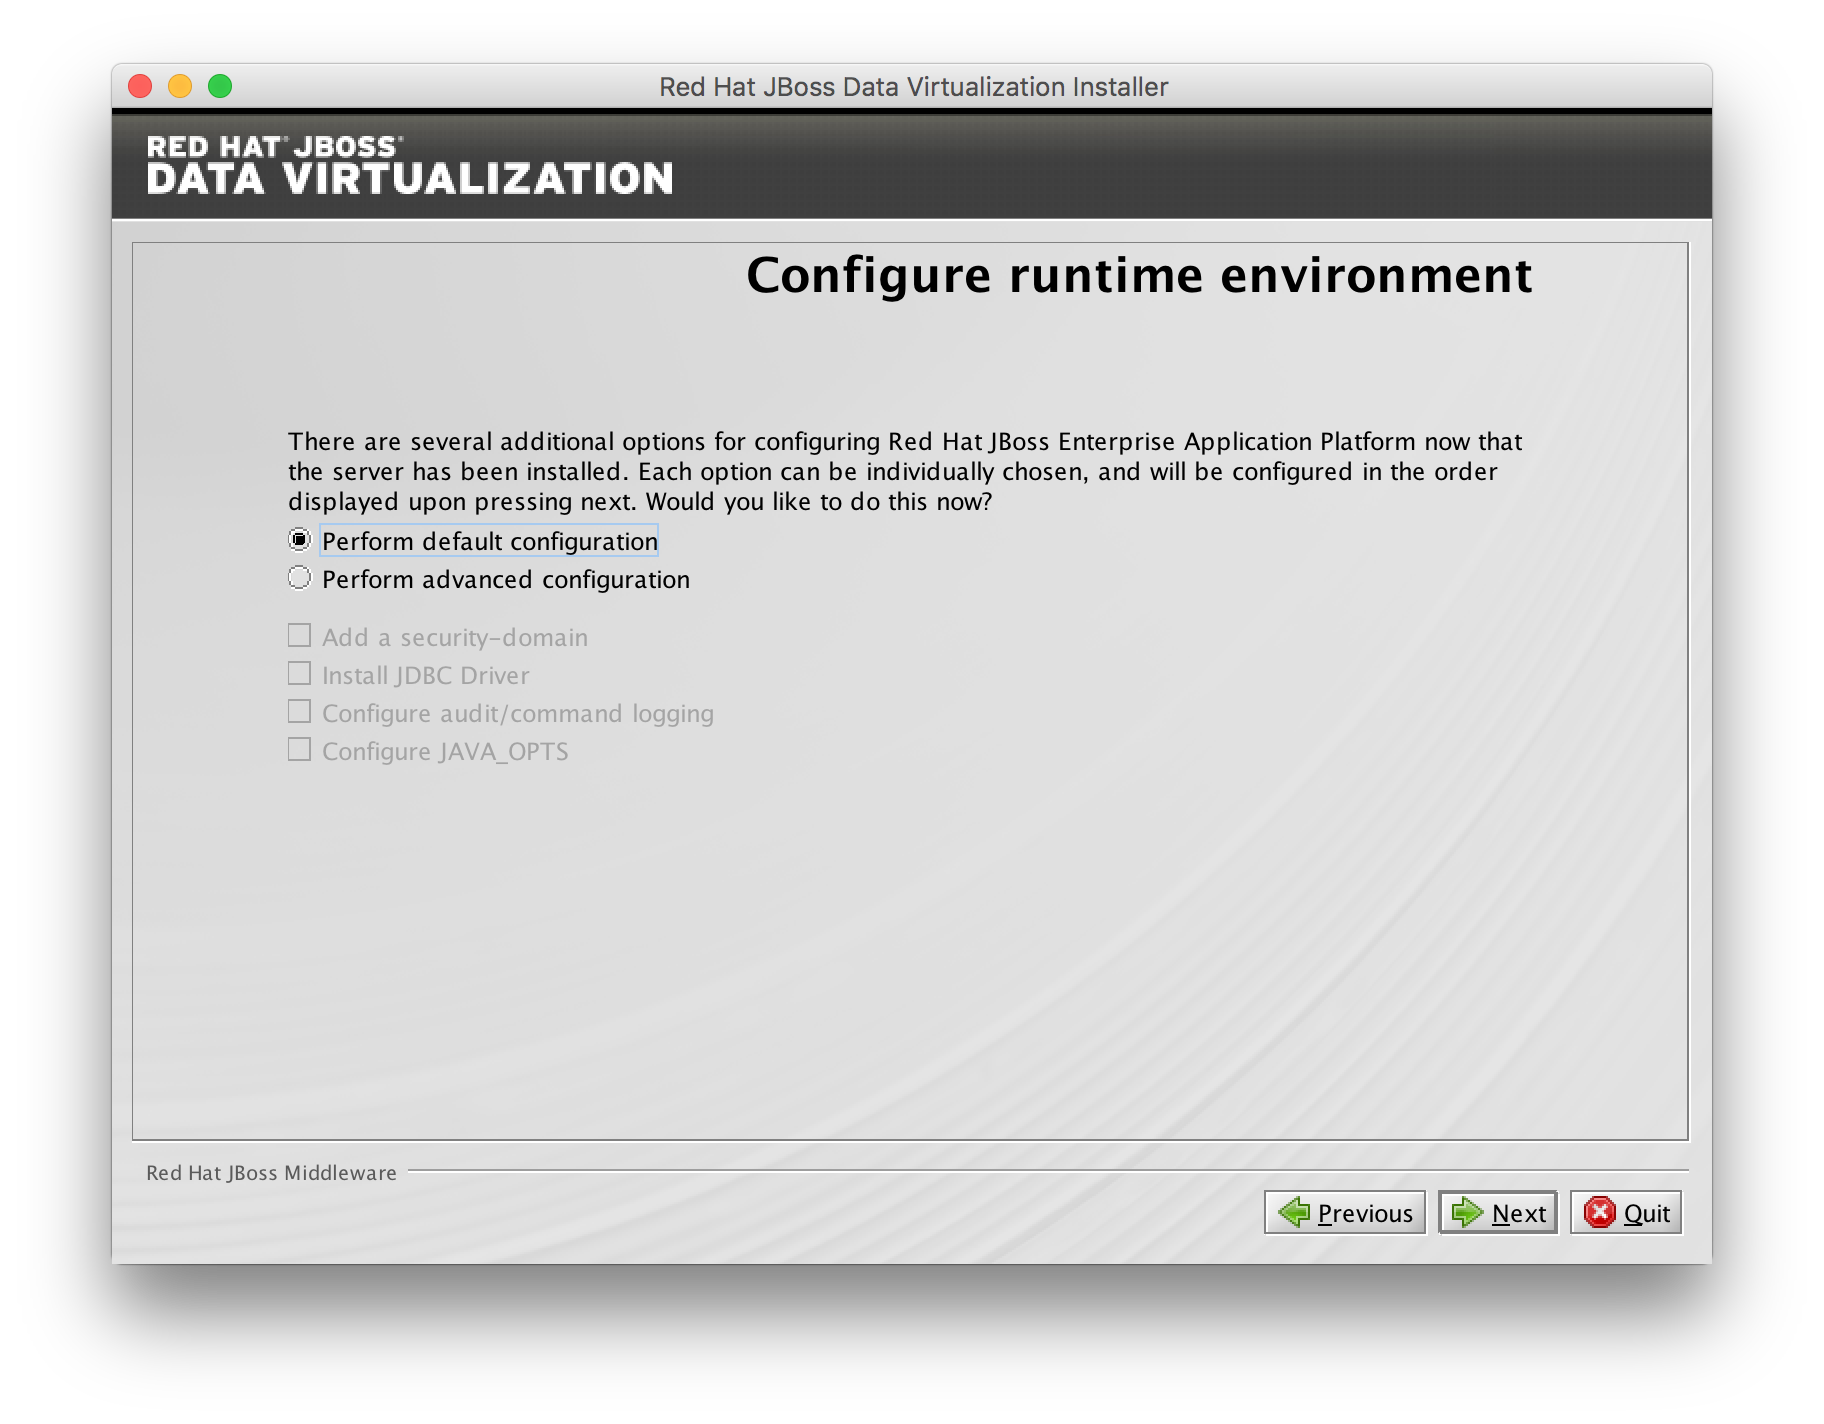
Configure runtime environment
You can install Red Hat JBoss Data Virtualization either with default configuration or with additional configuration options. Select option Perform default configuration. Click to proceed.
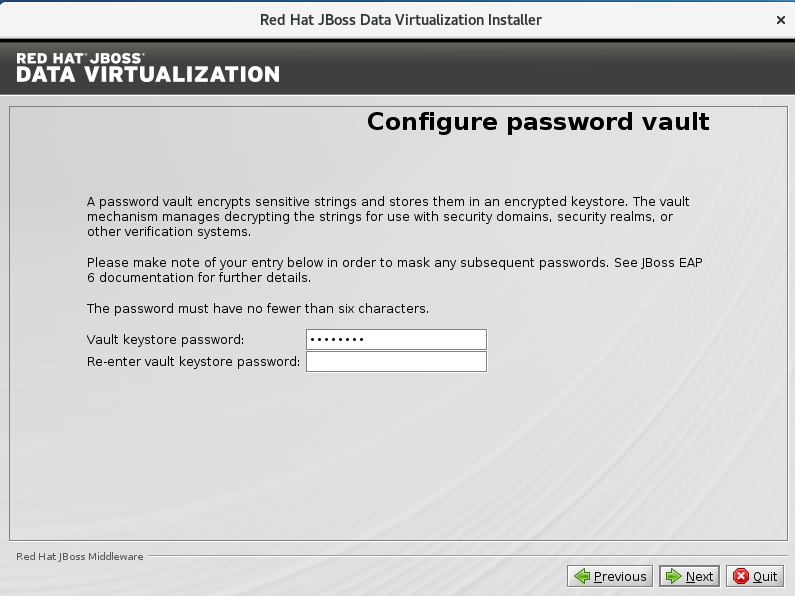
Configure password vault
You will be prompted to configure password vault, For convenience it is possible to select same password as Create users. Click to proceed.
Summary Page
A summary of the installation will be displayed, see below.
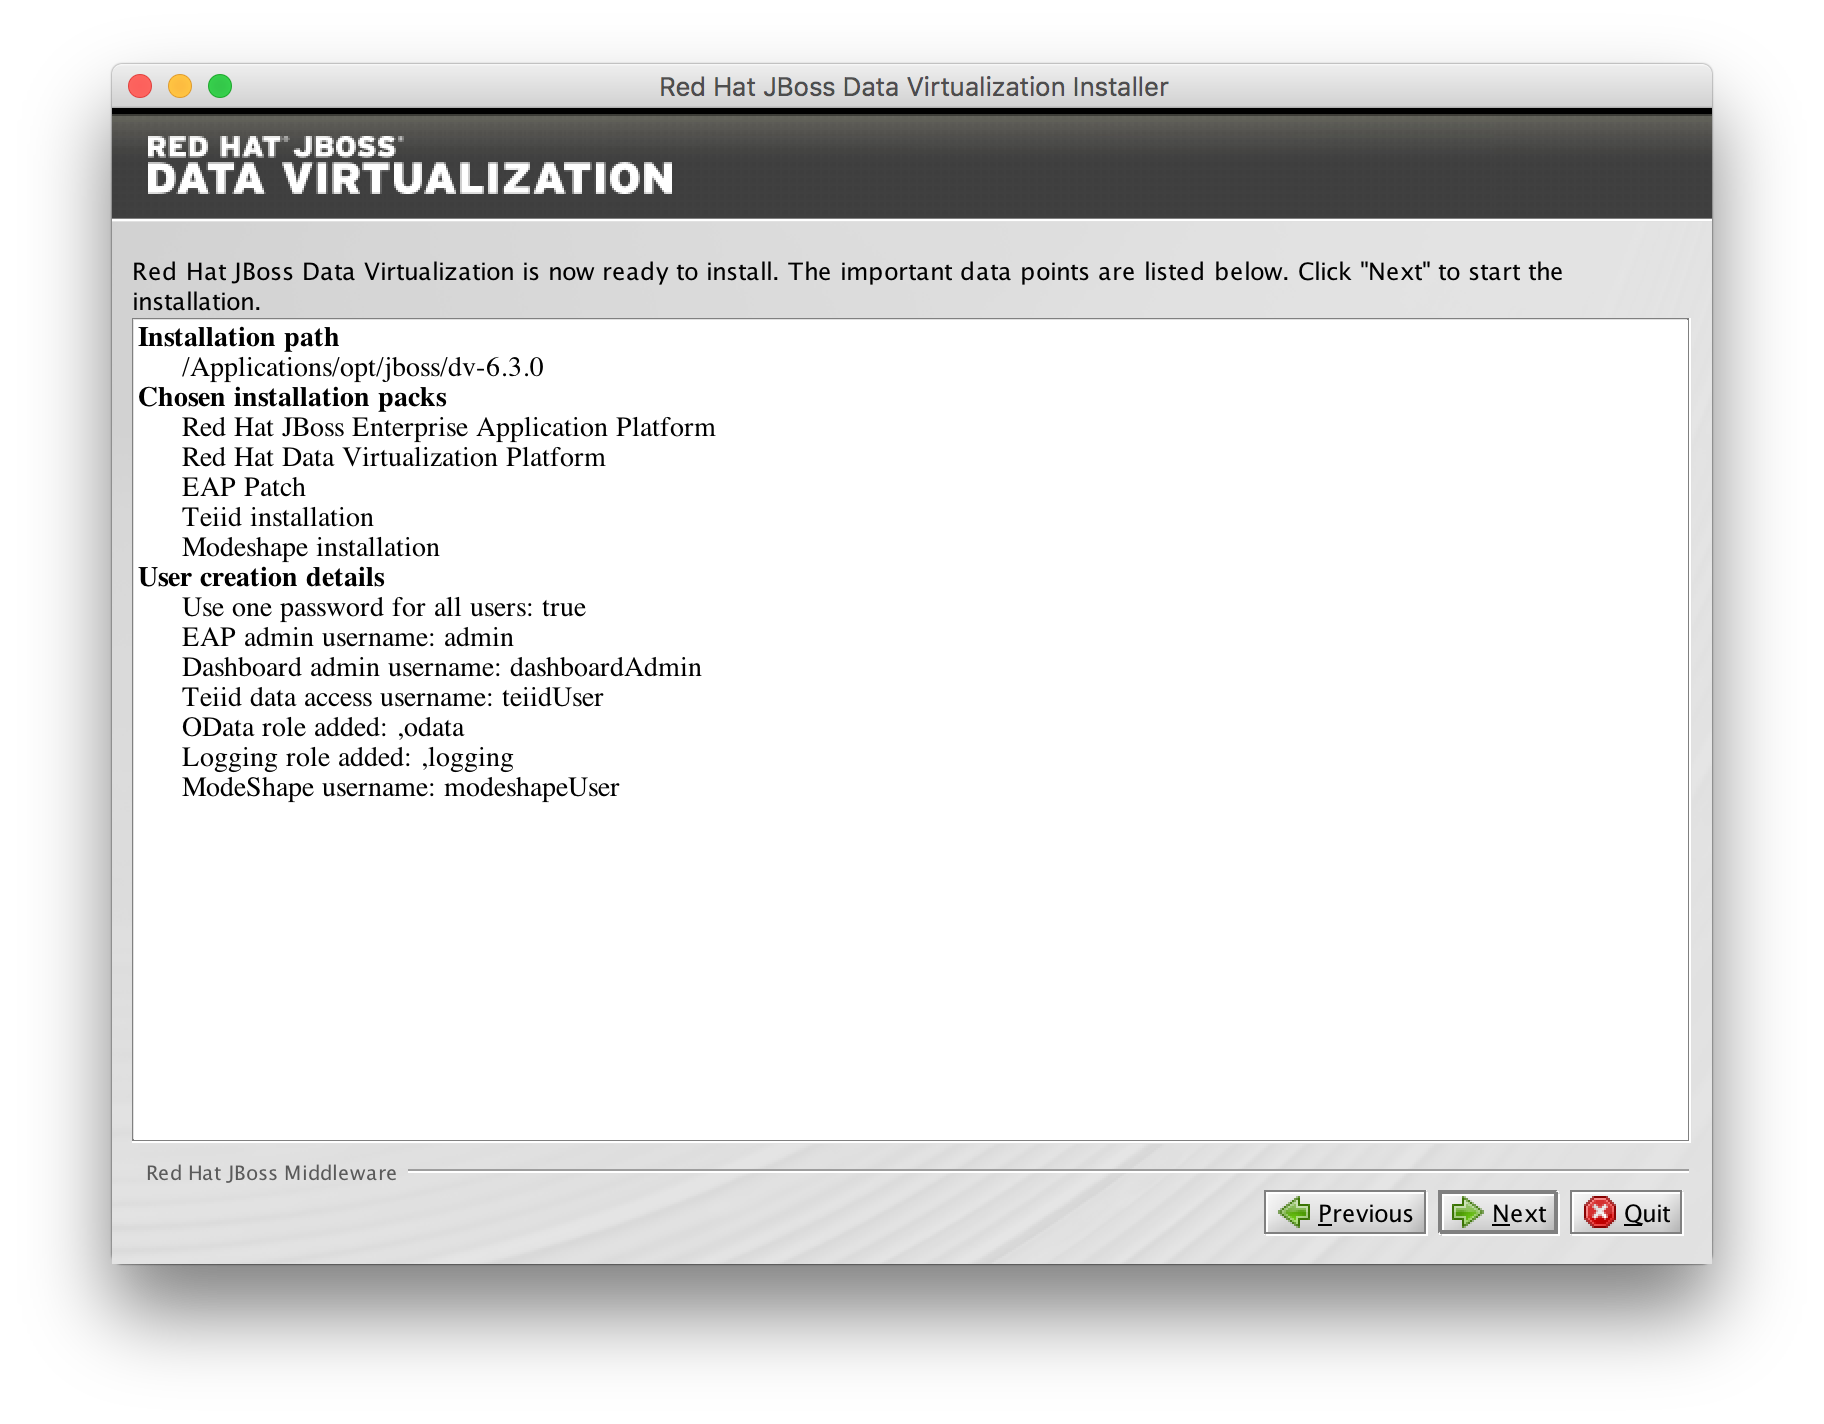
Start install
Click to start the installation and the Component installation progress window will be displayed.
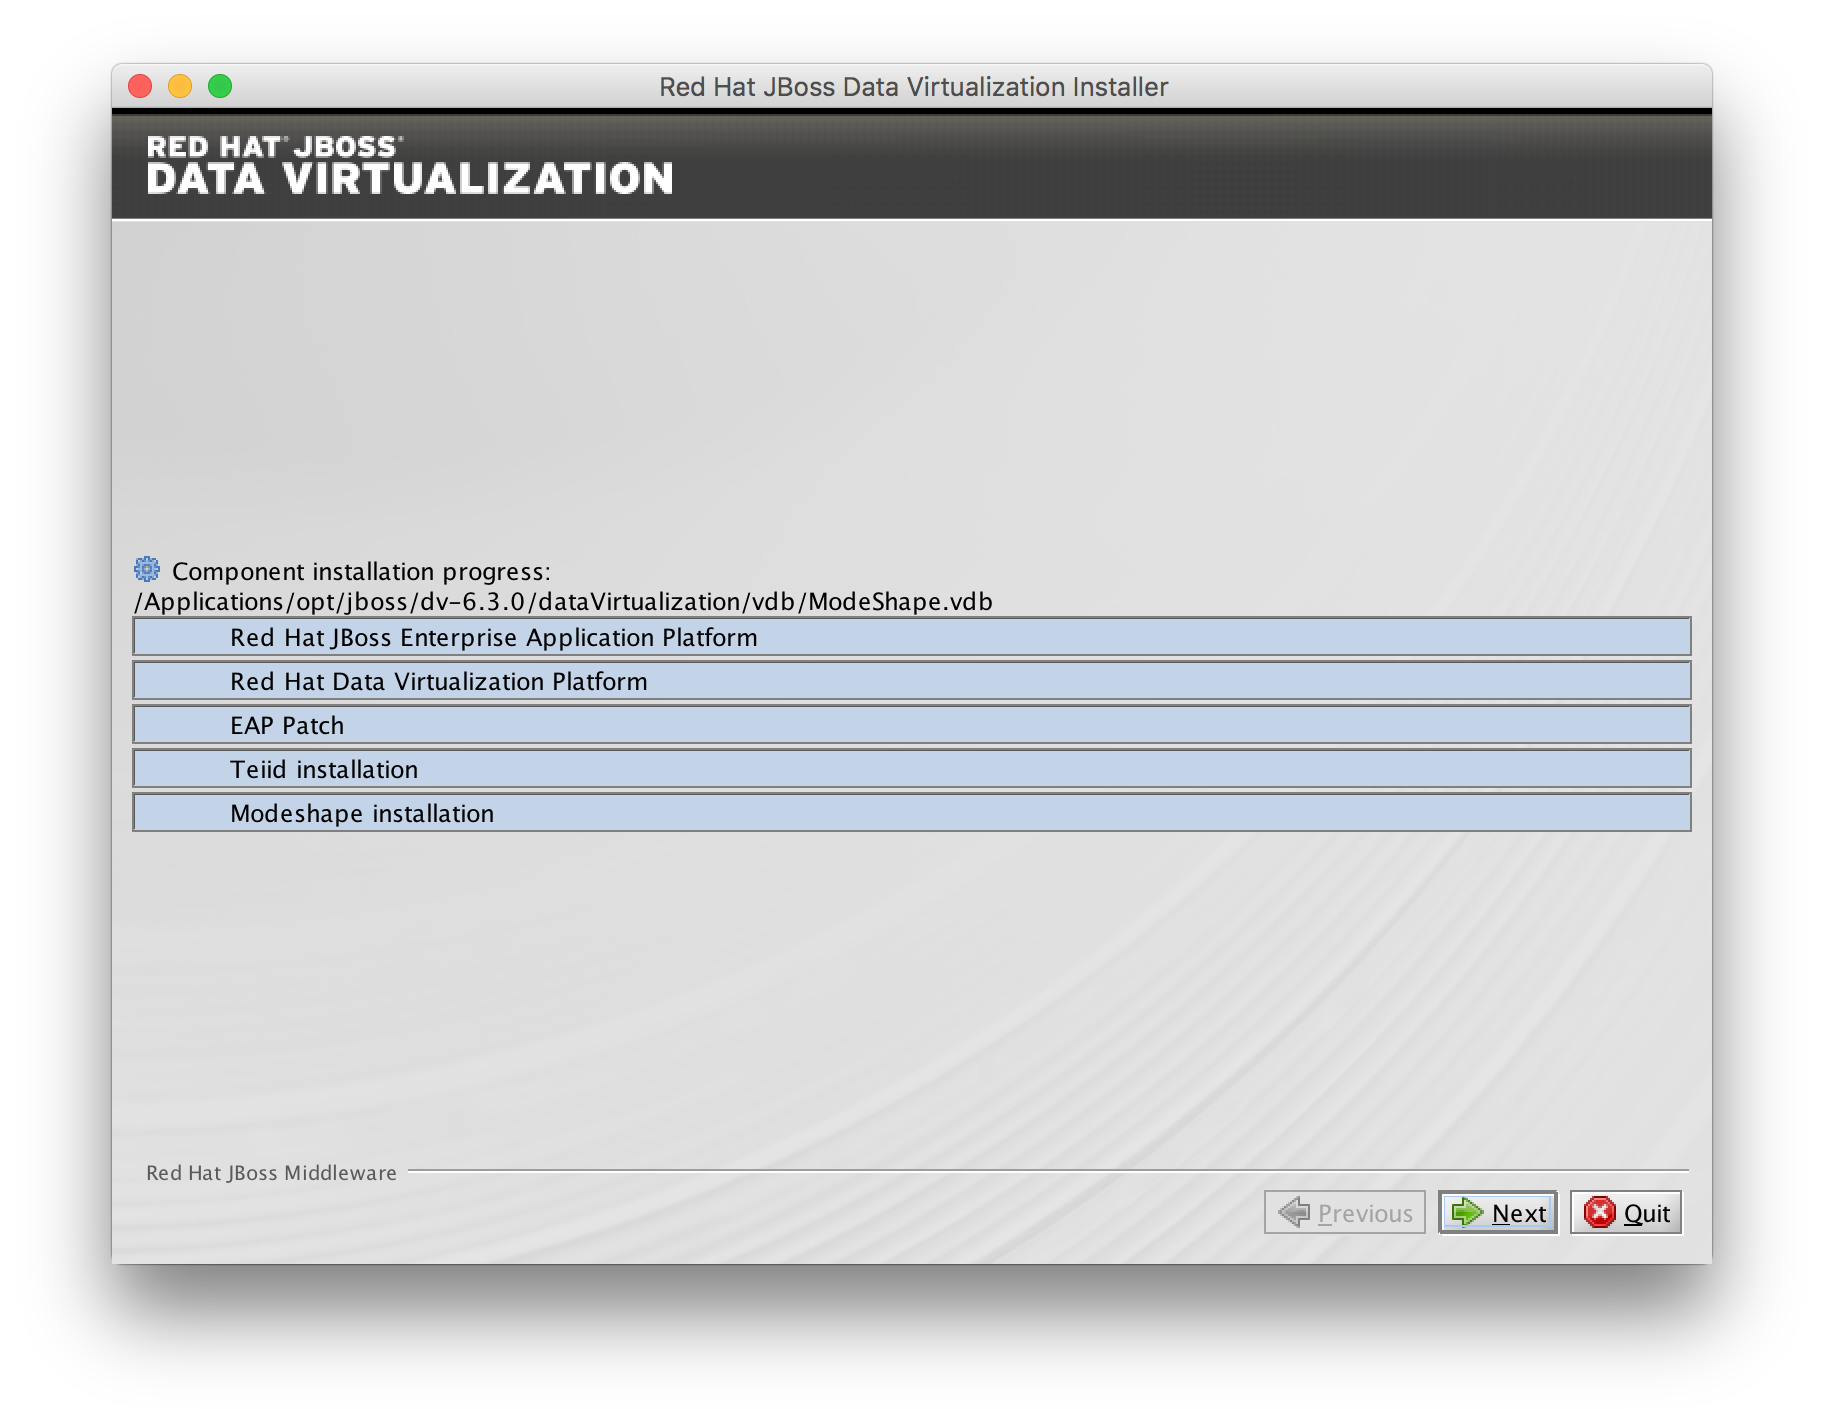
Process Install
Click for the installation to commence. This may take a minute.
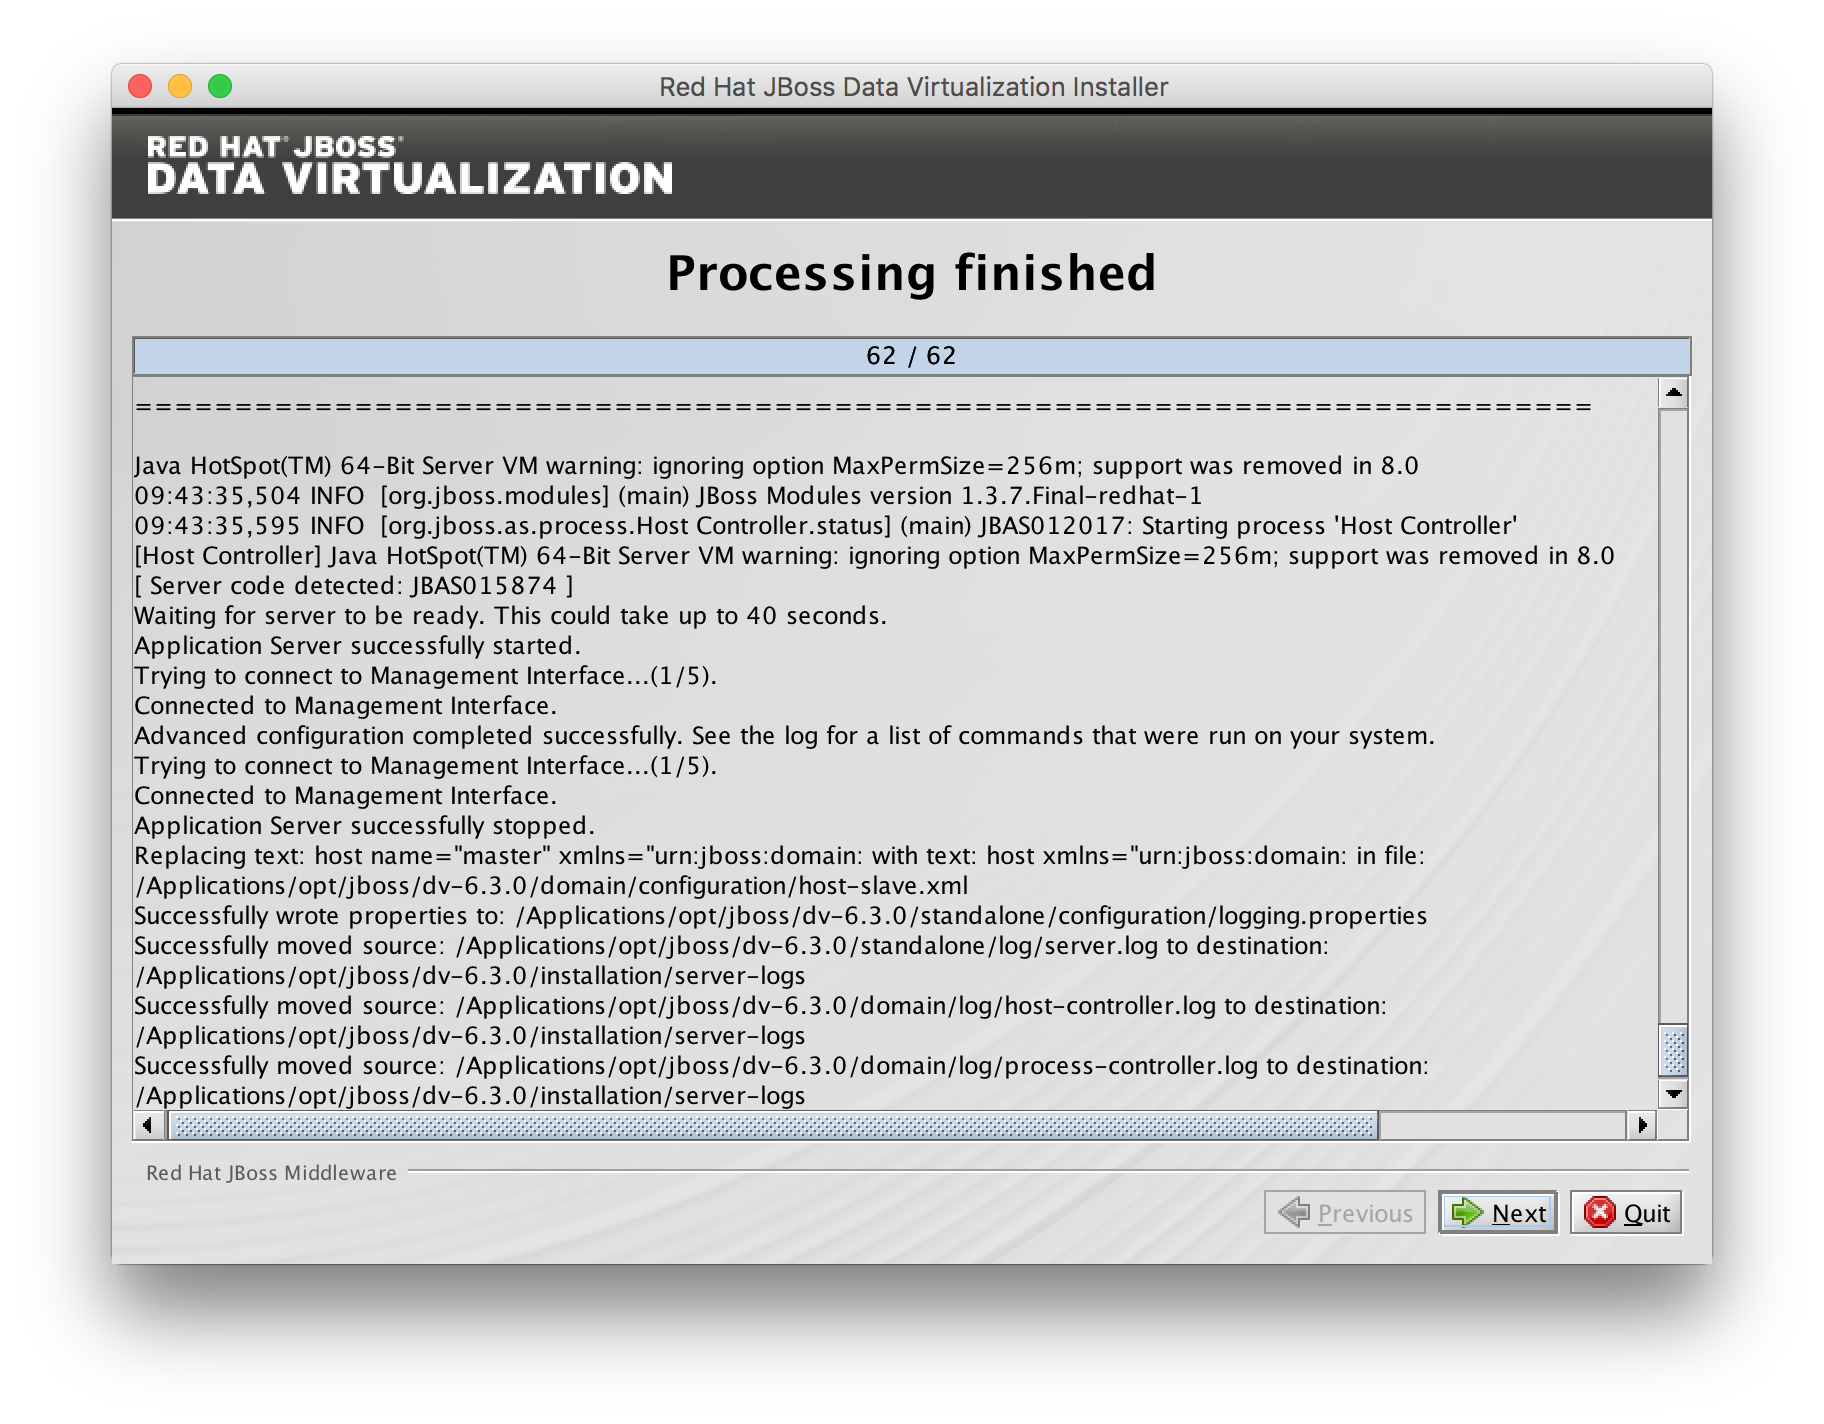
Finish Install
Once all the components are installed, click .
Click "Generate installation script and properties file" if you wish to generate an automatic script and properties file.
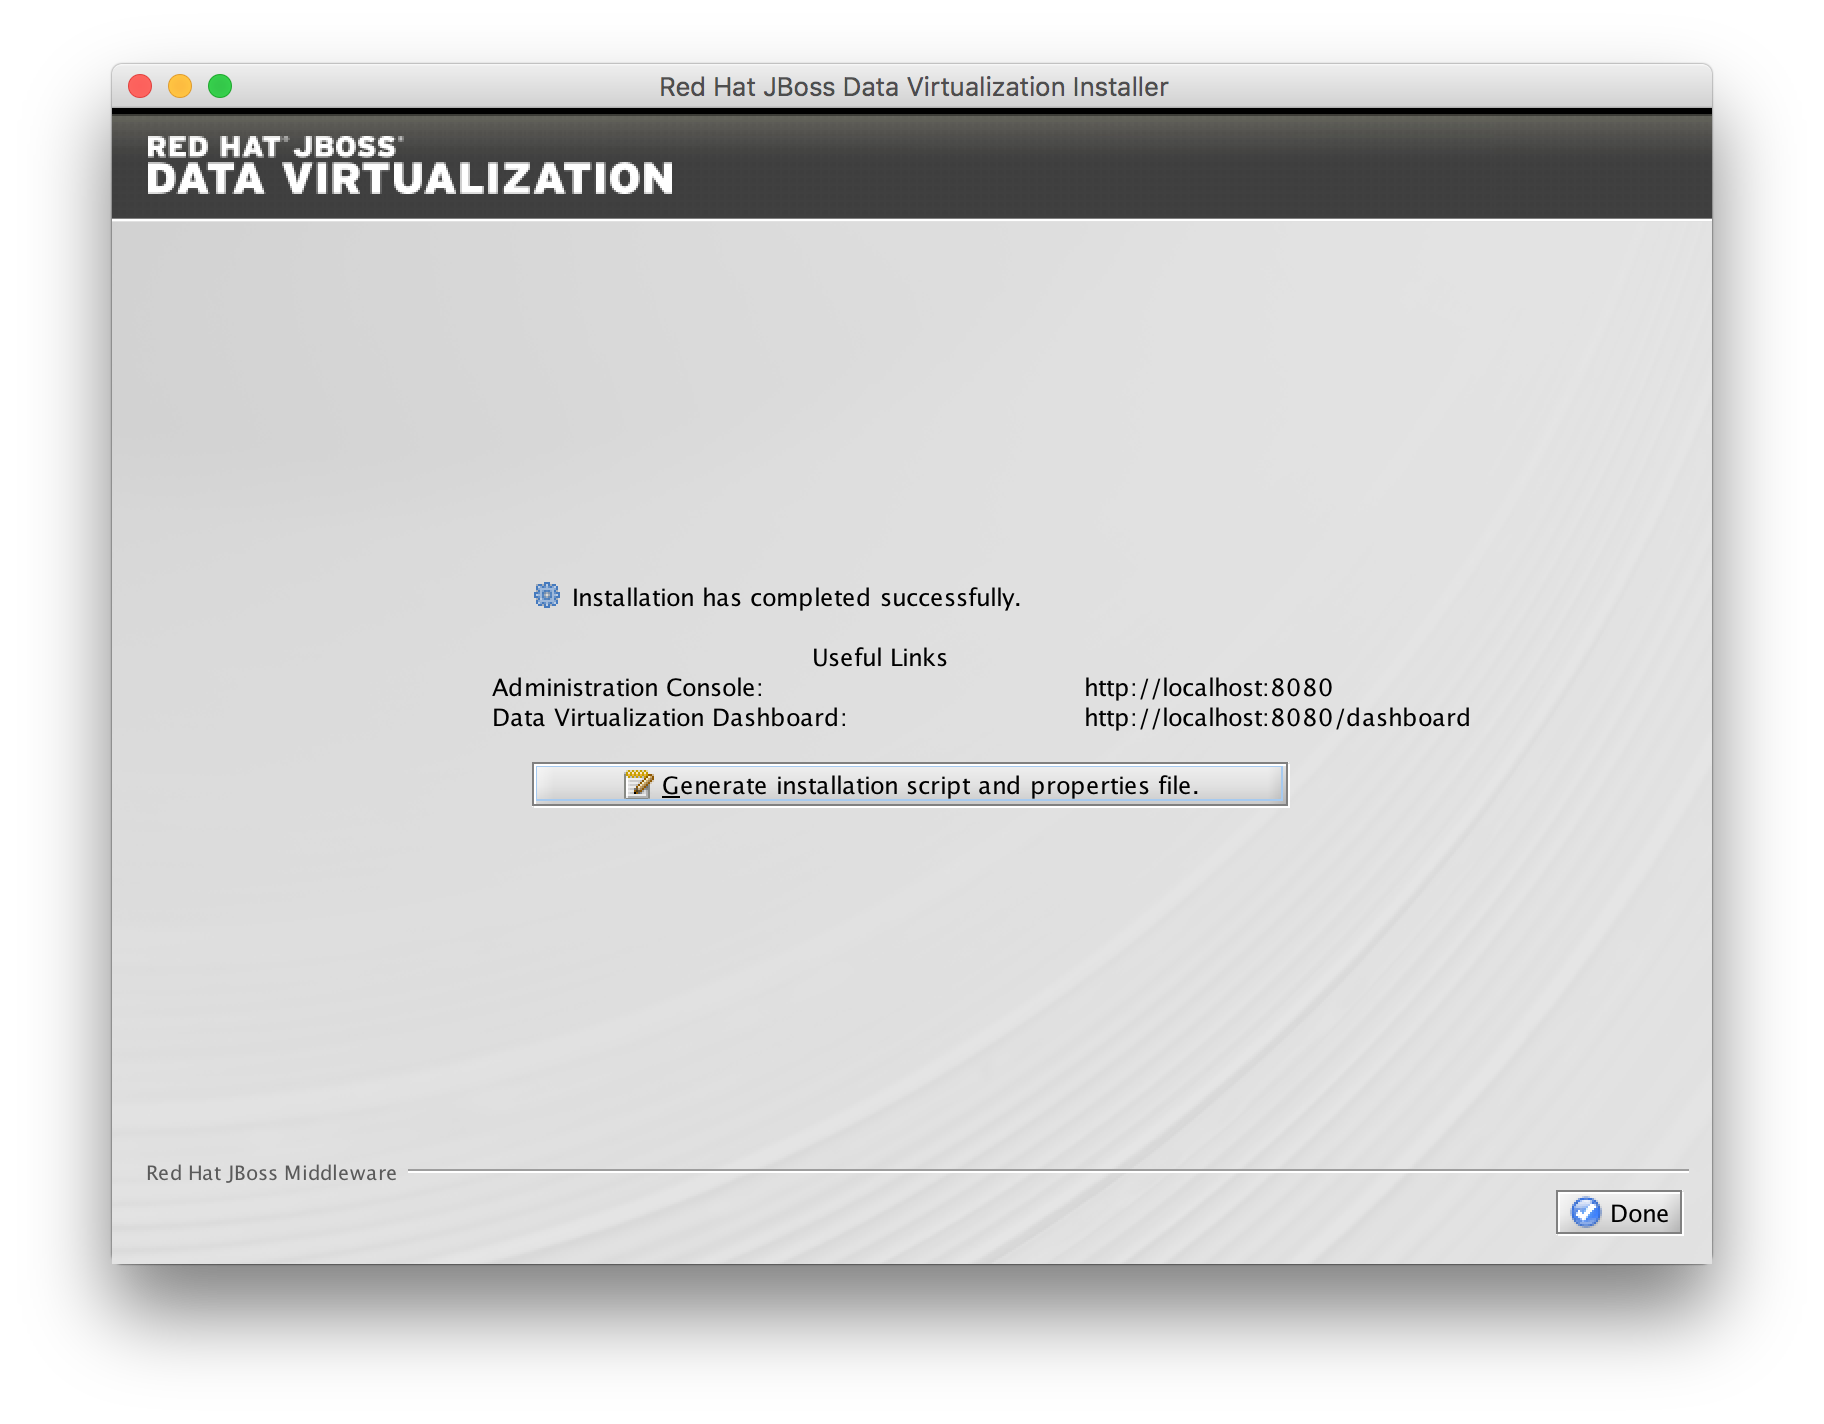
For now click  to complete the installation.
Verify
Red Hat JBoss Data Virtualization is now successfully installed and configured.
When the installation is complete, navigate to for example:
Unix/Linux
$ cd /opt/jboss/dv-6.3.0/bin
$ ./standalone.sh
Windows
C:\> cd \opt\jboss\dv-6.3.0\bin
C:\opt\jboss\dv-6.3.0> standalone.bat
to start the Red Hat JBoss Data Virtualization server.
Installing Red Hat JBoss Data Virtualization through automated script mode
Installing Red Hat JBoss Data Virtualization by using an automated script provides everything you need to get you started quickly.
Download the Red Hat JBoss Data Virtualization installer binary by clicking the red download button at http://developers.redhat.com/products/datavirt/download/.
Place the software in the software subfolder.
Modify the support/installscript_dv630.xml file to contain the full path to the preferred installation directory for JBoss Data Virtualization 6.3.0.
<installpath>/home/jboss/dv</installpath>The script performs the automated install of JBoss Data Virtualization v6.3.0.GA. Run the following java command to install JBoss Data Virtualization in as shown below.
$ cd support
$ java -jar ../software/jboss-6.3.0-1-installer.jar installscript_dv63.xml
The following username/passwords will be installed automatically for access to
| Component | URL | Username | Password |
|---|---|---|---|
JBoss EAP Administration console |
admin |
redhat1! |
|
Teiid Server |
teiidUser |
redhat1! |
|
ModeShape |
modeshapeUser |
redhat1! |
|
Dashboard Builder |
dashboardAdmin |
redhat1! |
|
Tip
|
The ModeShape rest URL is accessible by the user modeshapeUser. If you want to have user teiidUser to access this url you have to add the connect role privileges to this user in the application-roles.properties file. |
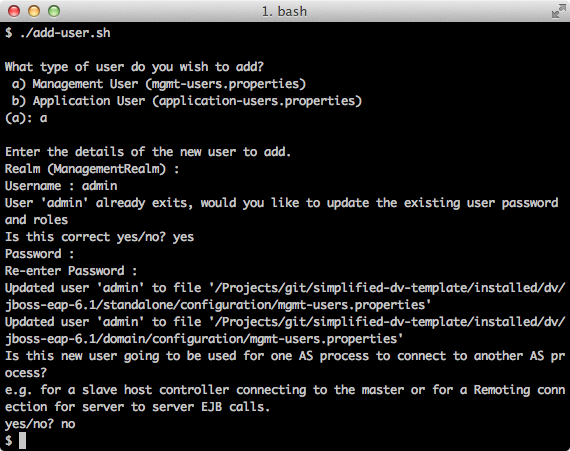
In case you want to change the password of the admin user or one the other users shown above, go to dv/jboss-eap-6.4/bin and type the following command and inputs as shown below.
Browse to http://localhost:8080/dashboard for the Red Hat JBoss Data Virtualization Dashboard to verify the installation and use teiidUser/redhat1! as the credentials that were installed as default and click btn:[Log In].
Red Hat JBoss Data Virtualization is now successfully installed, configured and started using the automated script mode.
Installing Red Hat JBoss Data Virtualization through custom scripts
We created custom scripts to automates the deployment of all the required components of JBoss Data Virtualization on Windows, Linux and Unix environments for running this workshop.
The github repository Vijay created can be found here: https://github.com/vchintal/jboss-data-virtualization-setup
Follow the instructions mentioned in the repository to full automate the JBoss Data Virtualization installation.
Provision Red Hat JBoss Data Virtualization using OpenShift 2.x
With OpenShift you can easily deploy and run Red Hat JBoss Data Virtualization in minutes to connect your applications to data from many different sources.
Get your free OpenShift Online account Sign up for your free account OpenShift Online account at https://www.openshift.com/app/account/new and you should see the screen below.
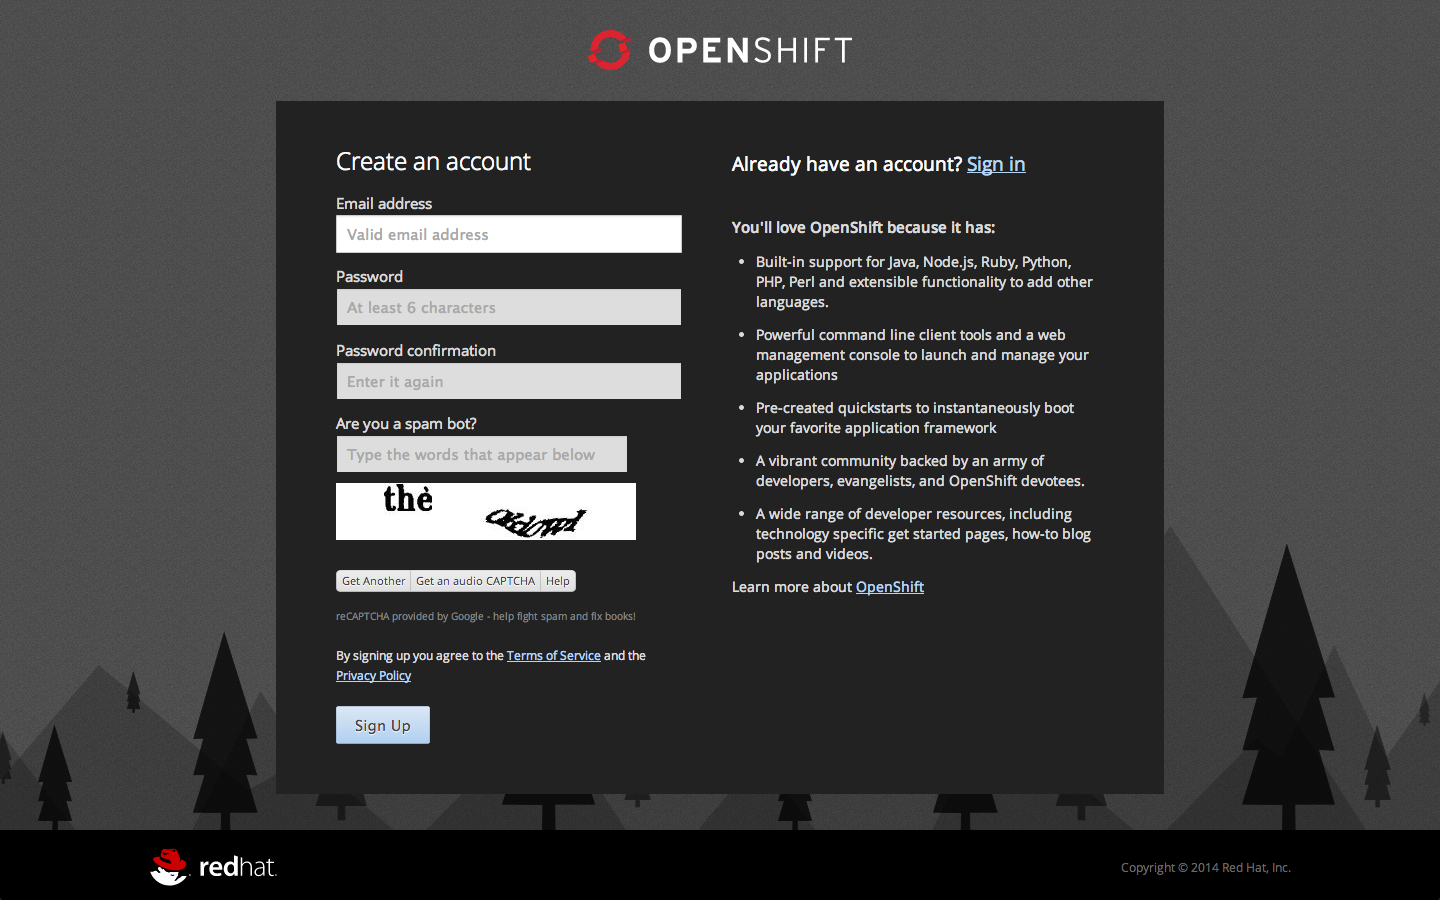
If you already have an OpenShift Online account please sign in with your known OpenShift Online username password combination.
Create a new application If this is your first login into OpenShift Online click at the “→ Create your first application now” link
If you already have an OpenShift Online account click btn:[Add Application] below your list of applications. Alternatively, you can deploy the Data Virtualization 6 (jboss-dv-6.1.0) cartridge using the OpenShift RHC Client Tools. Using the rhc client tools type:
$ rhc app create dv jboss-dv-6.1.0Choose a type of applications
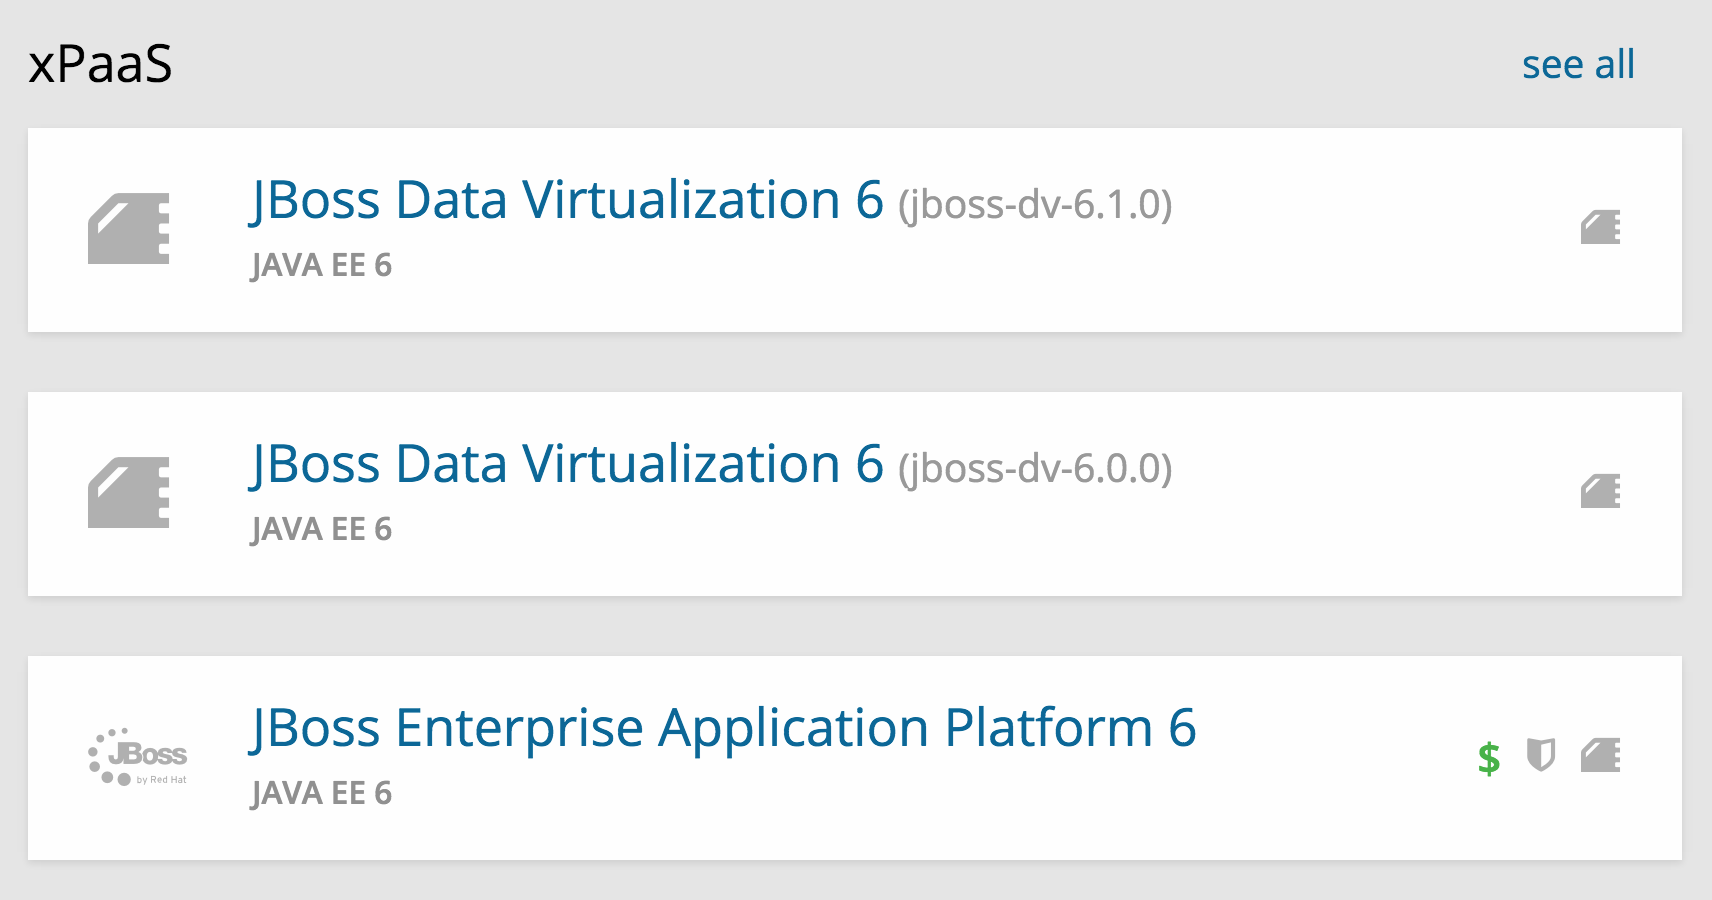
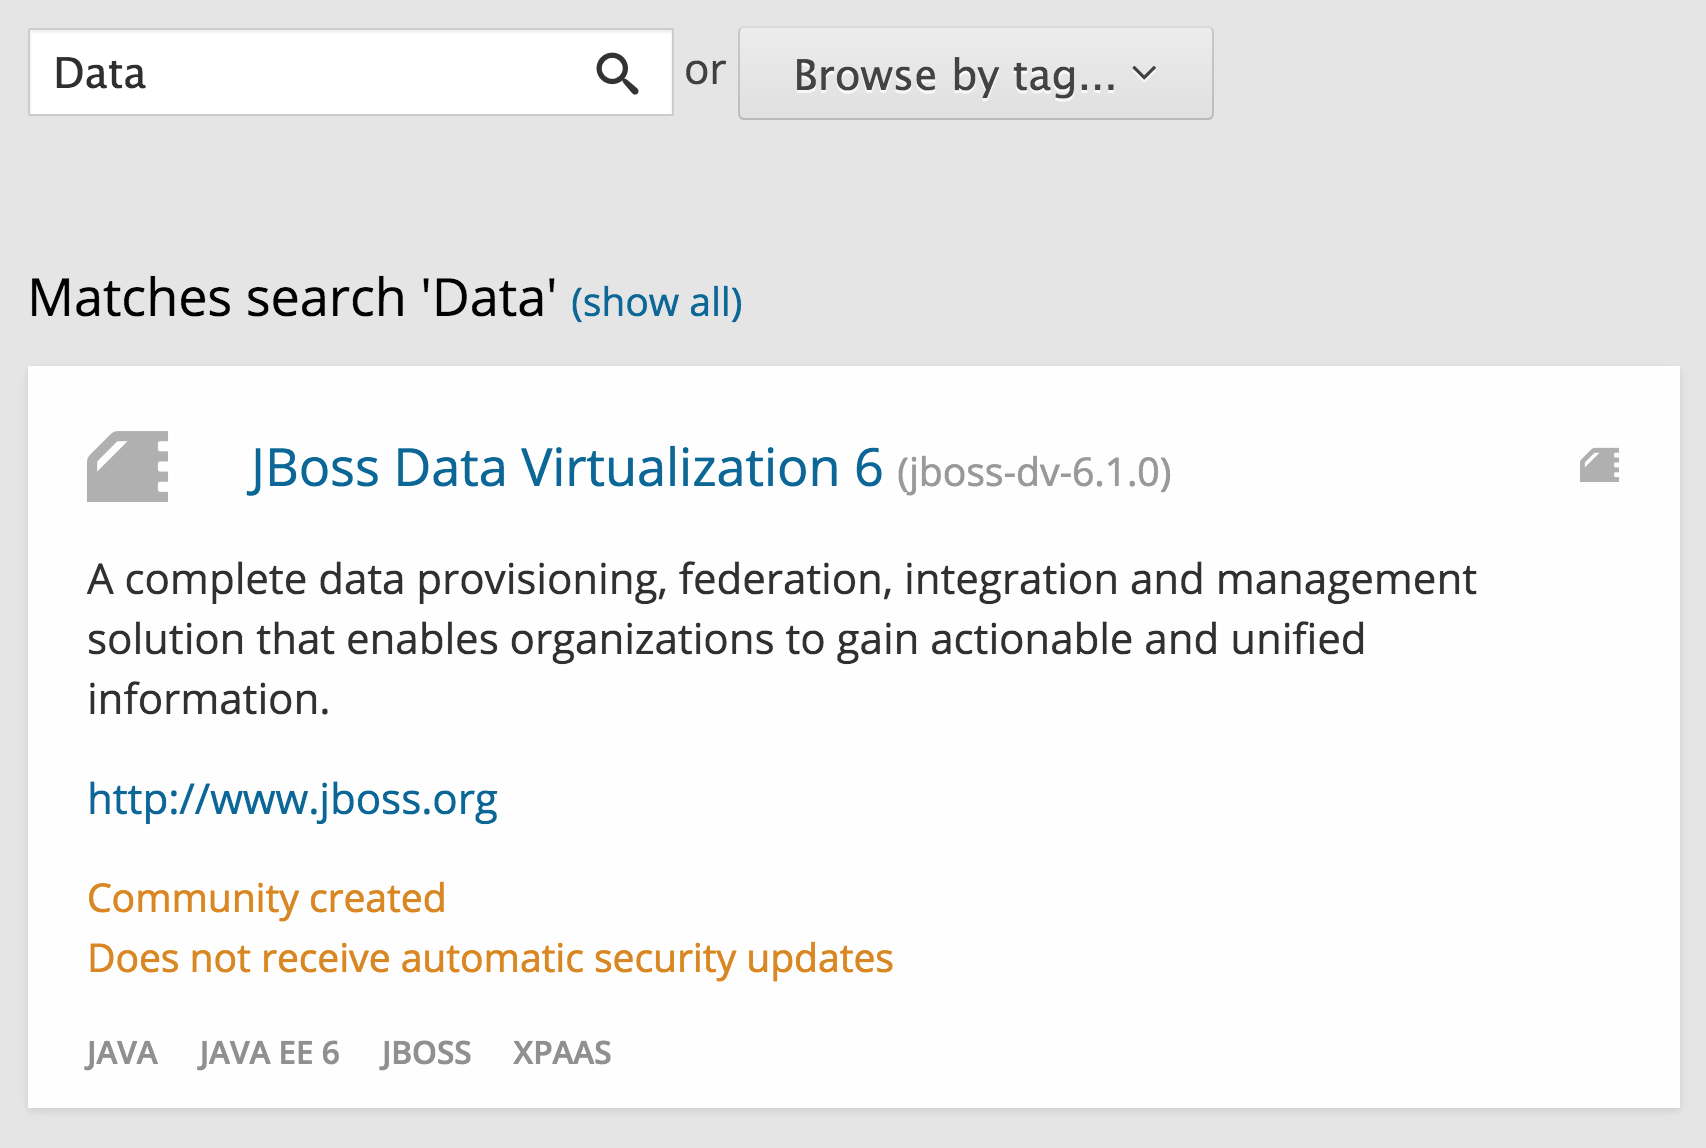
You can either scroll down to the list of quick links and click the btn:[JBoss Data Virtualization 6 (jboss-dv-6.1.0)] button under “xPaaS” or search for “Data”.
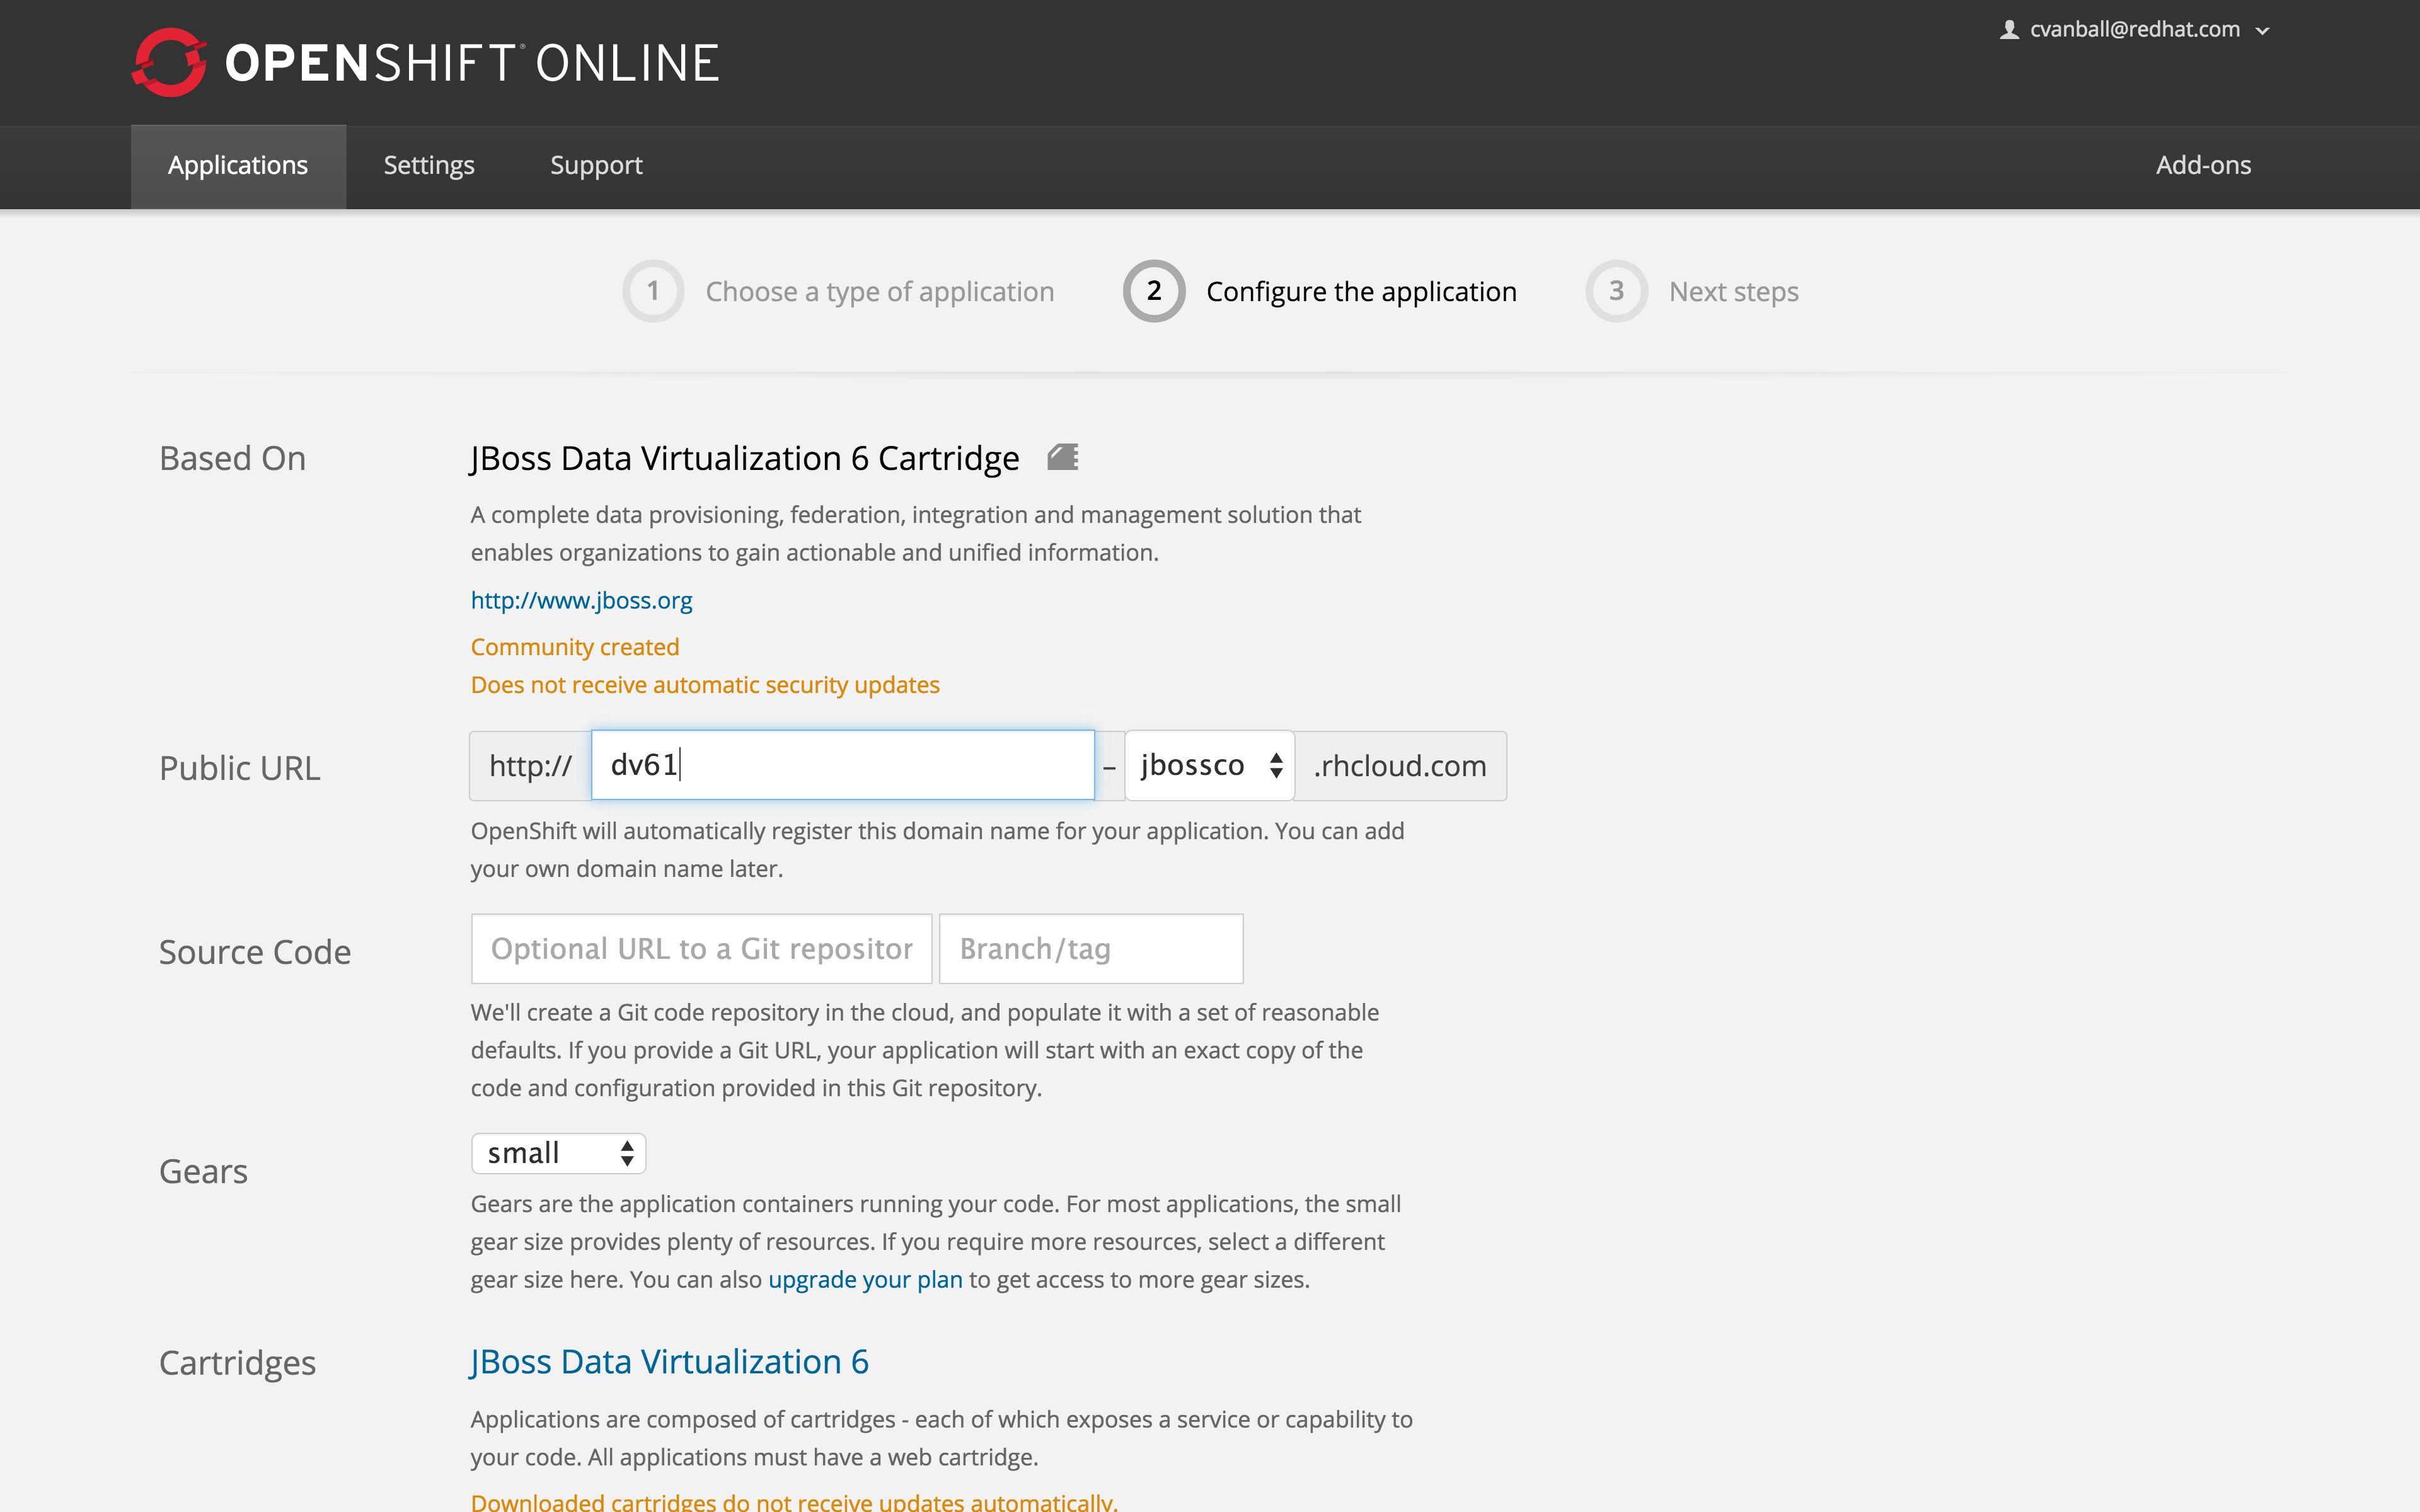
Configure Application
Name your application in your domain, scroll down and click the btn:[Create Application] button.
Next steps
In the Next steps we would like to include a PostgreSQL database to the application previously created on OpenShift Online. The figure below is shown when the application is successfully created in your domain.
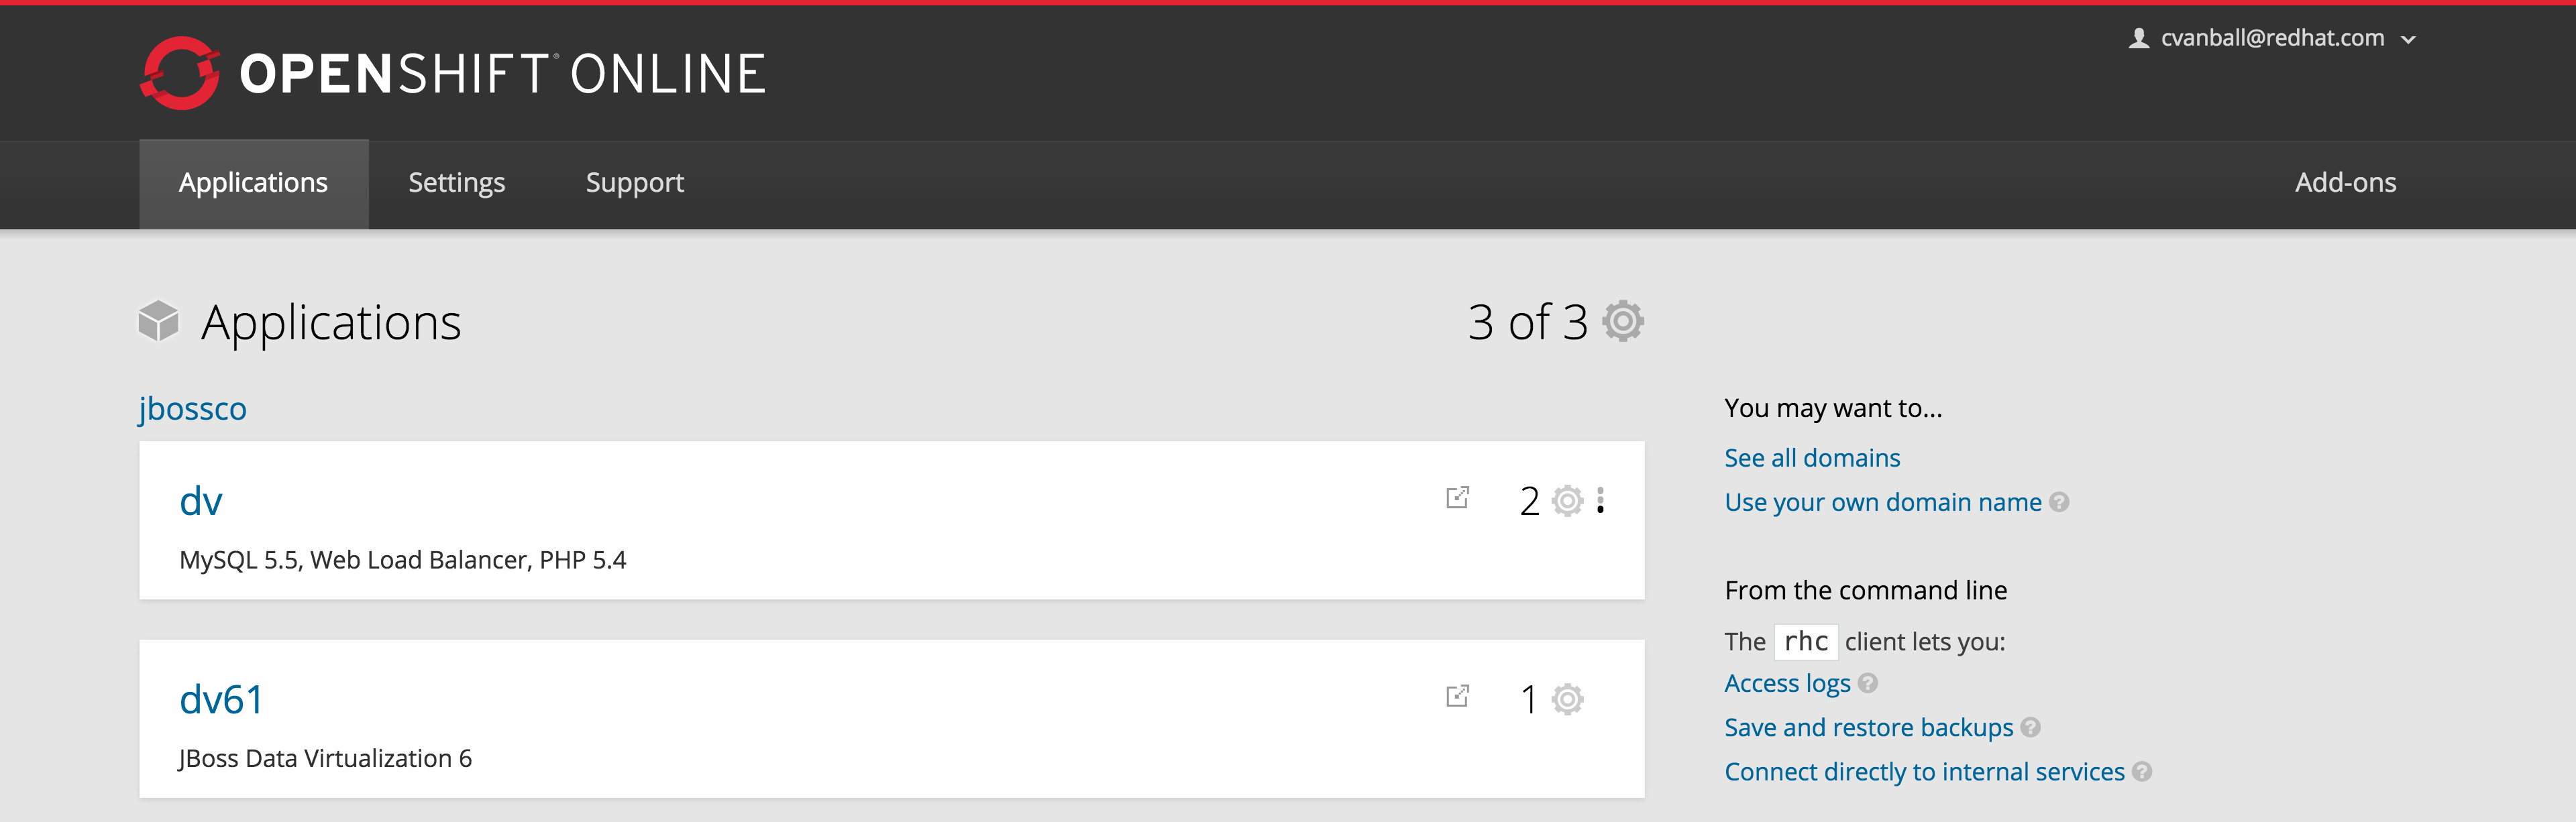
Now we would like to add a PostgreSQL database to the application. Click the Application name link, in the above figure it’s called “dv61”. The following screen should appear.
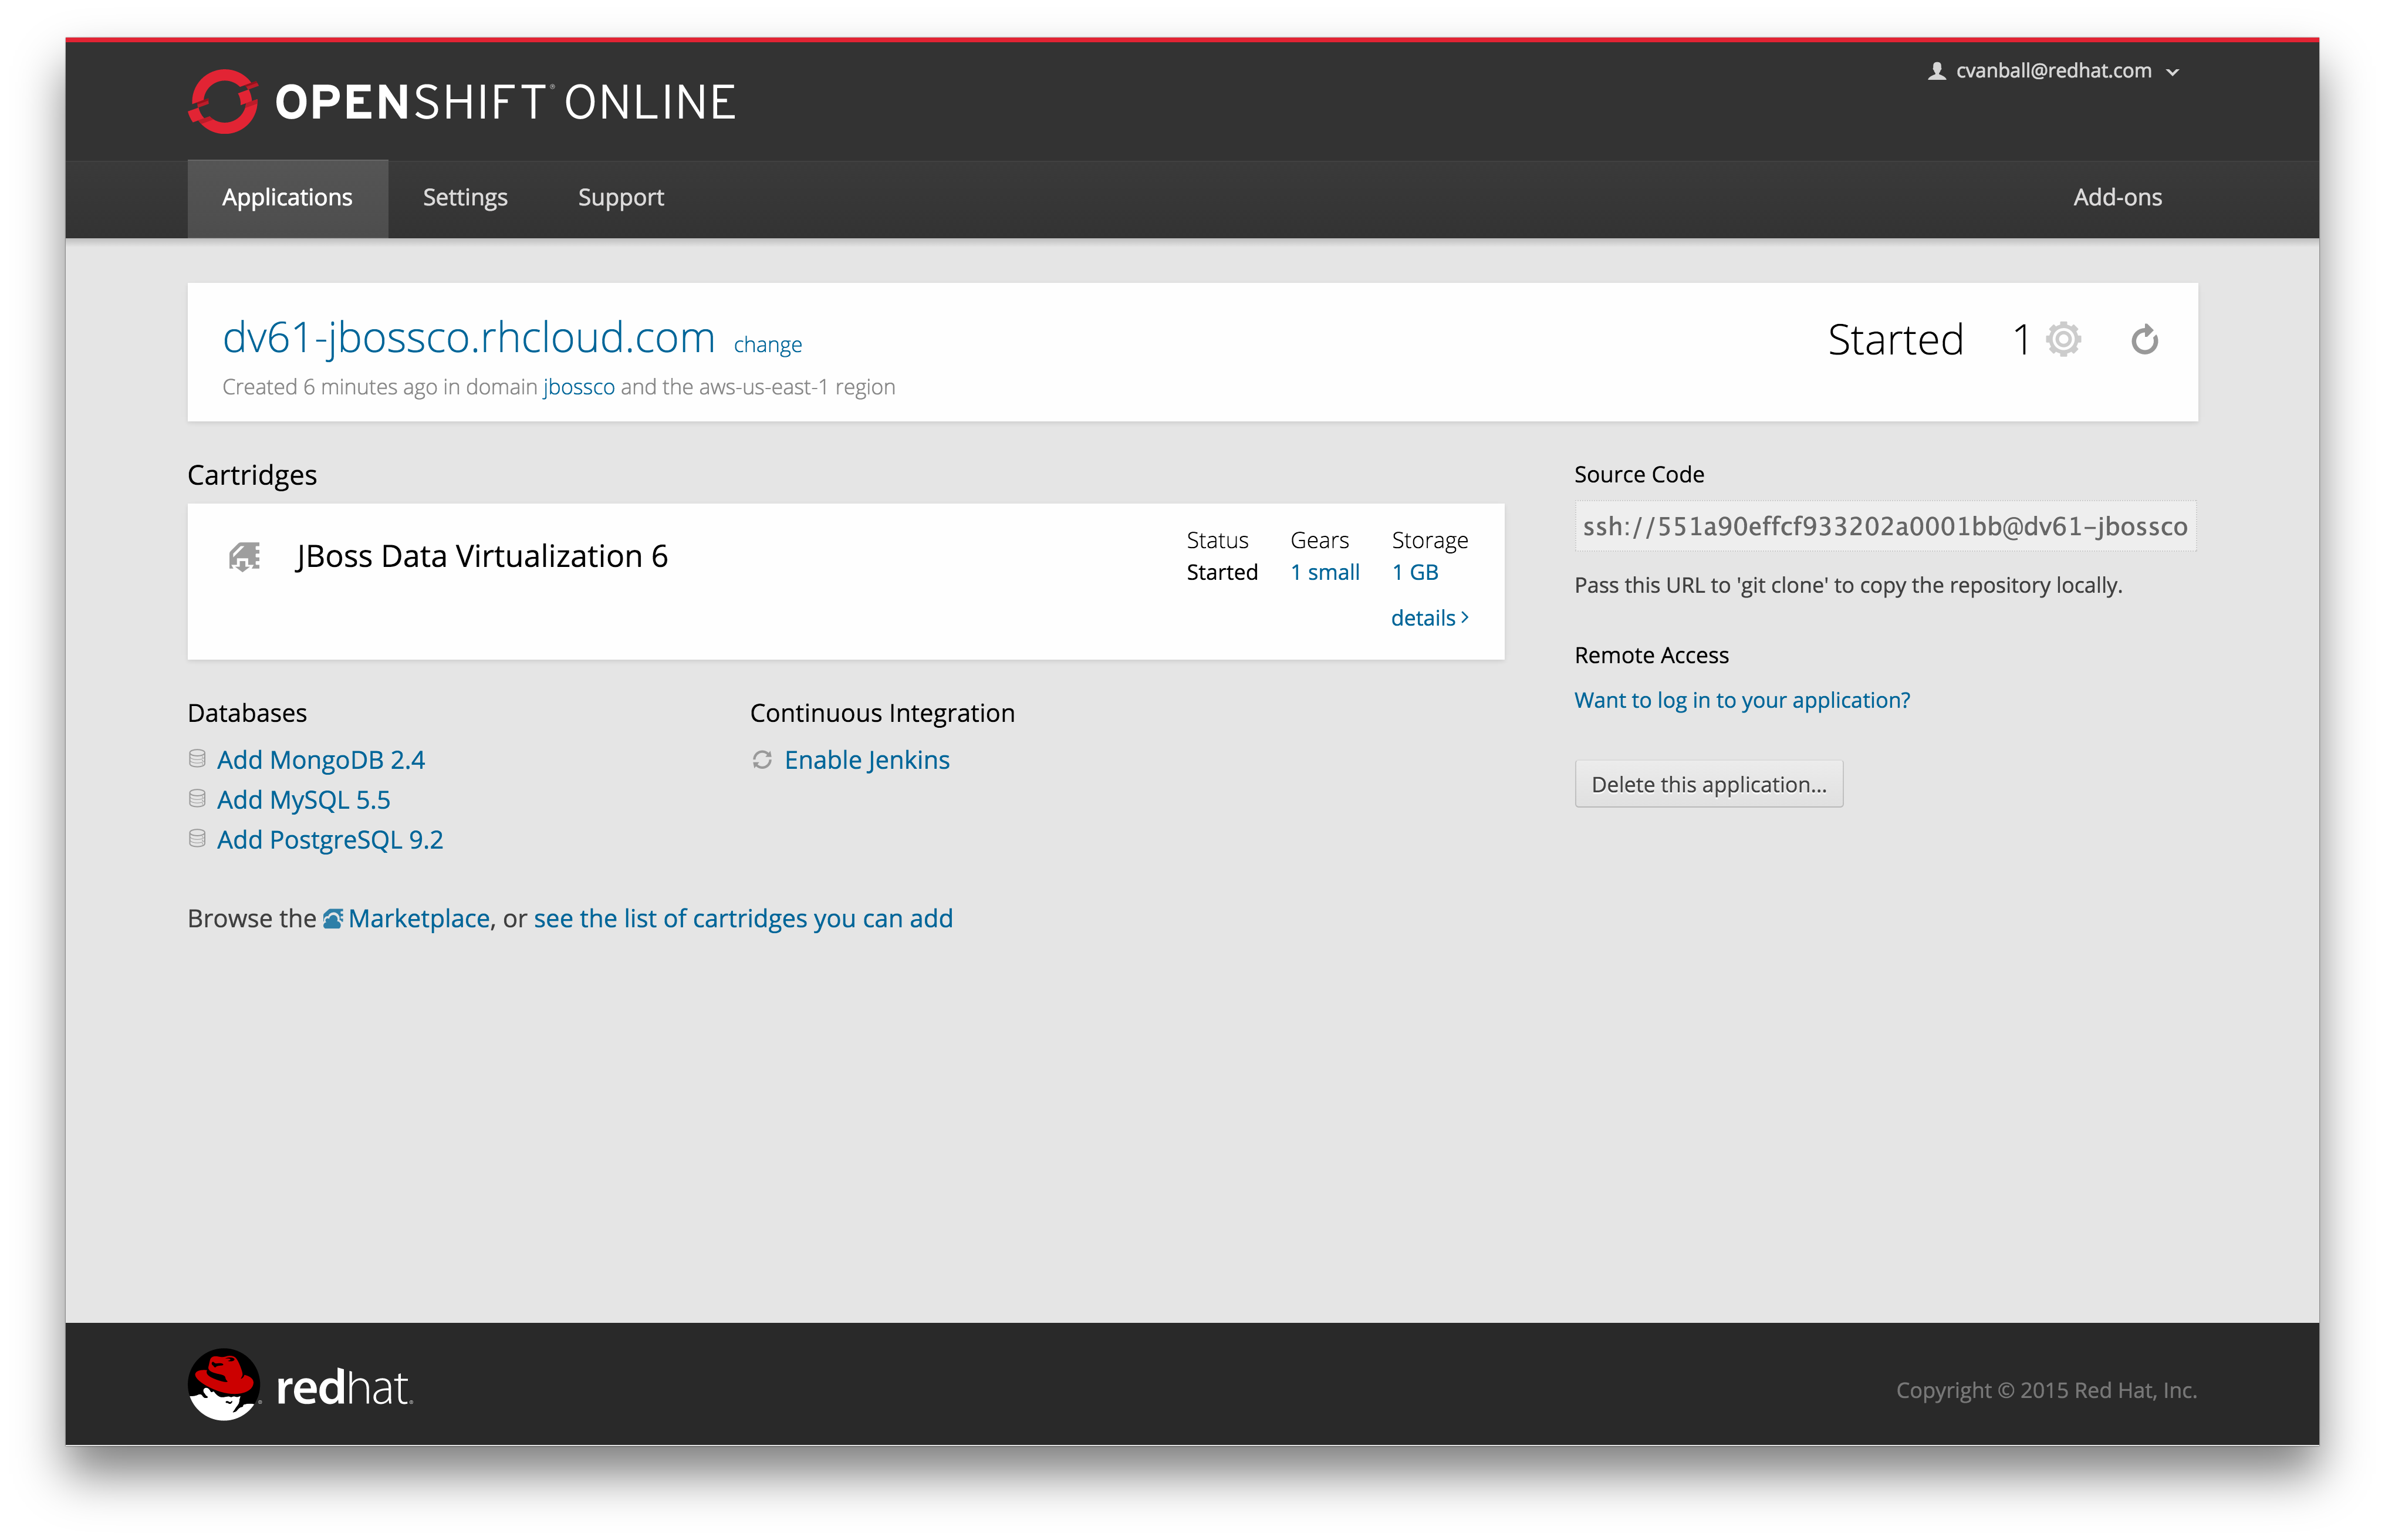
Click “Add PostgreSQL 9.2”
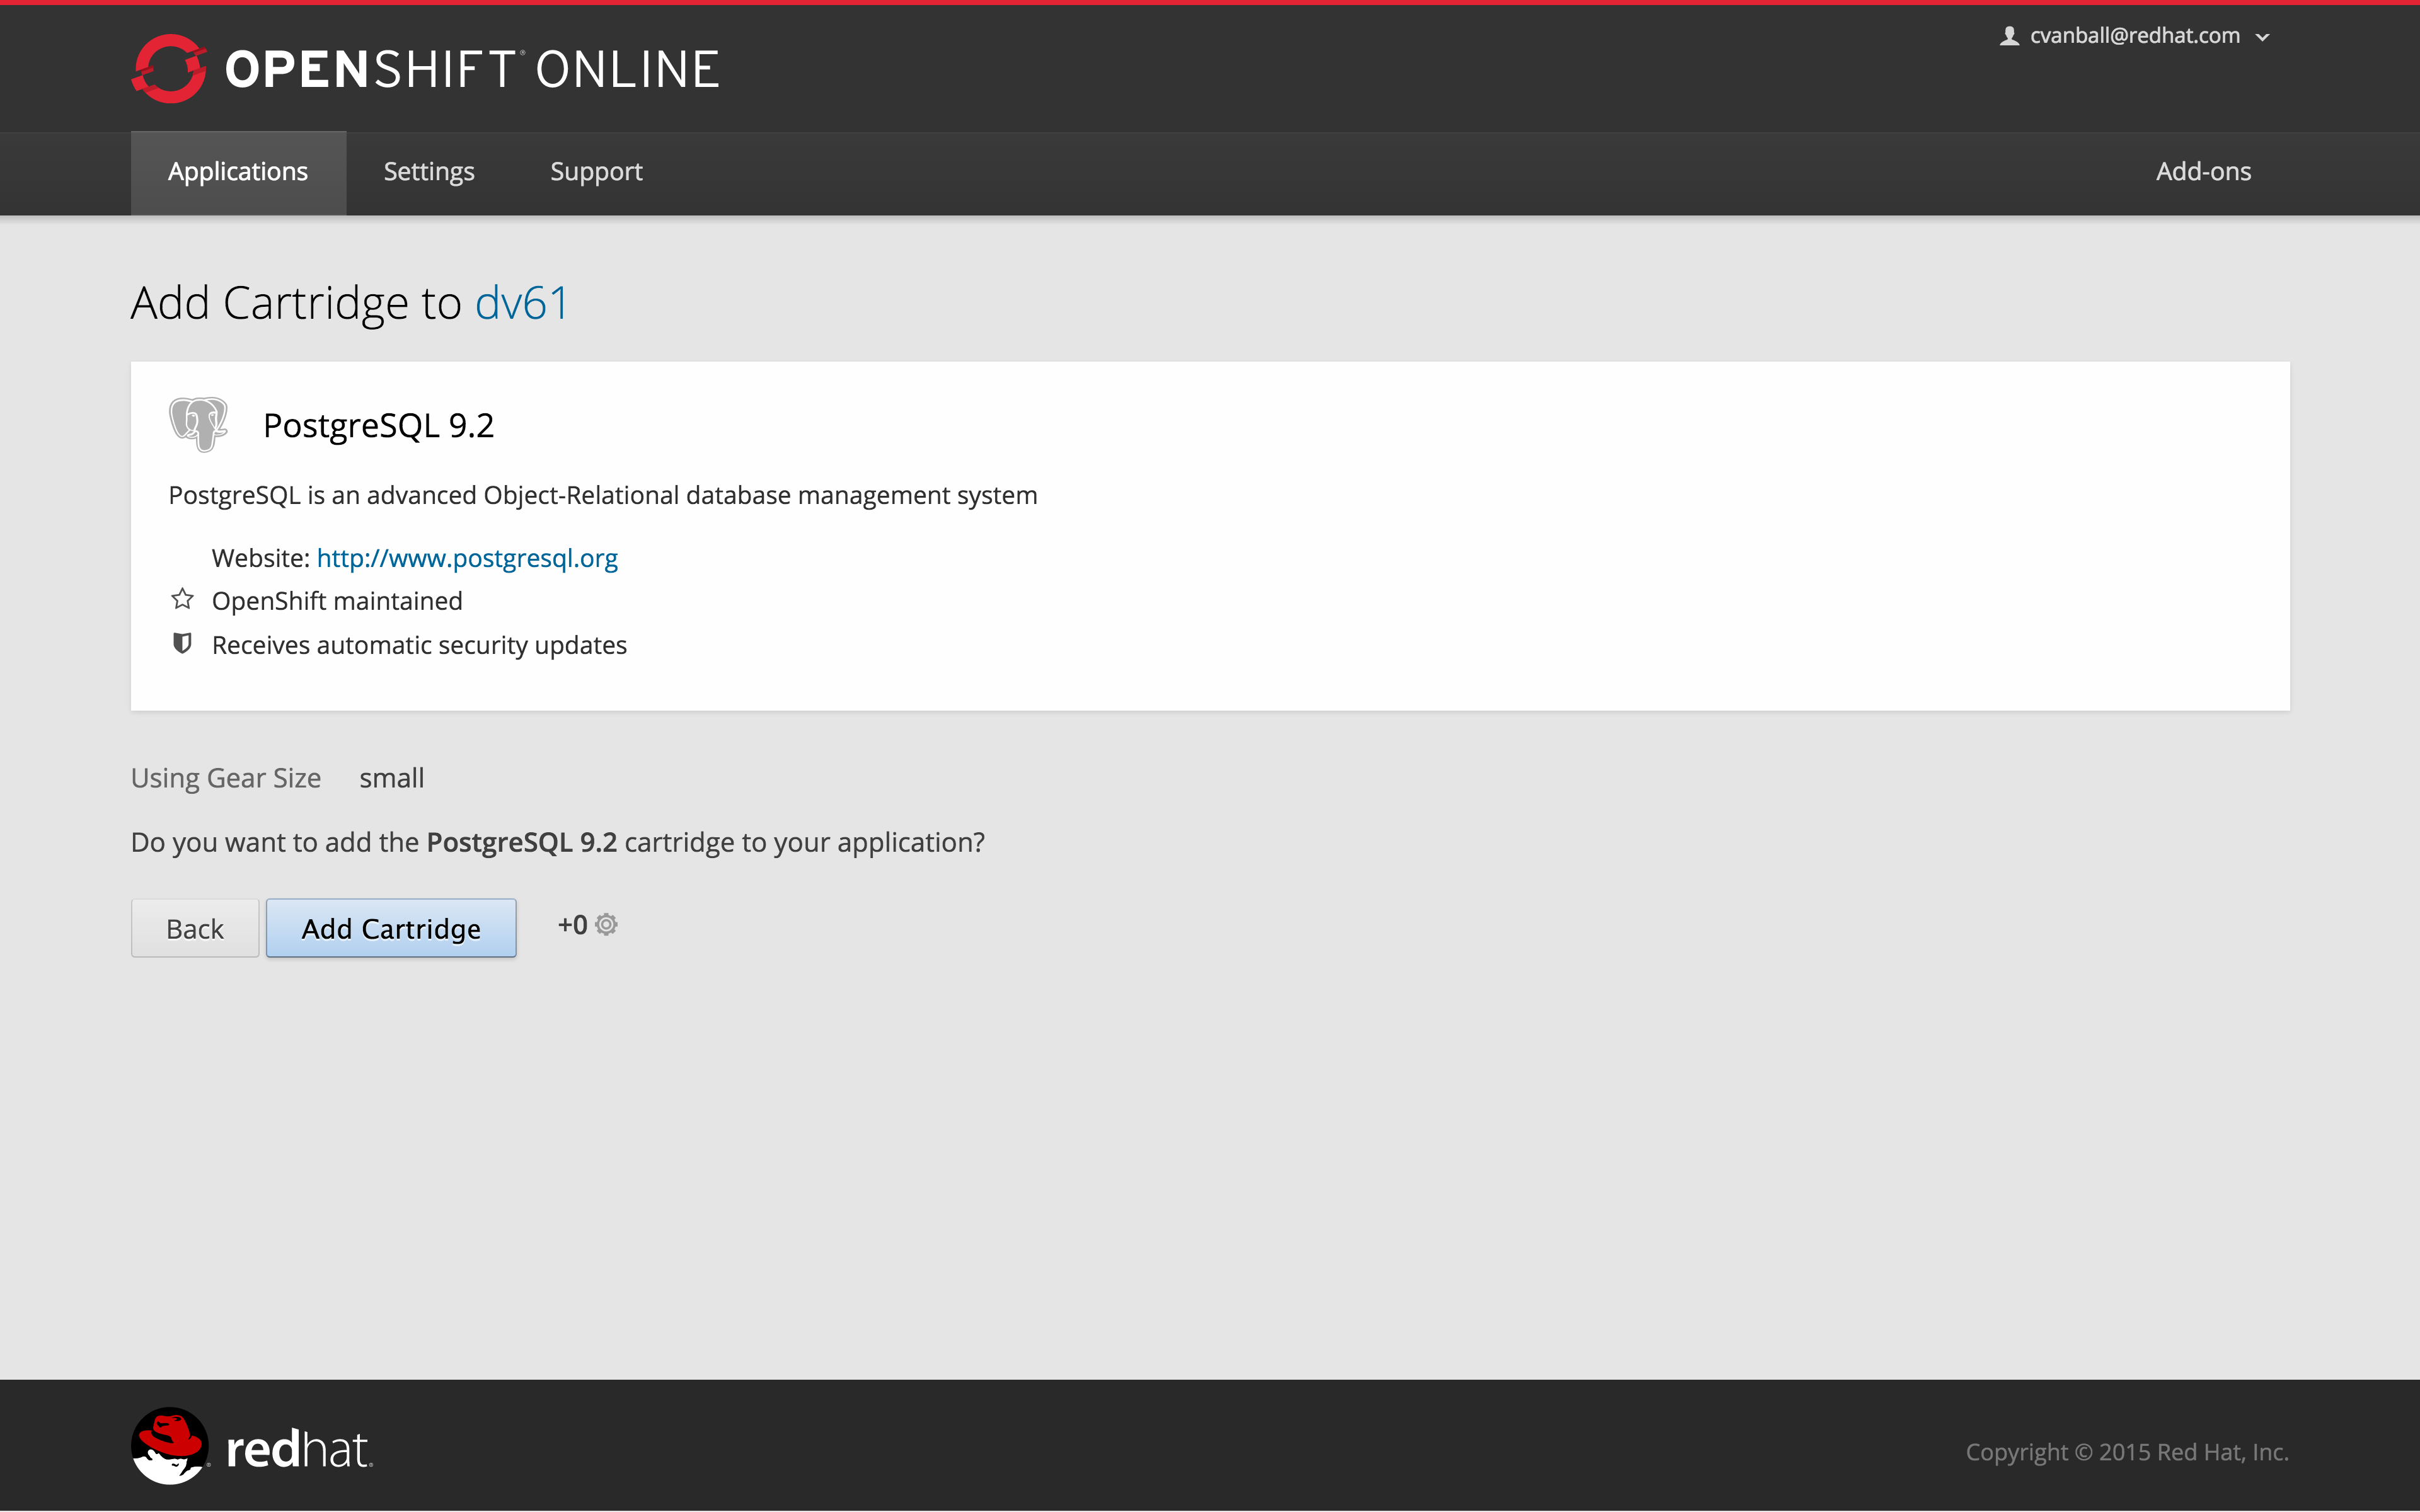
Click “Add Cartridge” to add PostgreSQL 9.2 to previously created dv61 environment.
You have now a successfully created a Red Hat JBoss Data Virtualization environment with a PostgreSQL 9.2 database in just a matter of seconds.
Provision Red Hat JBoss Data Virtualization using OpenShift 3.x
Coming soon……
Congratulations, you have now completed this lab.