$ java -jar devstudio-10.4.0.GA-installer-standalone.jarOverview
This labs contains JBoss Developer Studio and Integration Stack installation.
Install Red Hat JBoss Developer Studio
This lab will guide you how to install Red Hat JBoss Developer Studio (JBDS) and the tools for creating data views that are accessible through standard protocols (the Teiid Designer plug-in for JBDS and connect Red Hat JBoss Developer Studio to the Red Hat JBoss Data Virtualization server.
Download
If you don’t already have Red Hat JBoss Developer Studio, download it from either jboss developer community, or Red Hat Customer Portal
Assume devstudio-10.4.0.GA-installer-standalone.jar is the installation image that downloaded. The instructions below is using this image.
Start Install
Run the JBDS installer using the java command.
The required JBDS version is 10.4.0.GA to be used with Red Hat JBoss Data Virtualization 6.3.0, and run the installer with the following command see below.
Step.1 - Introduction
Follow the installer prompts to complete the installation process.
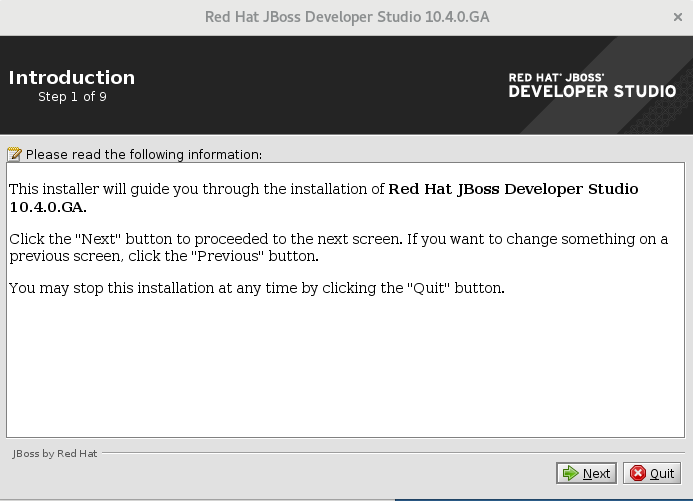
When the Installer window opens, click  .
.
Step.2 - License Agreement

After reading and agreeing to the terms of the End User License Agreement, select I accept the terms of this license agreement and click .
Step.3 - Select Target Folder
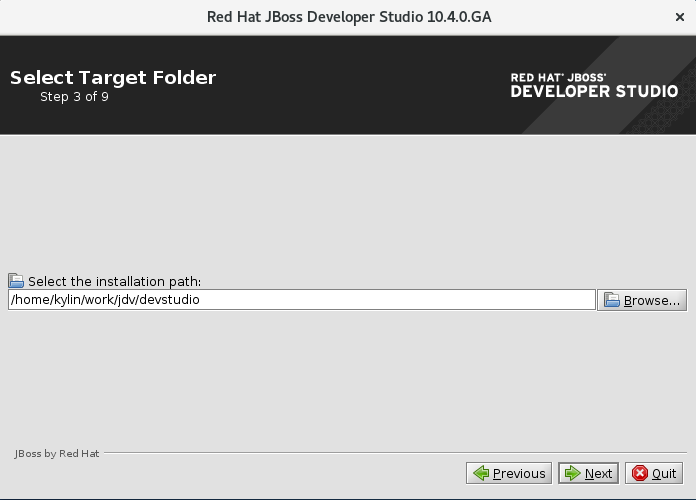
In the Select the installation path field, type the path where you want Red Hat JBoss Developer Studio to be installed or click Browse to navigate to the location. When the Select the installation path field shows the correct path, click .
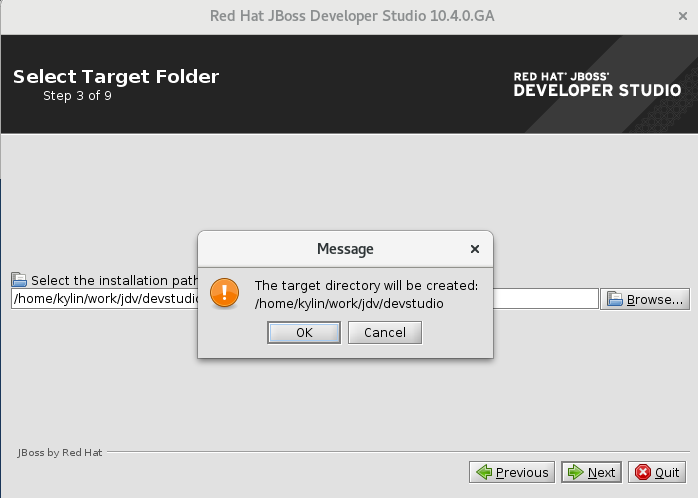
When you are prompted about the specified location being created or overwritten, review the message and, if satisfied, click  to proceed and click to continue.
Step.4 - Select Java VM
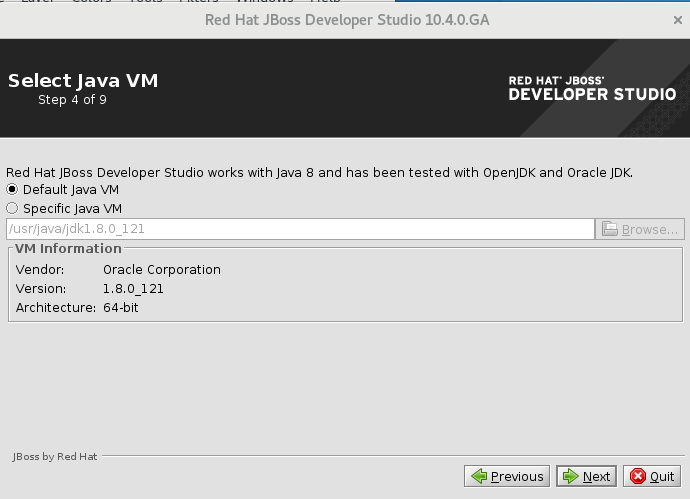
In the Select Java VM step, Default Java VM is automatically selected. Ensure that the disabled text field contains the path of the Java developer kit you want to use. This is based on the default Java developer kit of your system. To change the specified Java developer kit, select Specific Java VM and type the path of the Java developer kit in the text field or use the Browse button to locate the Java developer kit. When the text field shows the correct Java developer kit path, click .
Step.5 - Select Platforms and Servers
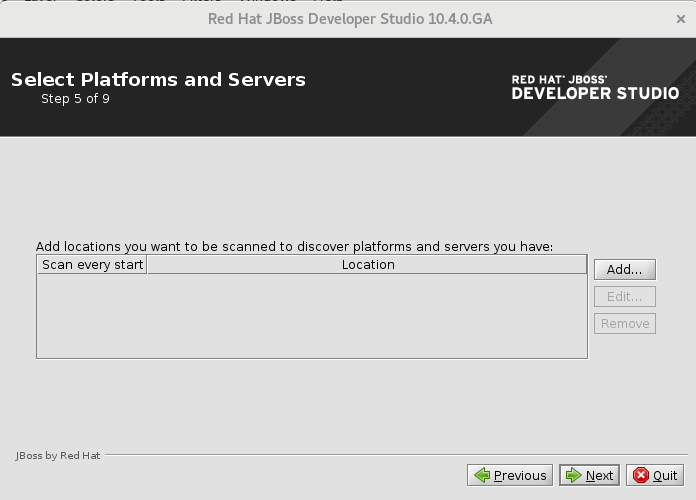
In the Select Platforms and Servers step one can install Red Hat JBoss Enterprise Application Server which is included and add server to make use of automatic runtime detection for finding already installed application servers. Select No and skip the option for adding locations for now since we will add servers later. Click to proceed.
Step.6 - Summary Information
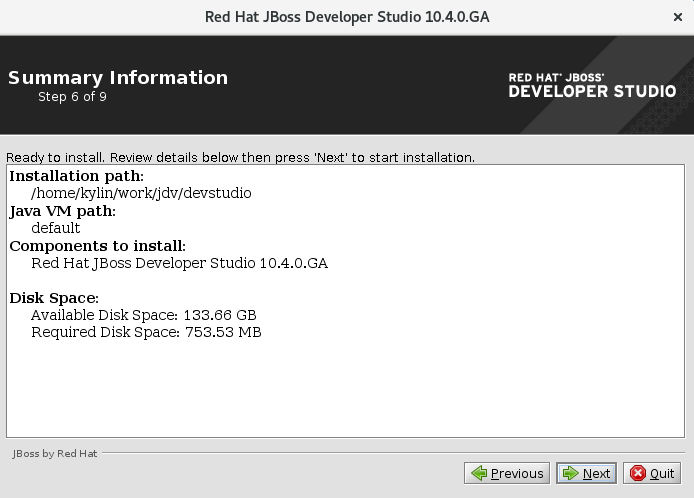
Review the details in the Summary Information window and, if they are correct, click . The installation commences.
Step.7 - Installation
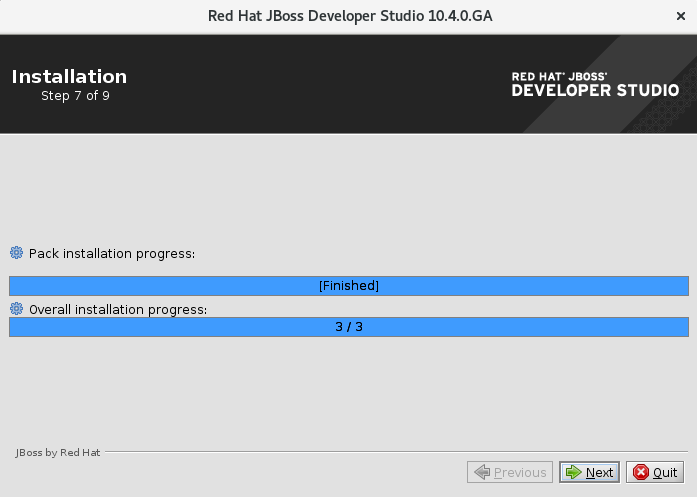
When the installation progress bar shows Finished, click . The installation process is now complete.
Step.8 - Setup Shortcuts
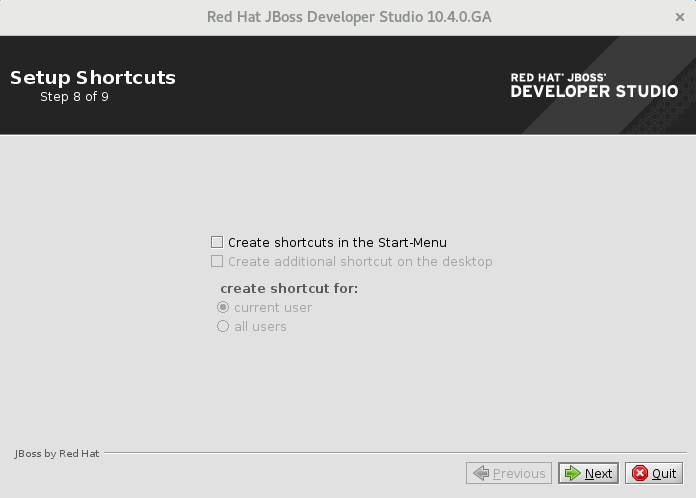
To create shortcuts for starting JBoss Developer Studio, select the Create shortcuts in the Start-Menu and Create additional shortcut on the desktop check boxes and click .
Step.9 - Finish
To automatically start JBoss Developer Studio when the Installer window closes, select the Run JBoss Developer Studio after installation check box.
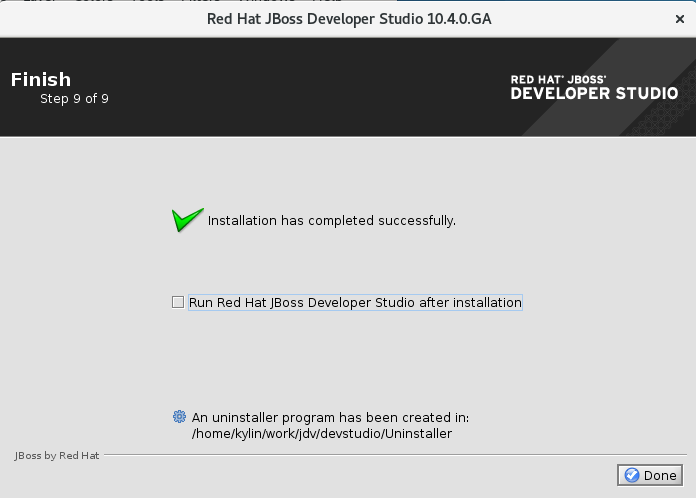
Click  to close the Installer window.
Run JBDS
When the installation is completed, run JBDS 10. When JBDS starts, you are asked to choose the workspace folder for the session. The workspace is where your projects are stored.
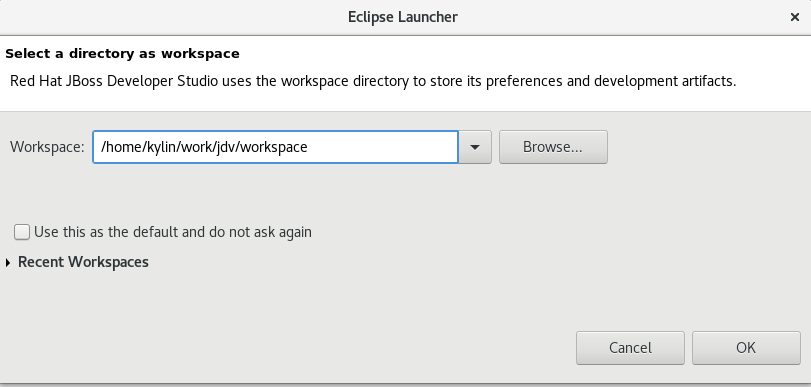
To set the workspace location, follow these steps:
-
In the Workspace field, type the path for a new or existing workspace or use Browse to navigate to the workspace location.
-
If you do not want to be asked to choose a workspace folder each time the IDE starts, select the Use this as the default and do not ask again check box.
-
Click
 .
.
The workspace location prompting behavior can be altered at any time by clicking Window → Preferences. Expand General → Startup and Shutdown → Workspace. Select or clear the Prompt for workspace on startup check box to alter the behavior as appropriate.
|
Note
|
After starting Red Hat JBoss Developer Studio you might get a informational message to inform you that there are updates available. Please upgrade to the latest patch version of Red Hat JBoss Developer Studio by clicking in the Update balloon message. |
Install JBoss Data Virtualization Development Tools
The easiest way to install the JBoss Data Virtualization Development option in Red Hat JBoss Developer Studio is to use Red Hat Central.
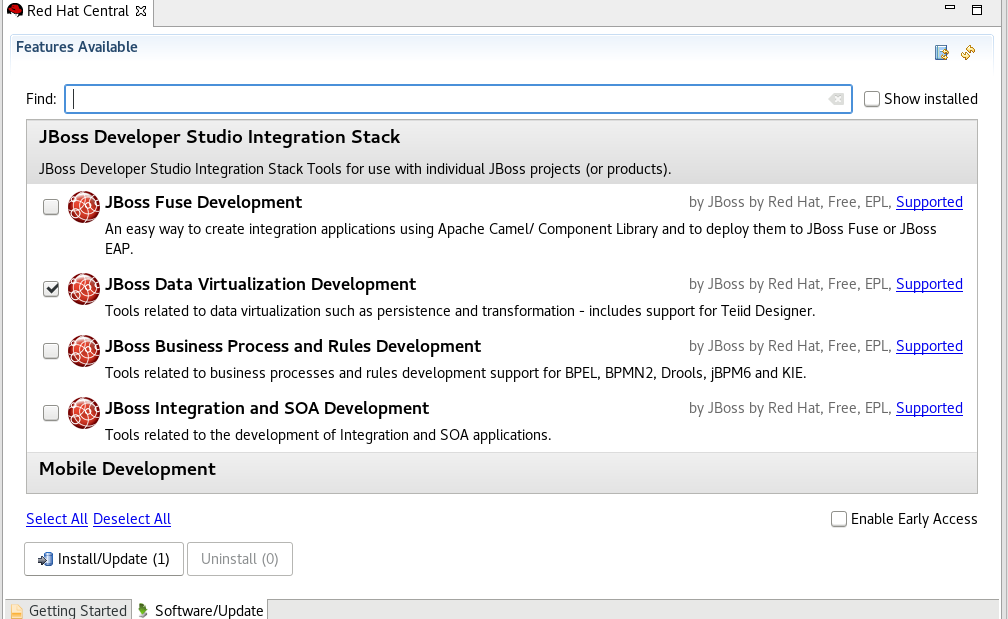
Select Help → Red Hat Central if Red Hat Central isn’t active. Click the tab Software/Update and select the JBoss Data Virtualization Development option and click Install/Update.
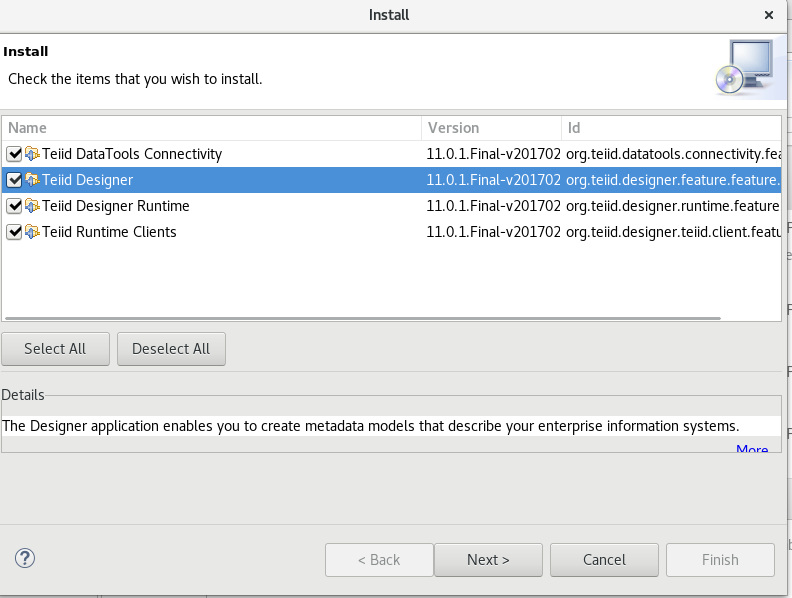
Review Install Details and click the  button.
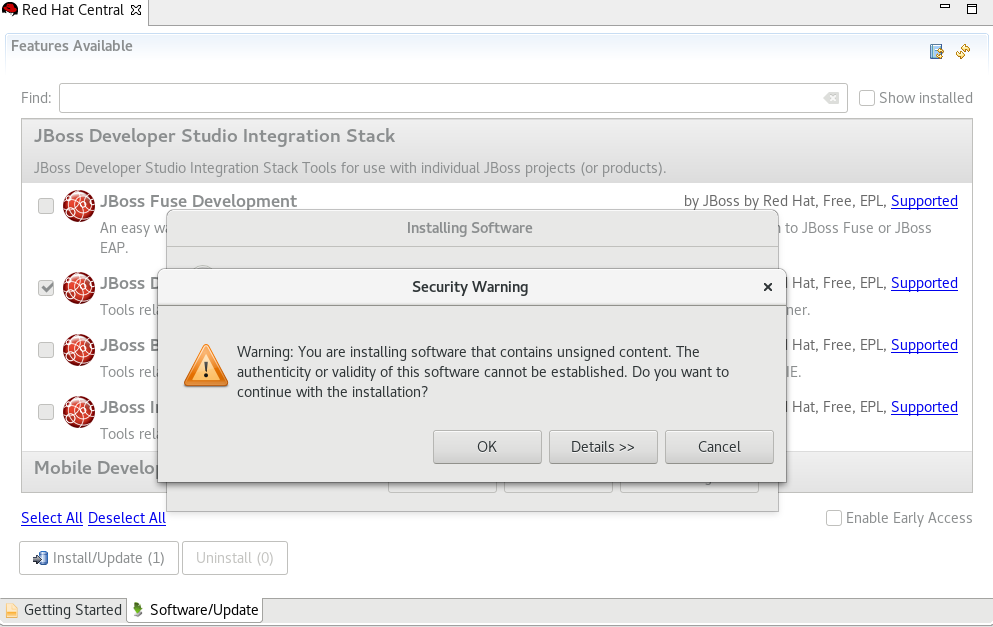
The Security Warning window appears and click the button to proceed.

The Software Updates window appears. Press the Yes button to restart Red Hat JBoss Developer Studio to apply the changes to take effect.
Set up JDV Server
Now that you have JBoss Data Virtualization and JBoss Developer Studio successfully installed, it is time to “hook up” JBoss Developer Studio to the JBoss Data Virtualization server instance.
If the Servers pane is not already visible in JBoss Developer Studio, you can open it by Window → Show View → Other → Server → Servers.
The Servers pane will now be visible in the lower portion of JBoss Developer Studio and is displayed below.
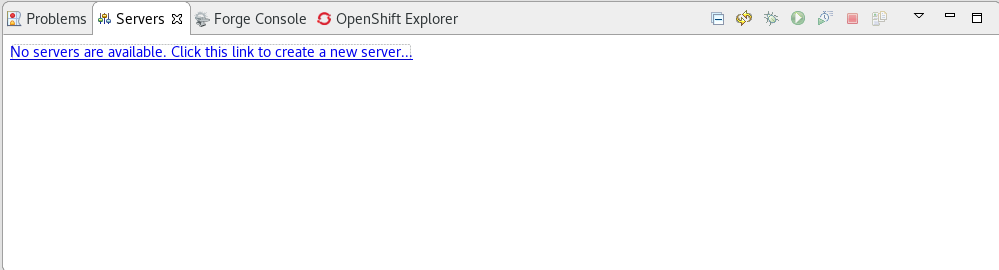
Now, it is a matter of clicking through several screens to add the JBoss Data Virtualization server instance that was installed as part of Lab Install Red Hat JBoss Data Virtualization.
Click the link No servers are available. Click this link to create a new server… and following window will appear:
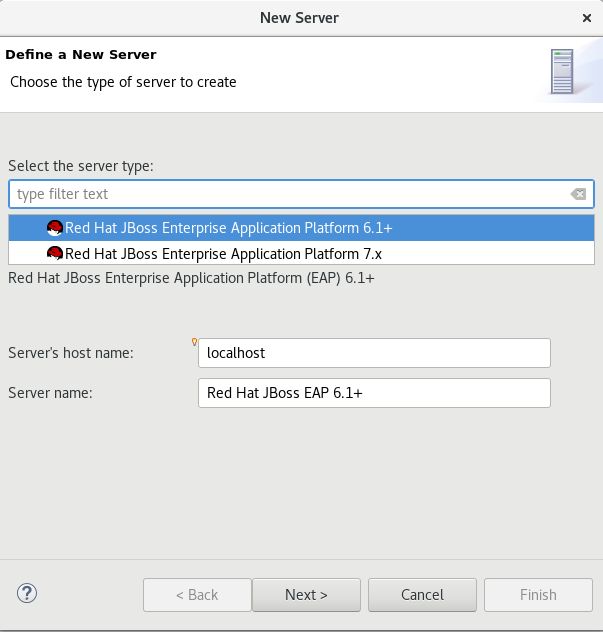
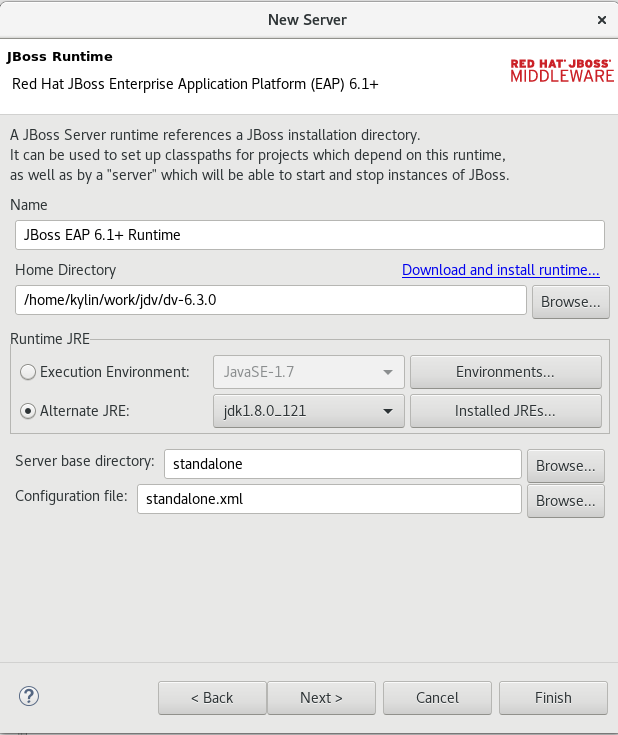
With the New Server wizard enabled, be sure you entries look like those above.
Select JBoss Enterprise Middleware → JBoss Enterprise Application Platform 6.1+ as the server type. You can keep the defaults that are selected or enter the values appropriate for your workstation. In this case, localhost is entered for Server’s host name. Change the Server name into a meaningful name like "JBoss Data Virtualization 6.3.0".
Click the button.
Next, Set the server adapter, use the default setting.
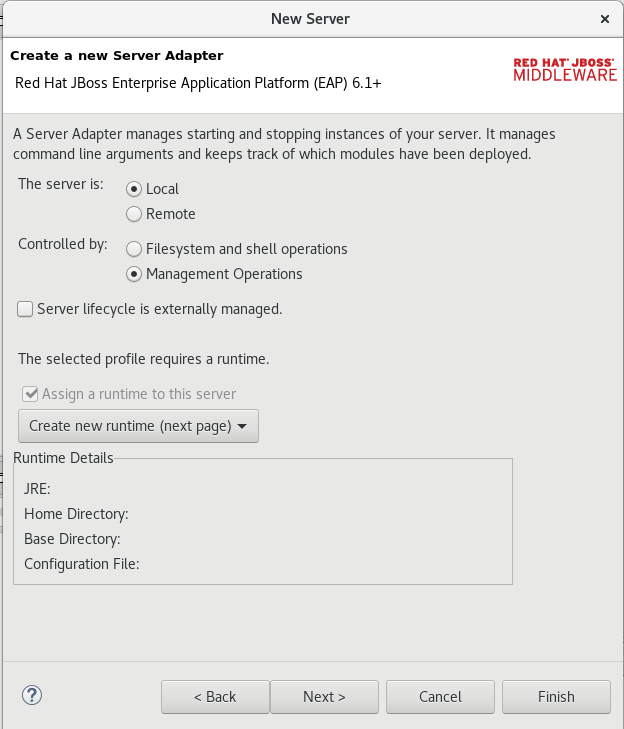
Click to Set up JBoss runtime, Essentially, this is selecting the Home directory for the JBoss Data Virtualization instance that was installed as part of Lab Install Red Hat JBoss Data Virtualization. The values to select are illustrated below:
Click  .
.
The Servers pane will now have the available server available as indicated below.
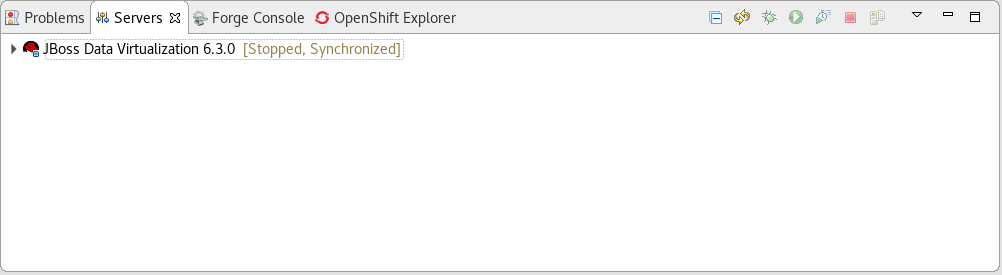
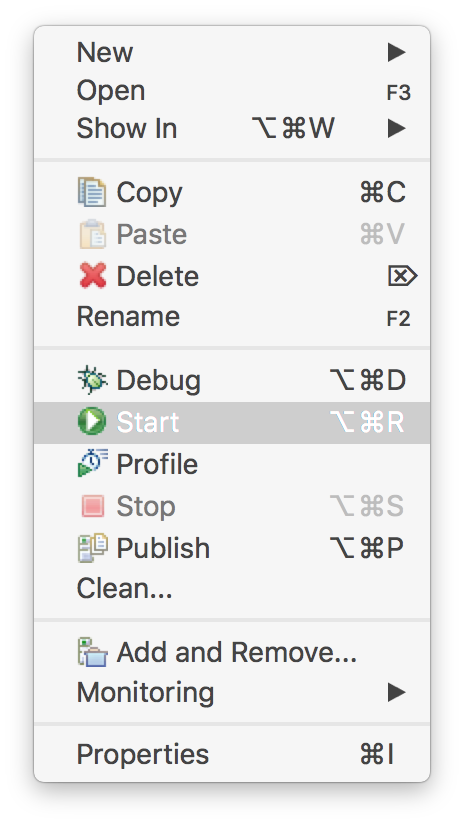
At this point, you can right-click on the server and there is a list of available options. Click Start from the available options and the server will start up.
|
Note
|
If JBoss Data Virtualization Server is already started from the command line using standalone.sh or standalone.bat, JBoss Developer Studio will show a warning "Server already running on localhost", select option "Set the server adapter to 'started', without launching a new server." |
Open the Teiid Perspective
To begin this exercise, launch JBDS (if it is not already open), and open the Teiid Designer perspective. This is because the JBoss perspective is the default perspective.
To open the Teiid Designer perspective, first select Window → Perspective → Open Perspective → Other… in order for the full list of perspectives to be displayed and the Teiid Designer perspective to be selectable.
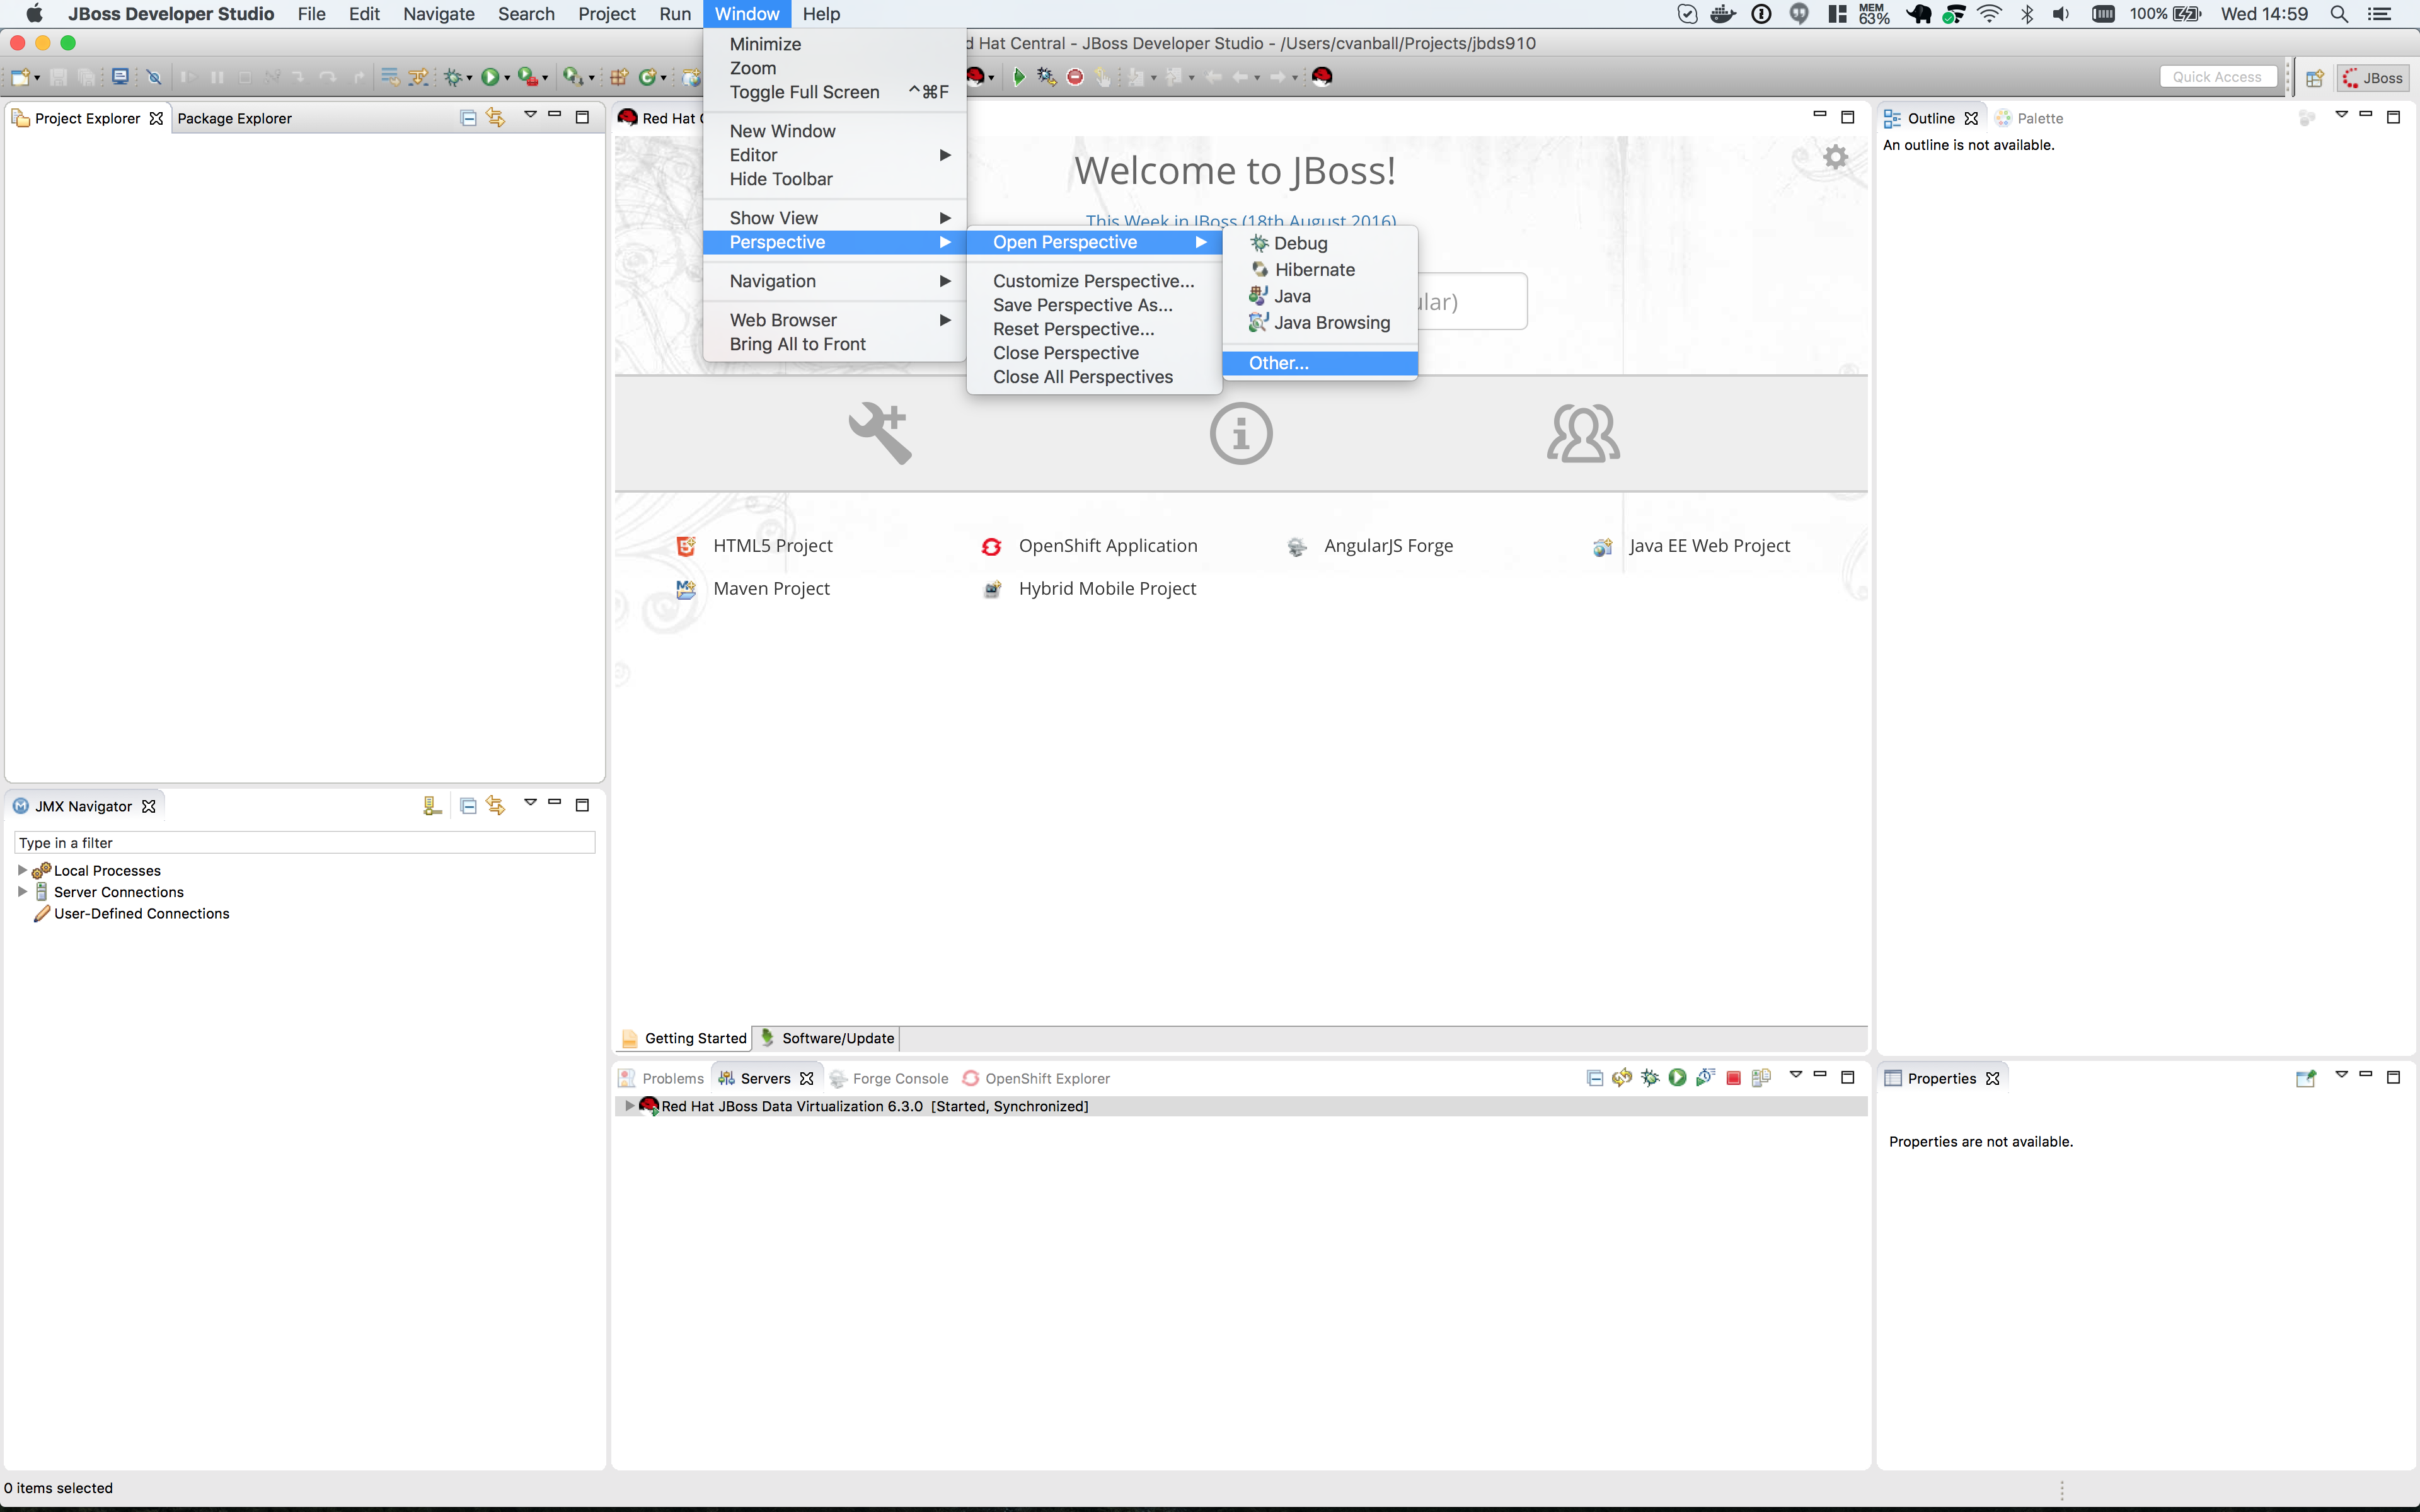
Select Teiid Designer from the perspective list as shown below.
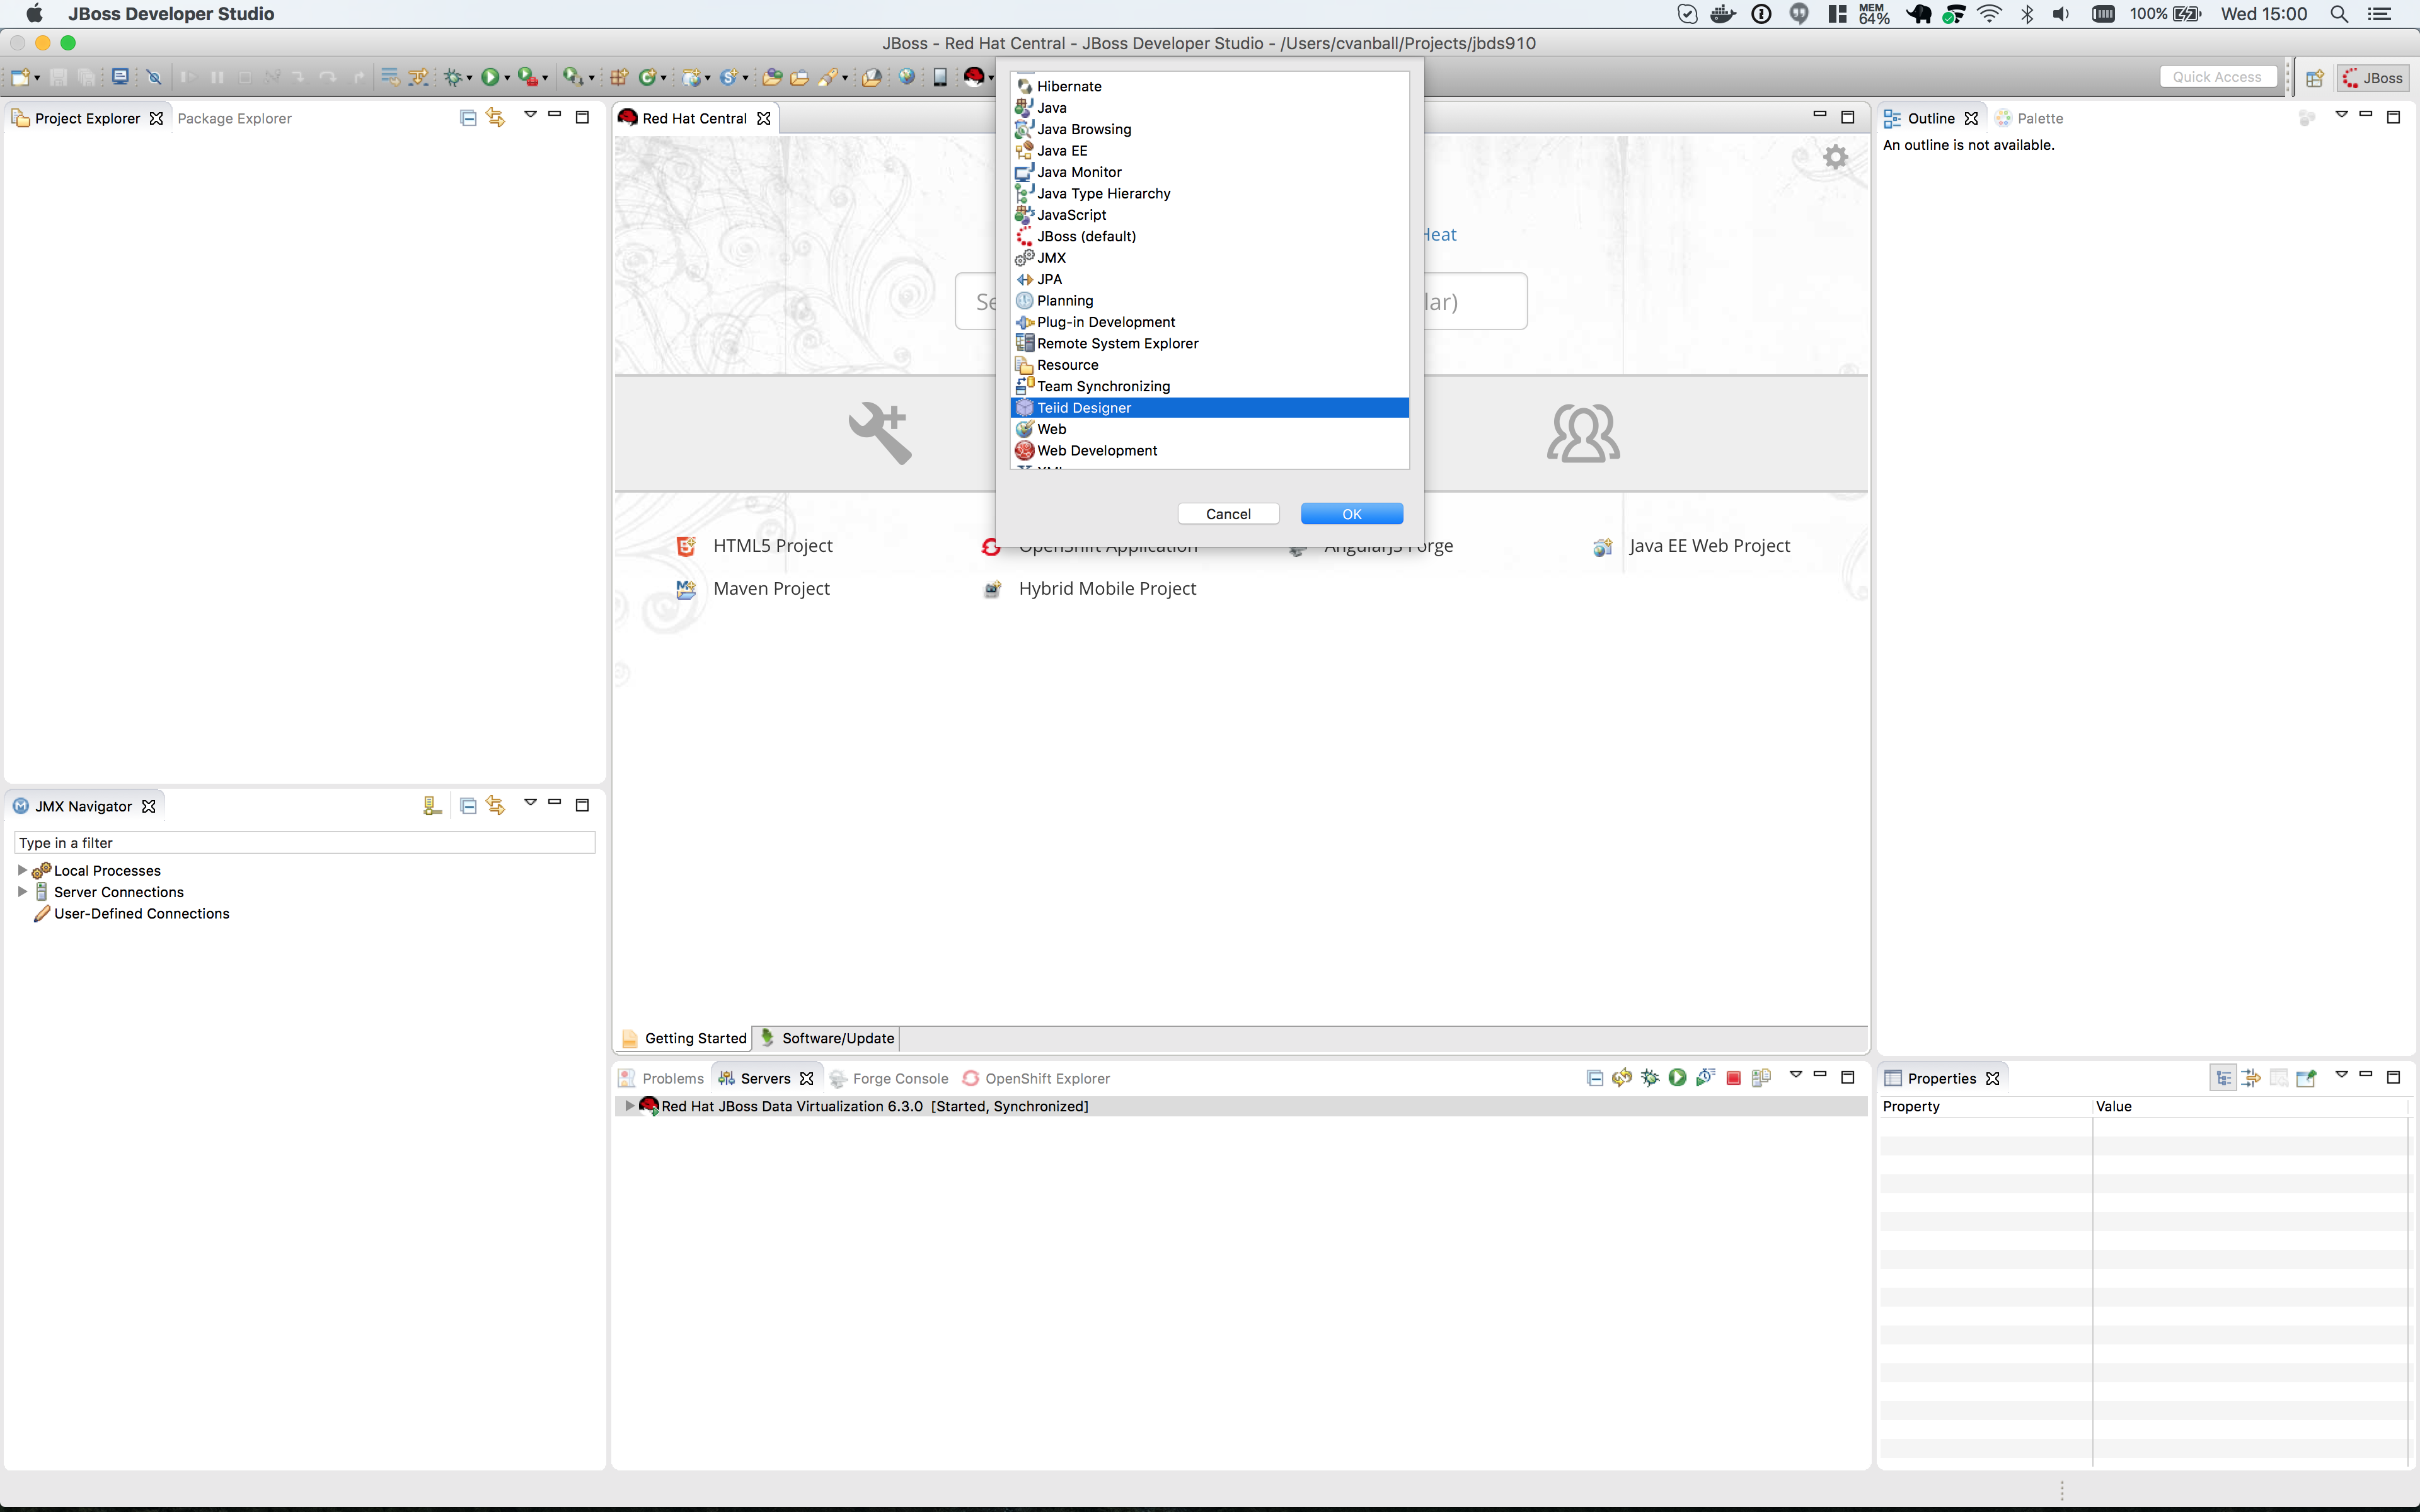
Click .
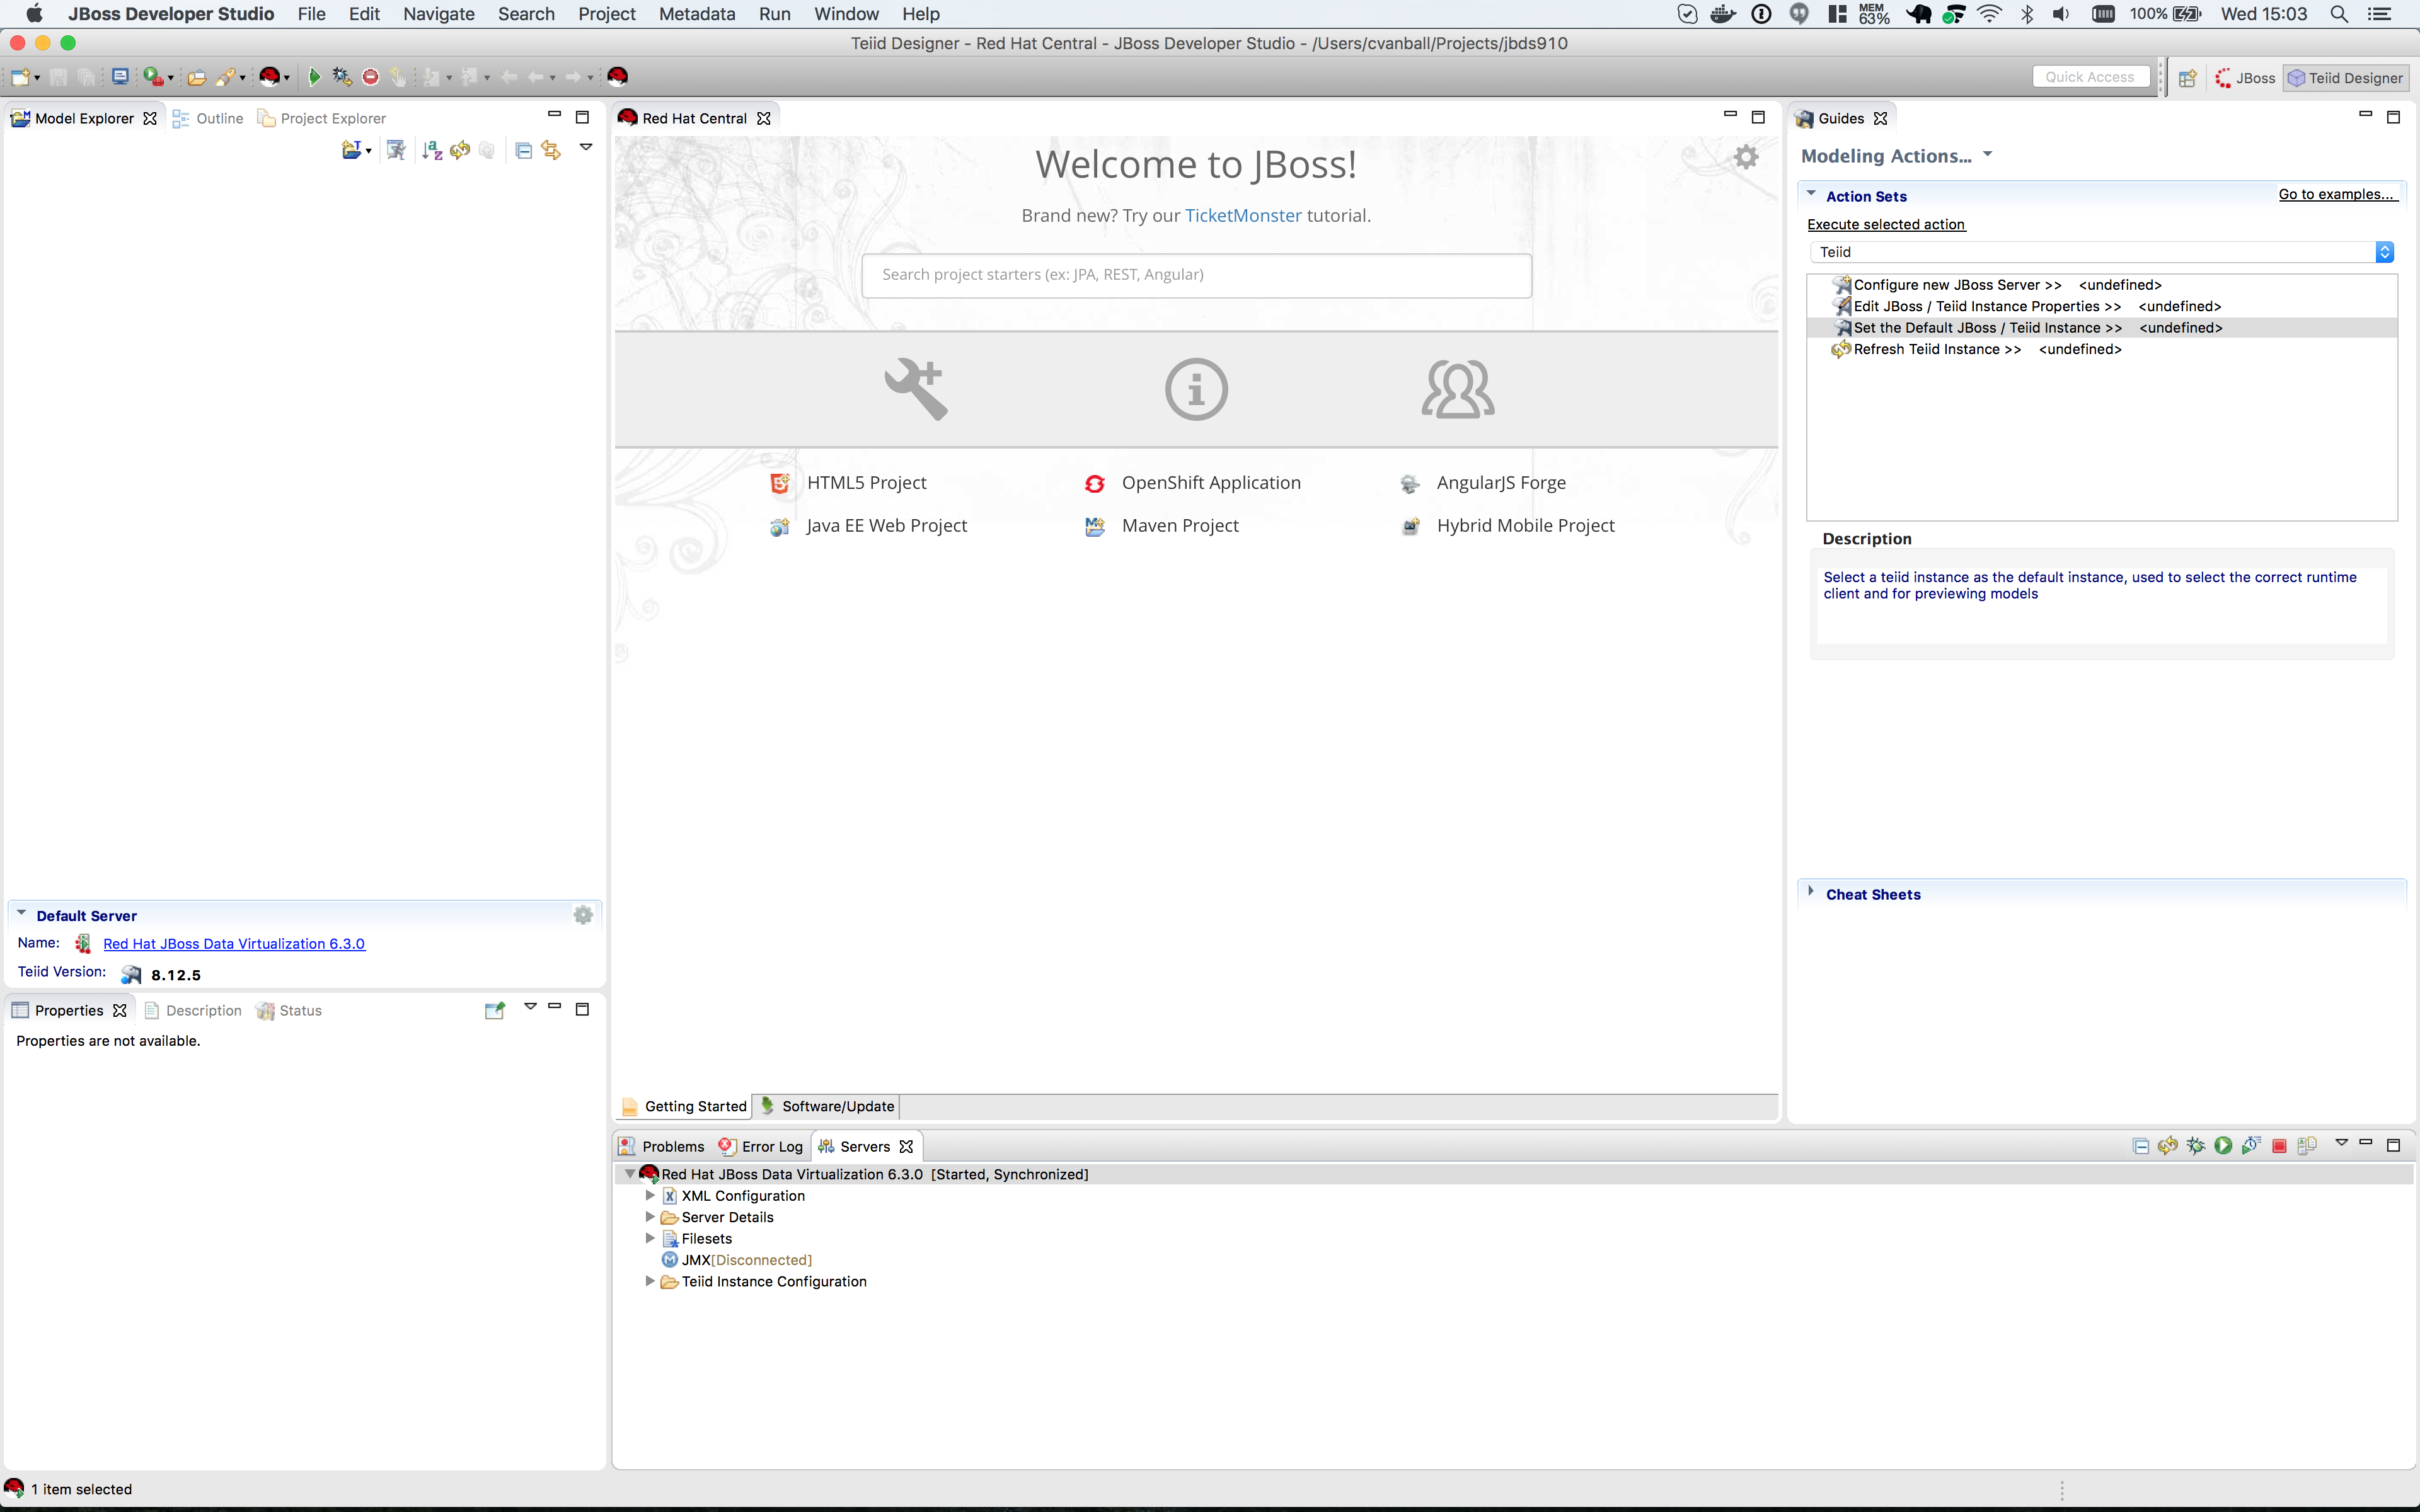
This will bring you to a screen that looks like this:
Connecting to Running JDV instance
Connecting to a running Server instance is necessary to execute previews of the data services that we will create. In the Teiid Guides window select Teiid.
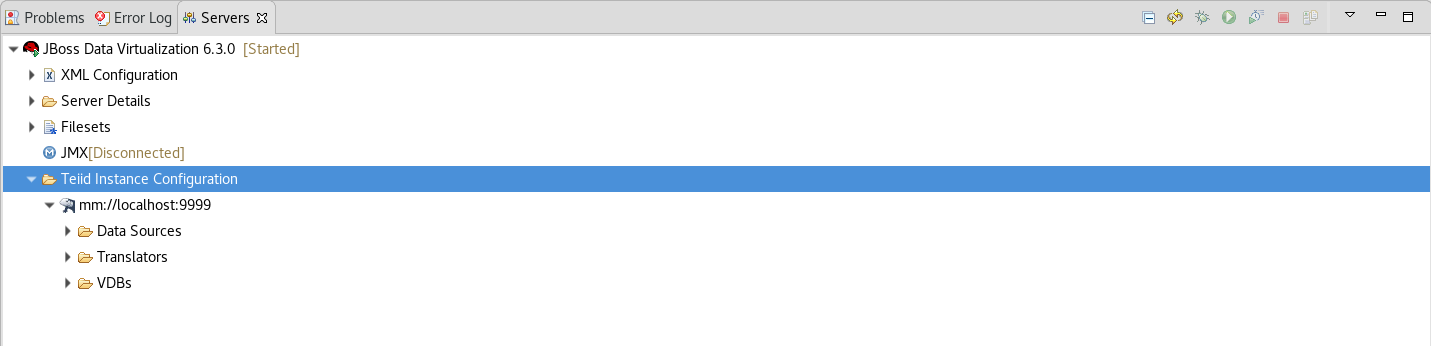
In the Server tab open the tree node of Red Hat JBoss Data Virtualization 6.3.0 by clicking on arrow. This will set the Default Server automaticaly.
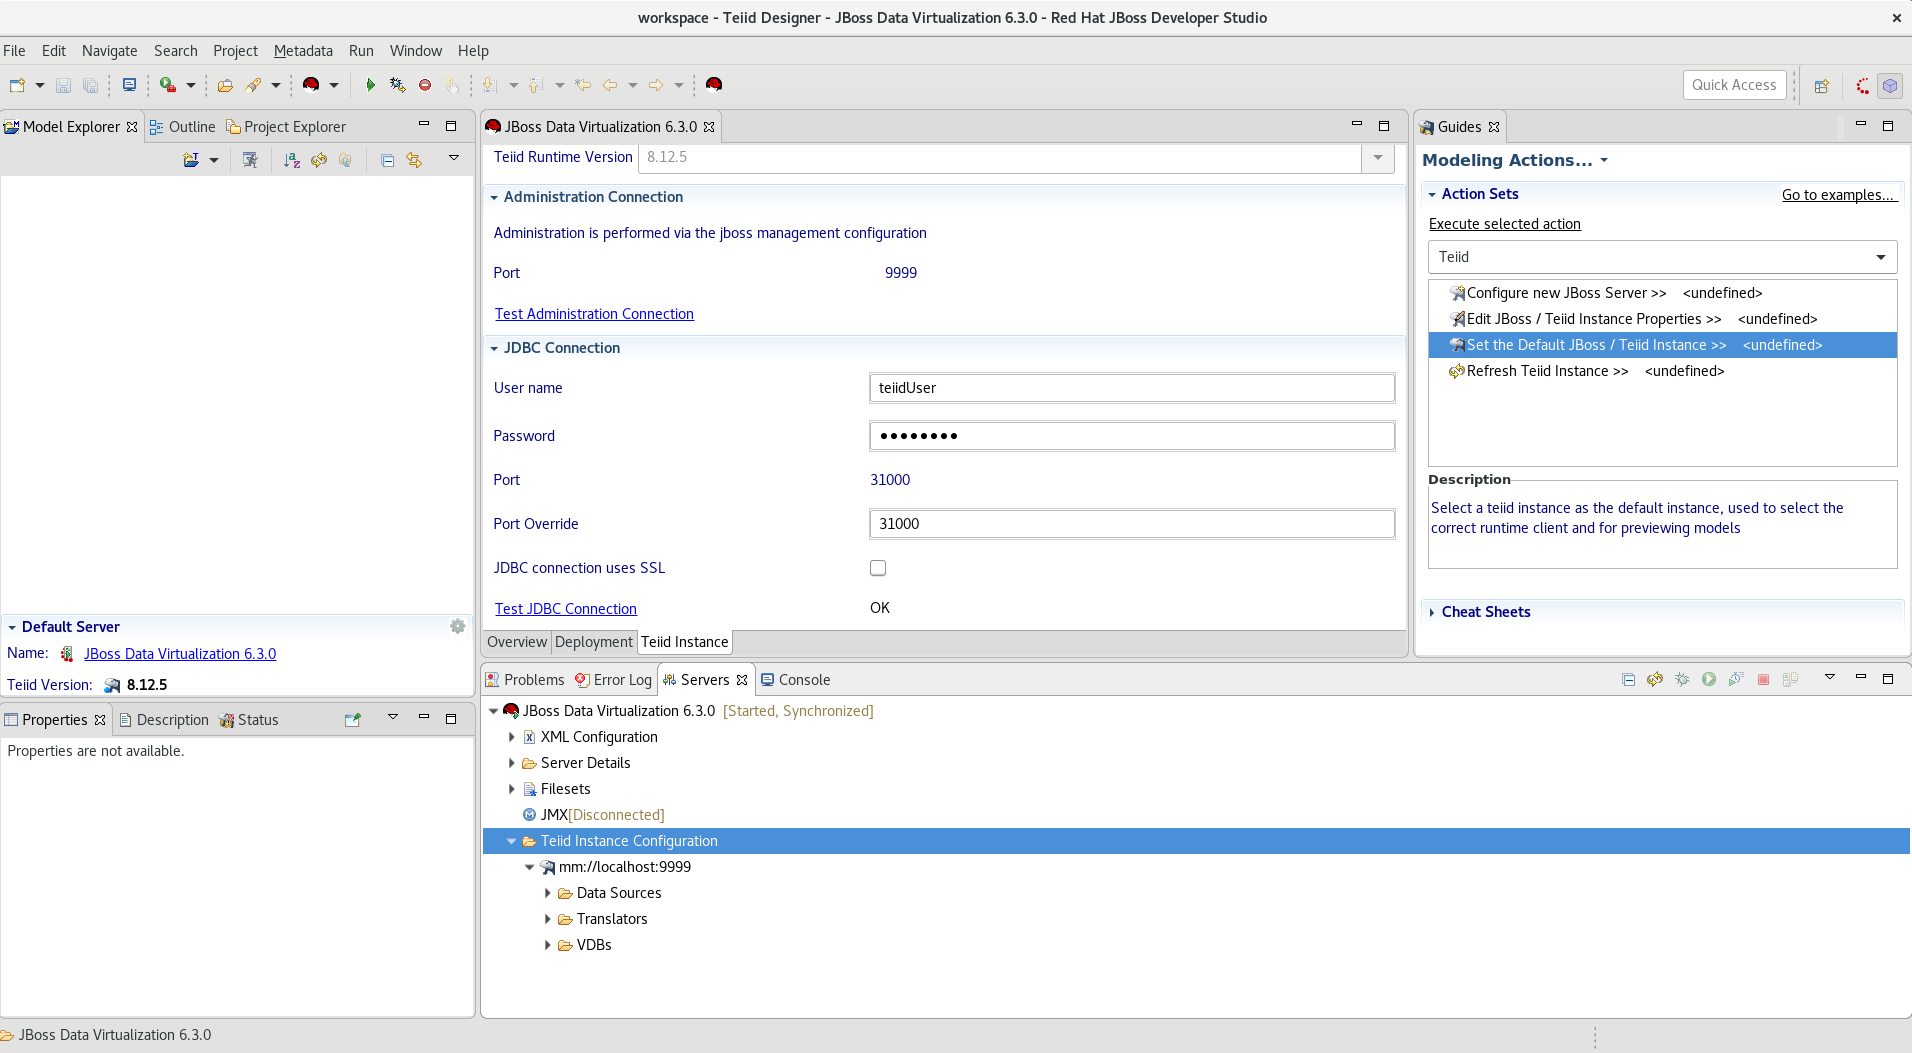
Click on the Red Hat JBoss Data Virtualization 6.3.0 link in the Default Server window and then click tab name Teiid Instance.
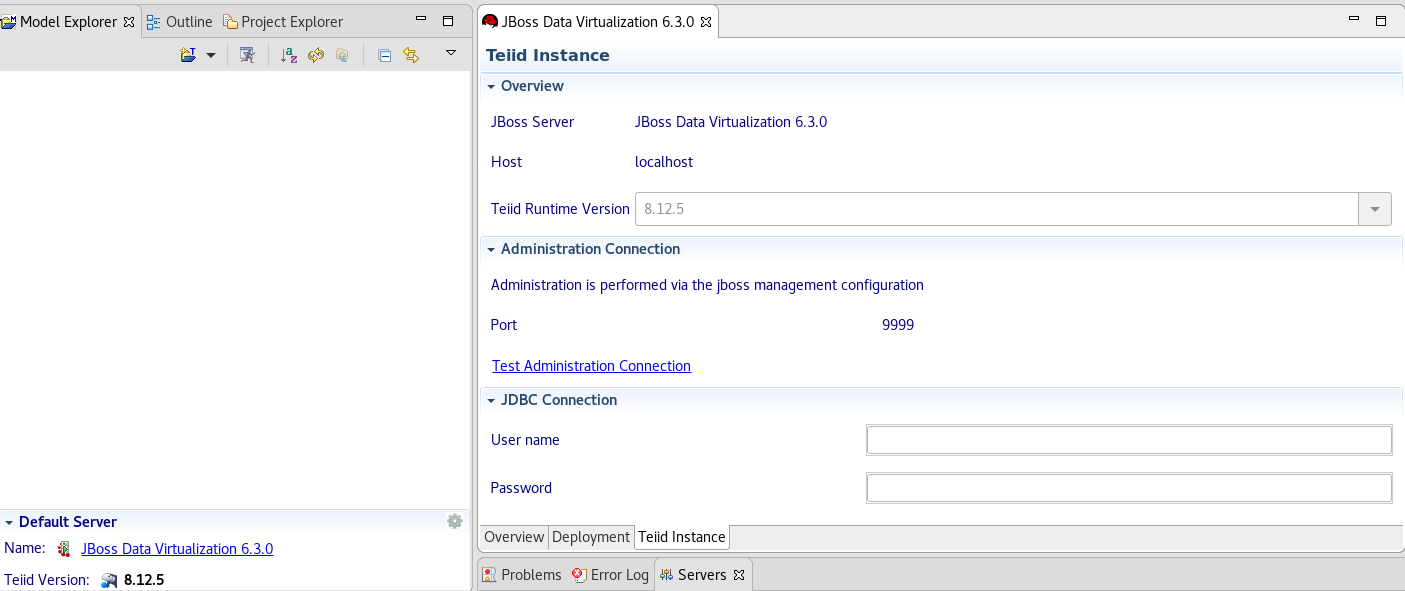
For the Teiid JDBC Connection Info, enter “localhost” for the host and enter teiidUser / redhat1! for the username / password. Keep the default port number. Also, be sure that the “Save” checkbox is marked. The “SSL” box should not be marked. Keep the default port number. When complete, your Teiid Server Connection Information should look like the illustration below. As a “sanity” check, be sure to click the "Test Administration Connection" and "Test JDBC Connection" links. You should get a "OK" message. If you do not, please raise your hand. If it failed, it may be necessary to cancel and retry the steps again.
JBDS should look like the following illustration.
You can now begin creating your own Red Hat JBoss Data Virtualization projects.
Congratulations, you have now completed this lab.