Virtual Database Deployment
We have been doing all of our querying directly through the Preview interface of Teiid Designer, but in order to make our data services available to external clients, we will need to package them up into a Virtual DataBase (VDB), the deployable artifact that drives the run-time behavior of the server. It is exactly analogous to a WAR or an EAR file; once created it can simply be dropped into the deploy directory of a running server (with JBoss Data Virtualization installed) and the Teiid Server process will hot-deploy the data services modeled within it. The process is very simple.
Where are we?
Create the VDB Metadata Model
Right-click on the Financials project (top layer folder in the Model Explorer) and select menu:New[Teiid VDB].

This will open the New VDB wizard. The New VDB wizard is part of the illustration below.

Enter a VDB Name, “Financials”. Next, click the btn:[Add] button in order to select the model(s) to add to the VDB. Next, select the btn:[Add] button so we can select a model(s) to add to the VDB.Models wizard as indicated in the illustration below. This will bring up the Select Models window.
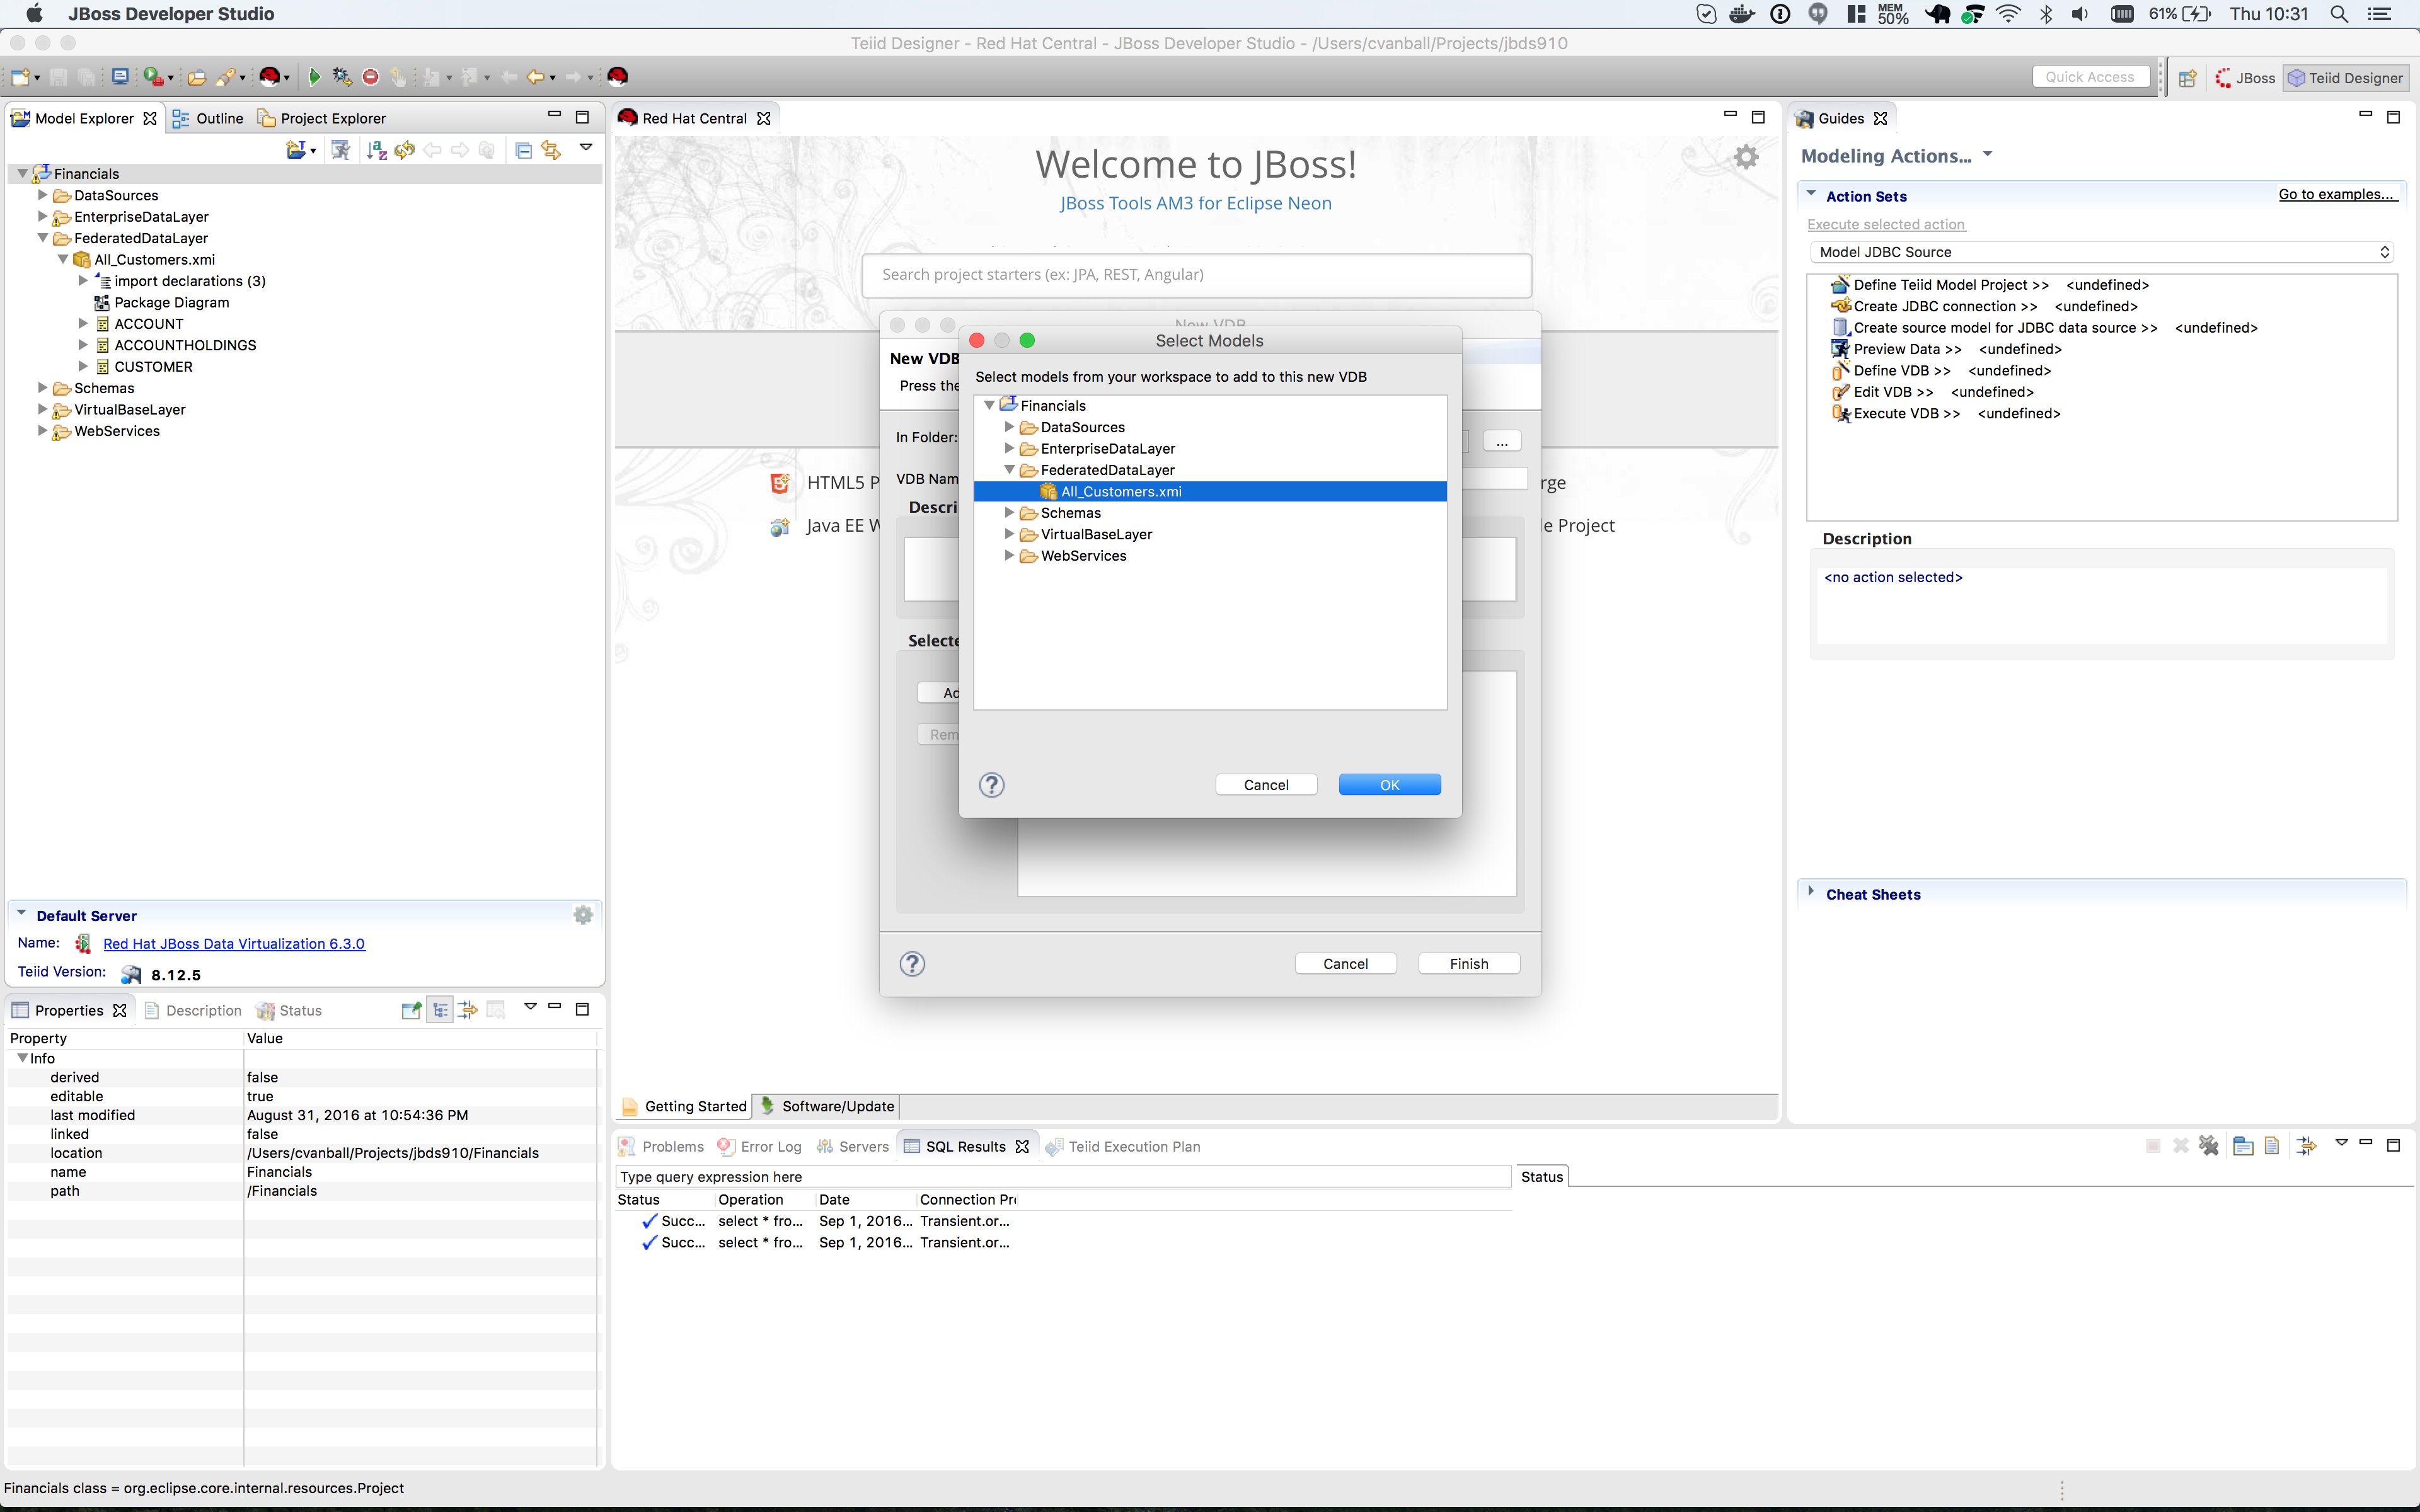
For this lab, we will select the Financials → FederatedDataLayer → All_Customers.xmi model and click the btn:[OK] button. Your New VDB wizard should look like the illustration below. At this point, click the btn:[Finish] button.

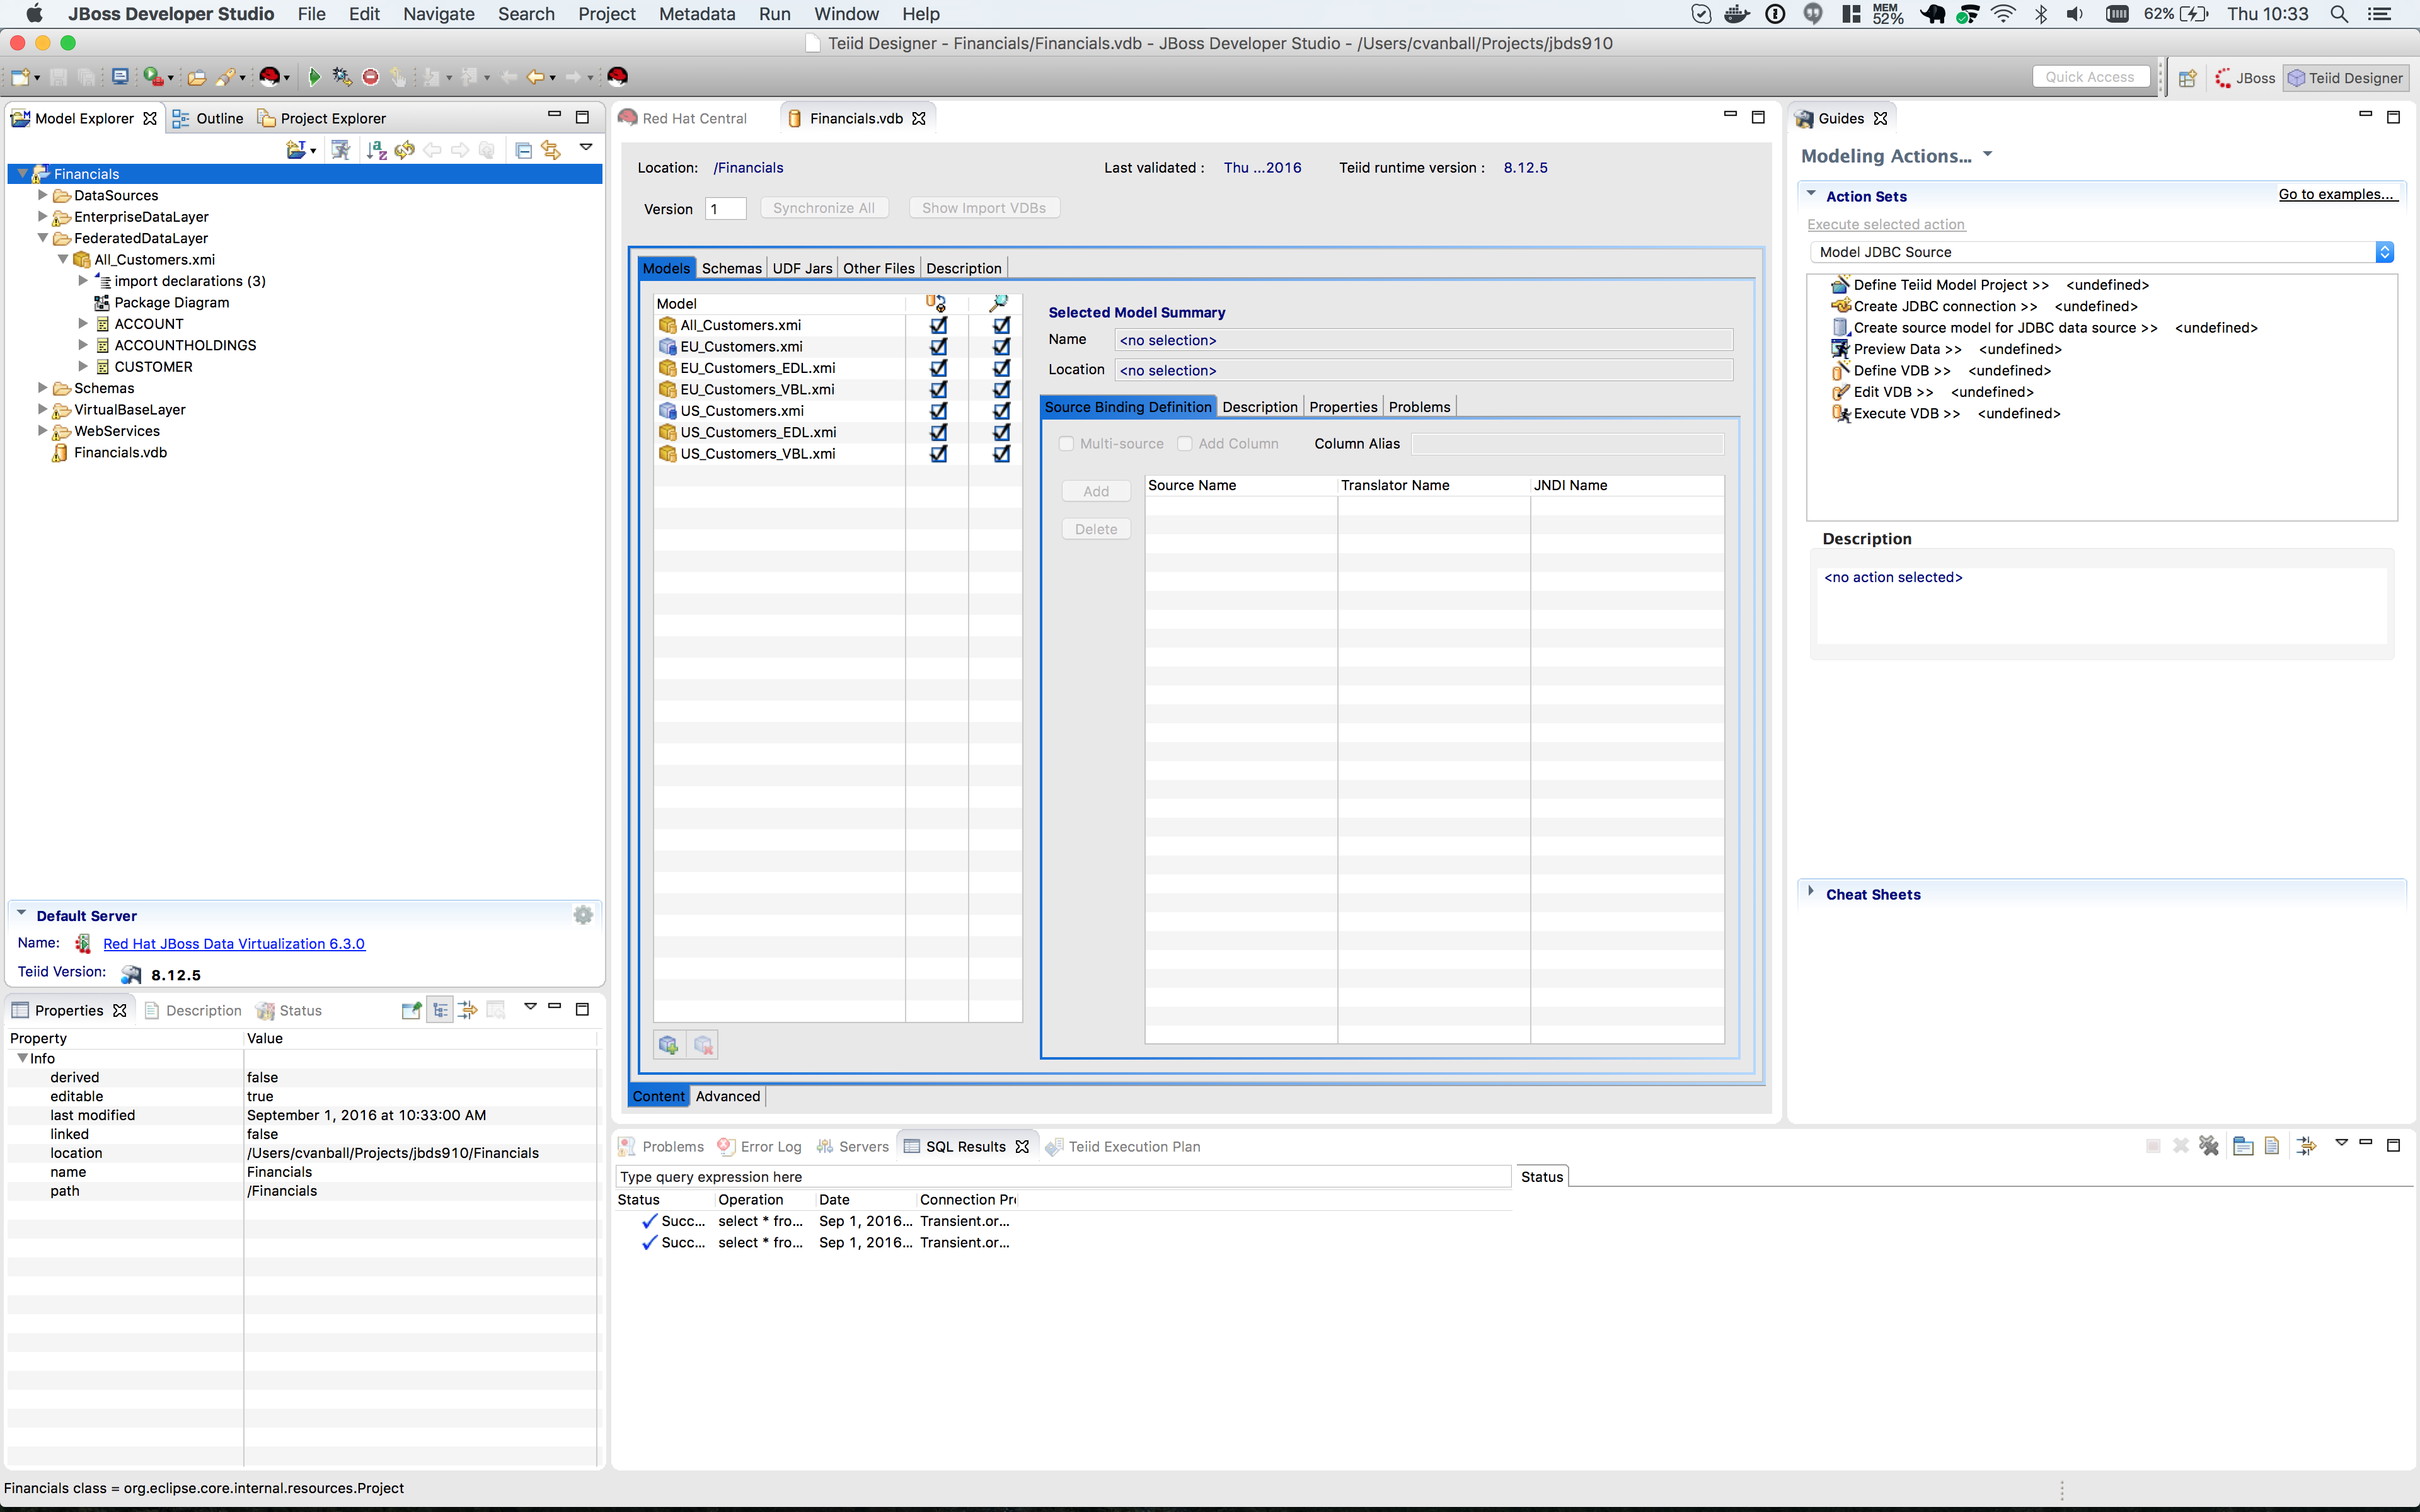
This will now open the VDB Viewer in Teiid Designer. Your view should look like the illustration below.
|
Note
|
All models, virtual and physical (as well as the DataDictionary schema we used) have been brought into the VDB. This is because the Query Engine will need all of the models and their associated metadata/transformations, in order to drive the run-time behavior. However, that does not mean that the data services developer is forced to expose all of these more granular data services if they should choose not to. Indeed it is a best practice to at least completely hide the source data systems, to prevent users of the virtual layer from going directly to the sources. In this way JBoss Data Virtualization can add additional layers of security and authorization/authentication to protect sensitive data. To illustrate this, uncheck the boxes in the second column (annotated with the magnifying glass icon) on the physical models. This will make them invisibile/unavailable to any client connecting to this VDB. The models are still there (and must be, for the rest of the federation to work), but they cannot be accessed other than through the higher-level data services that have been defined. |
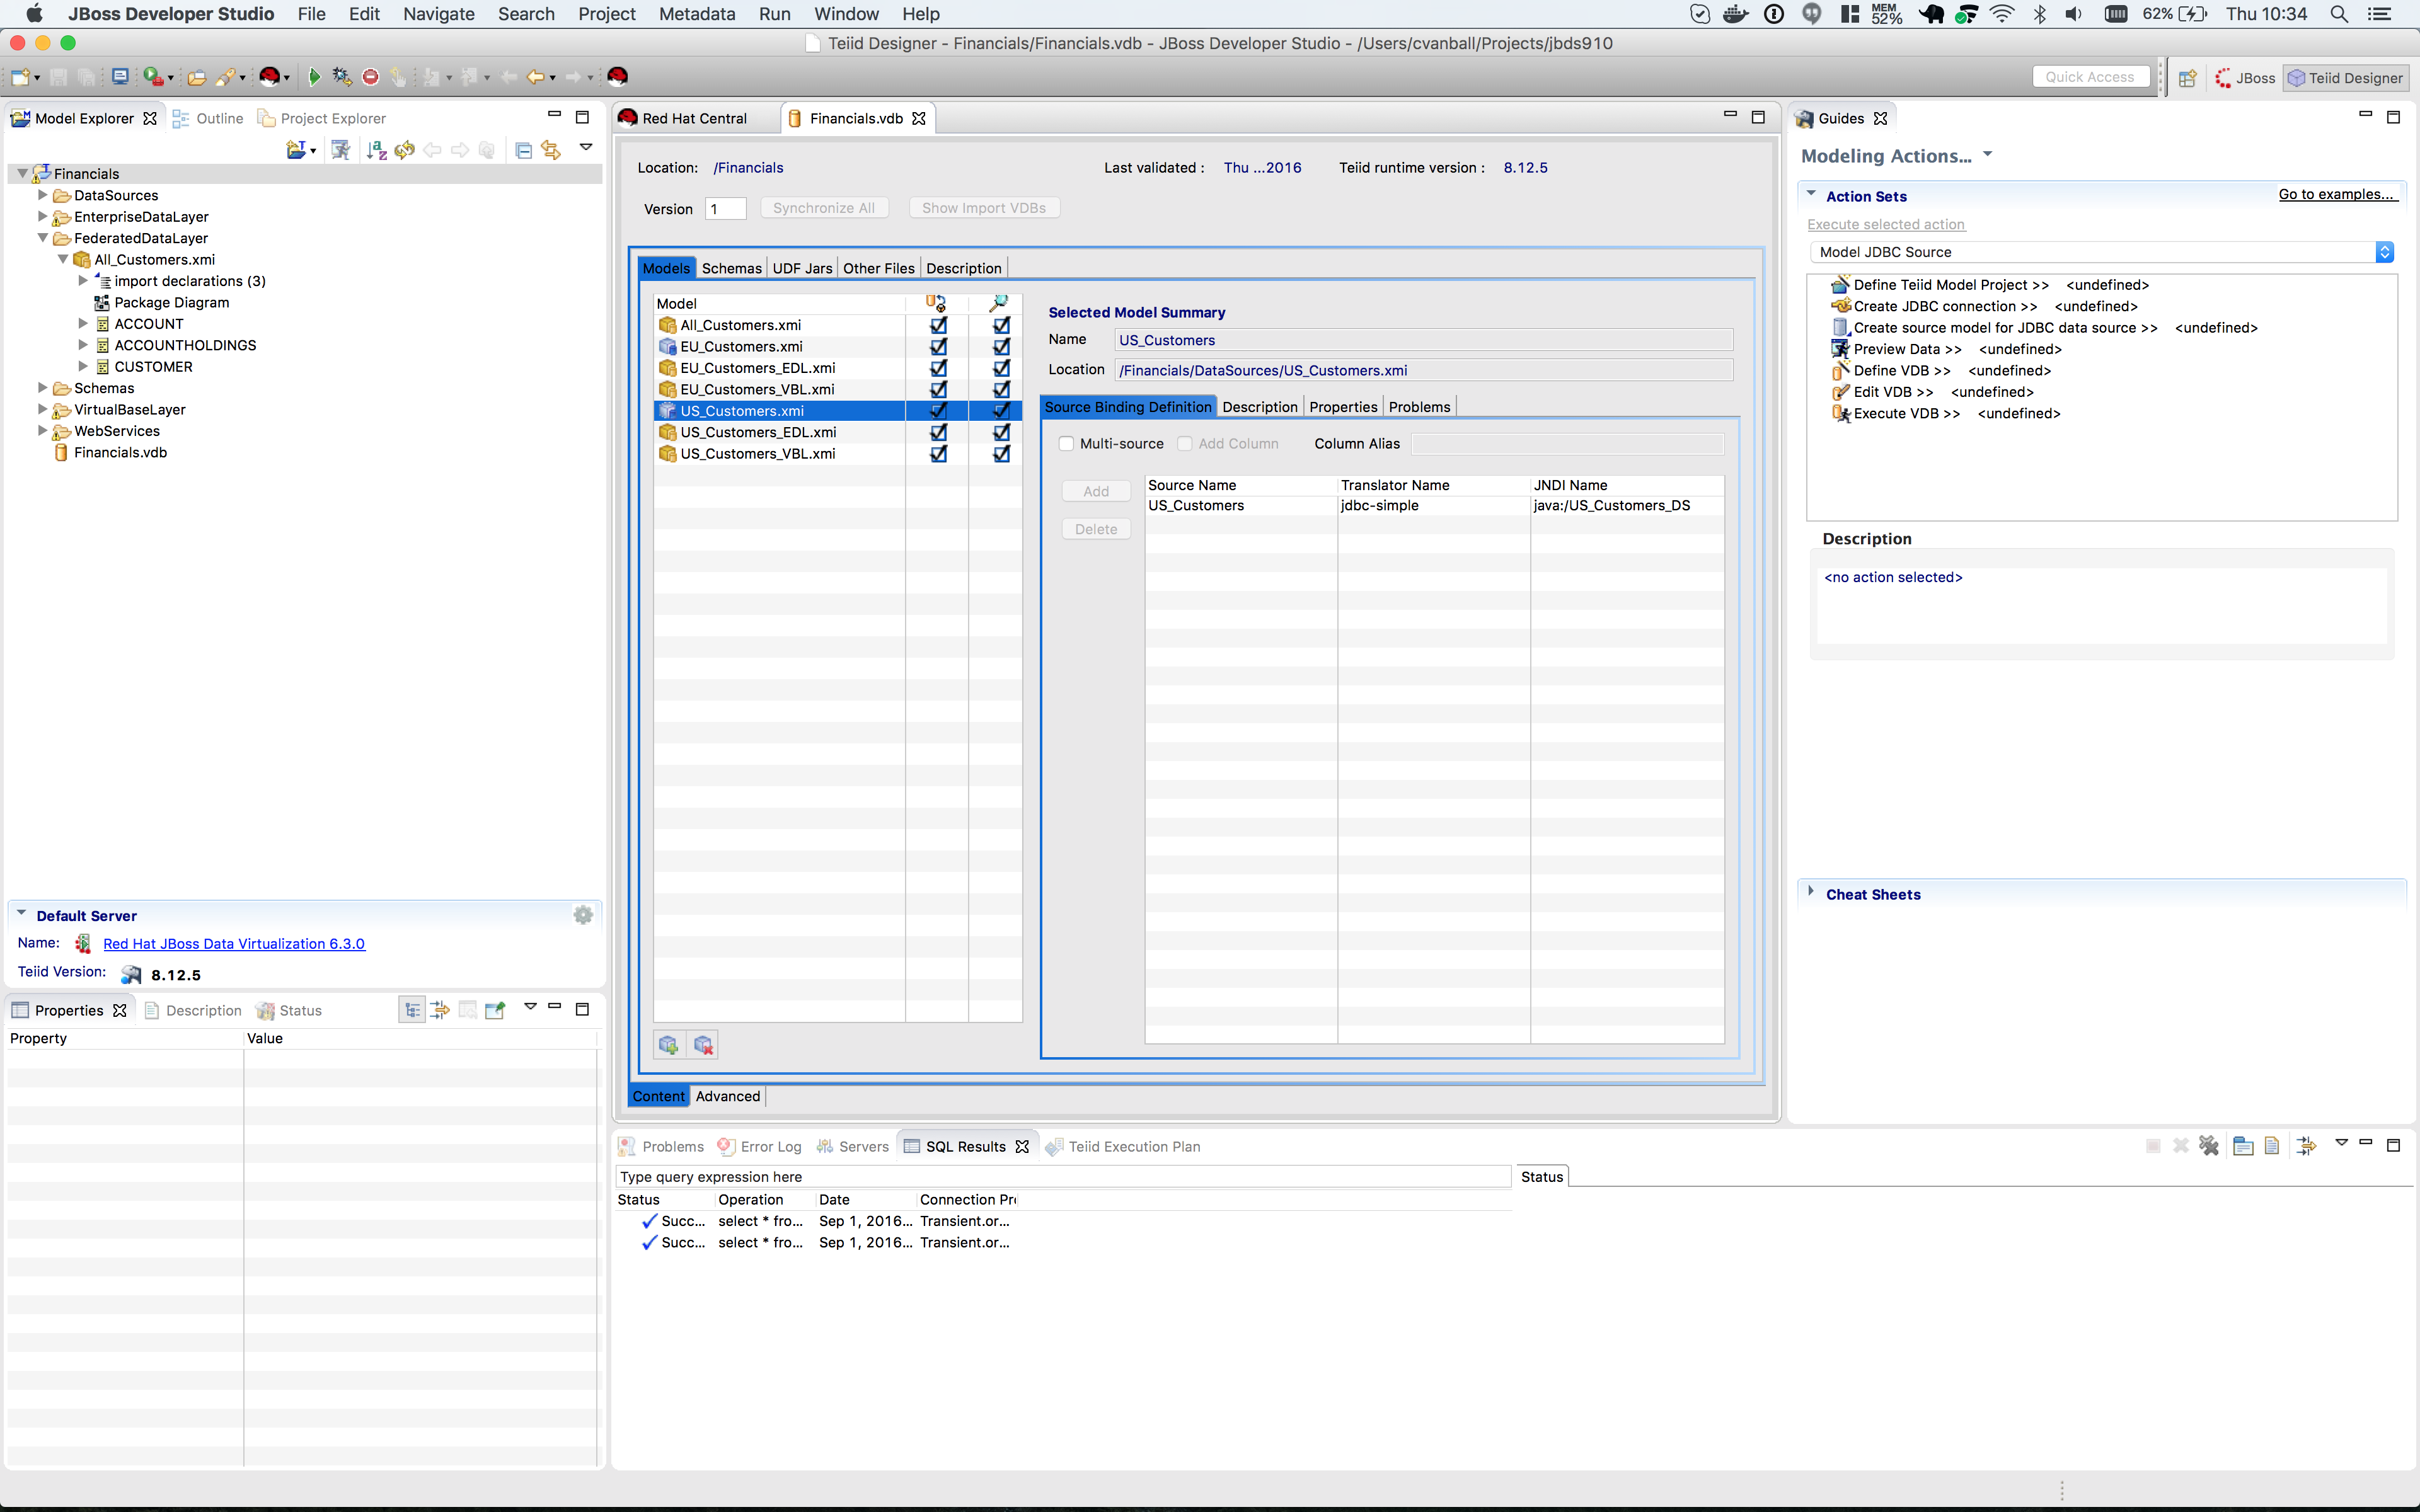
Here is what the view should look like with the physical source visibility turned off. Specifically, the EU_Customers.xmi and the US_Customers.xmi have their visibility turned off.
Be sure to "Save All" to save all of the changes to the VDB.
Create data sources in the JDV server
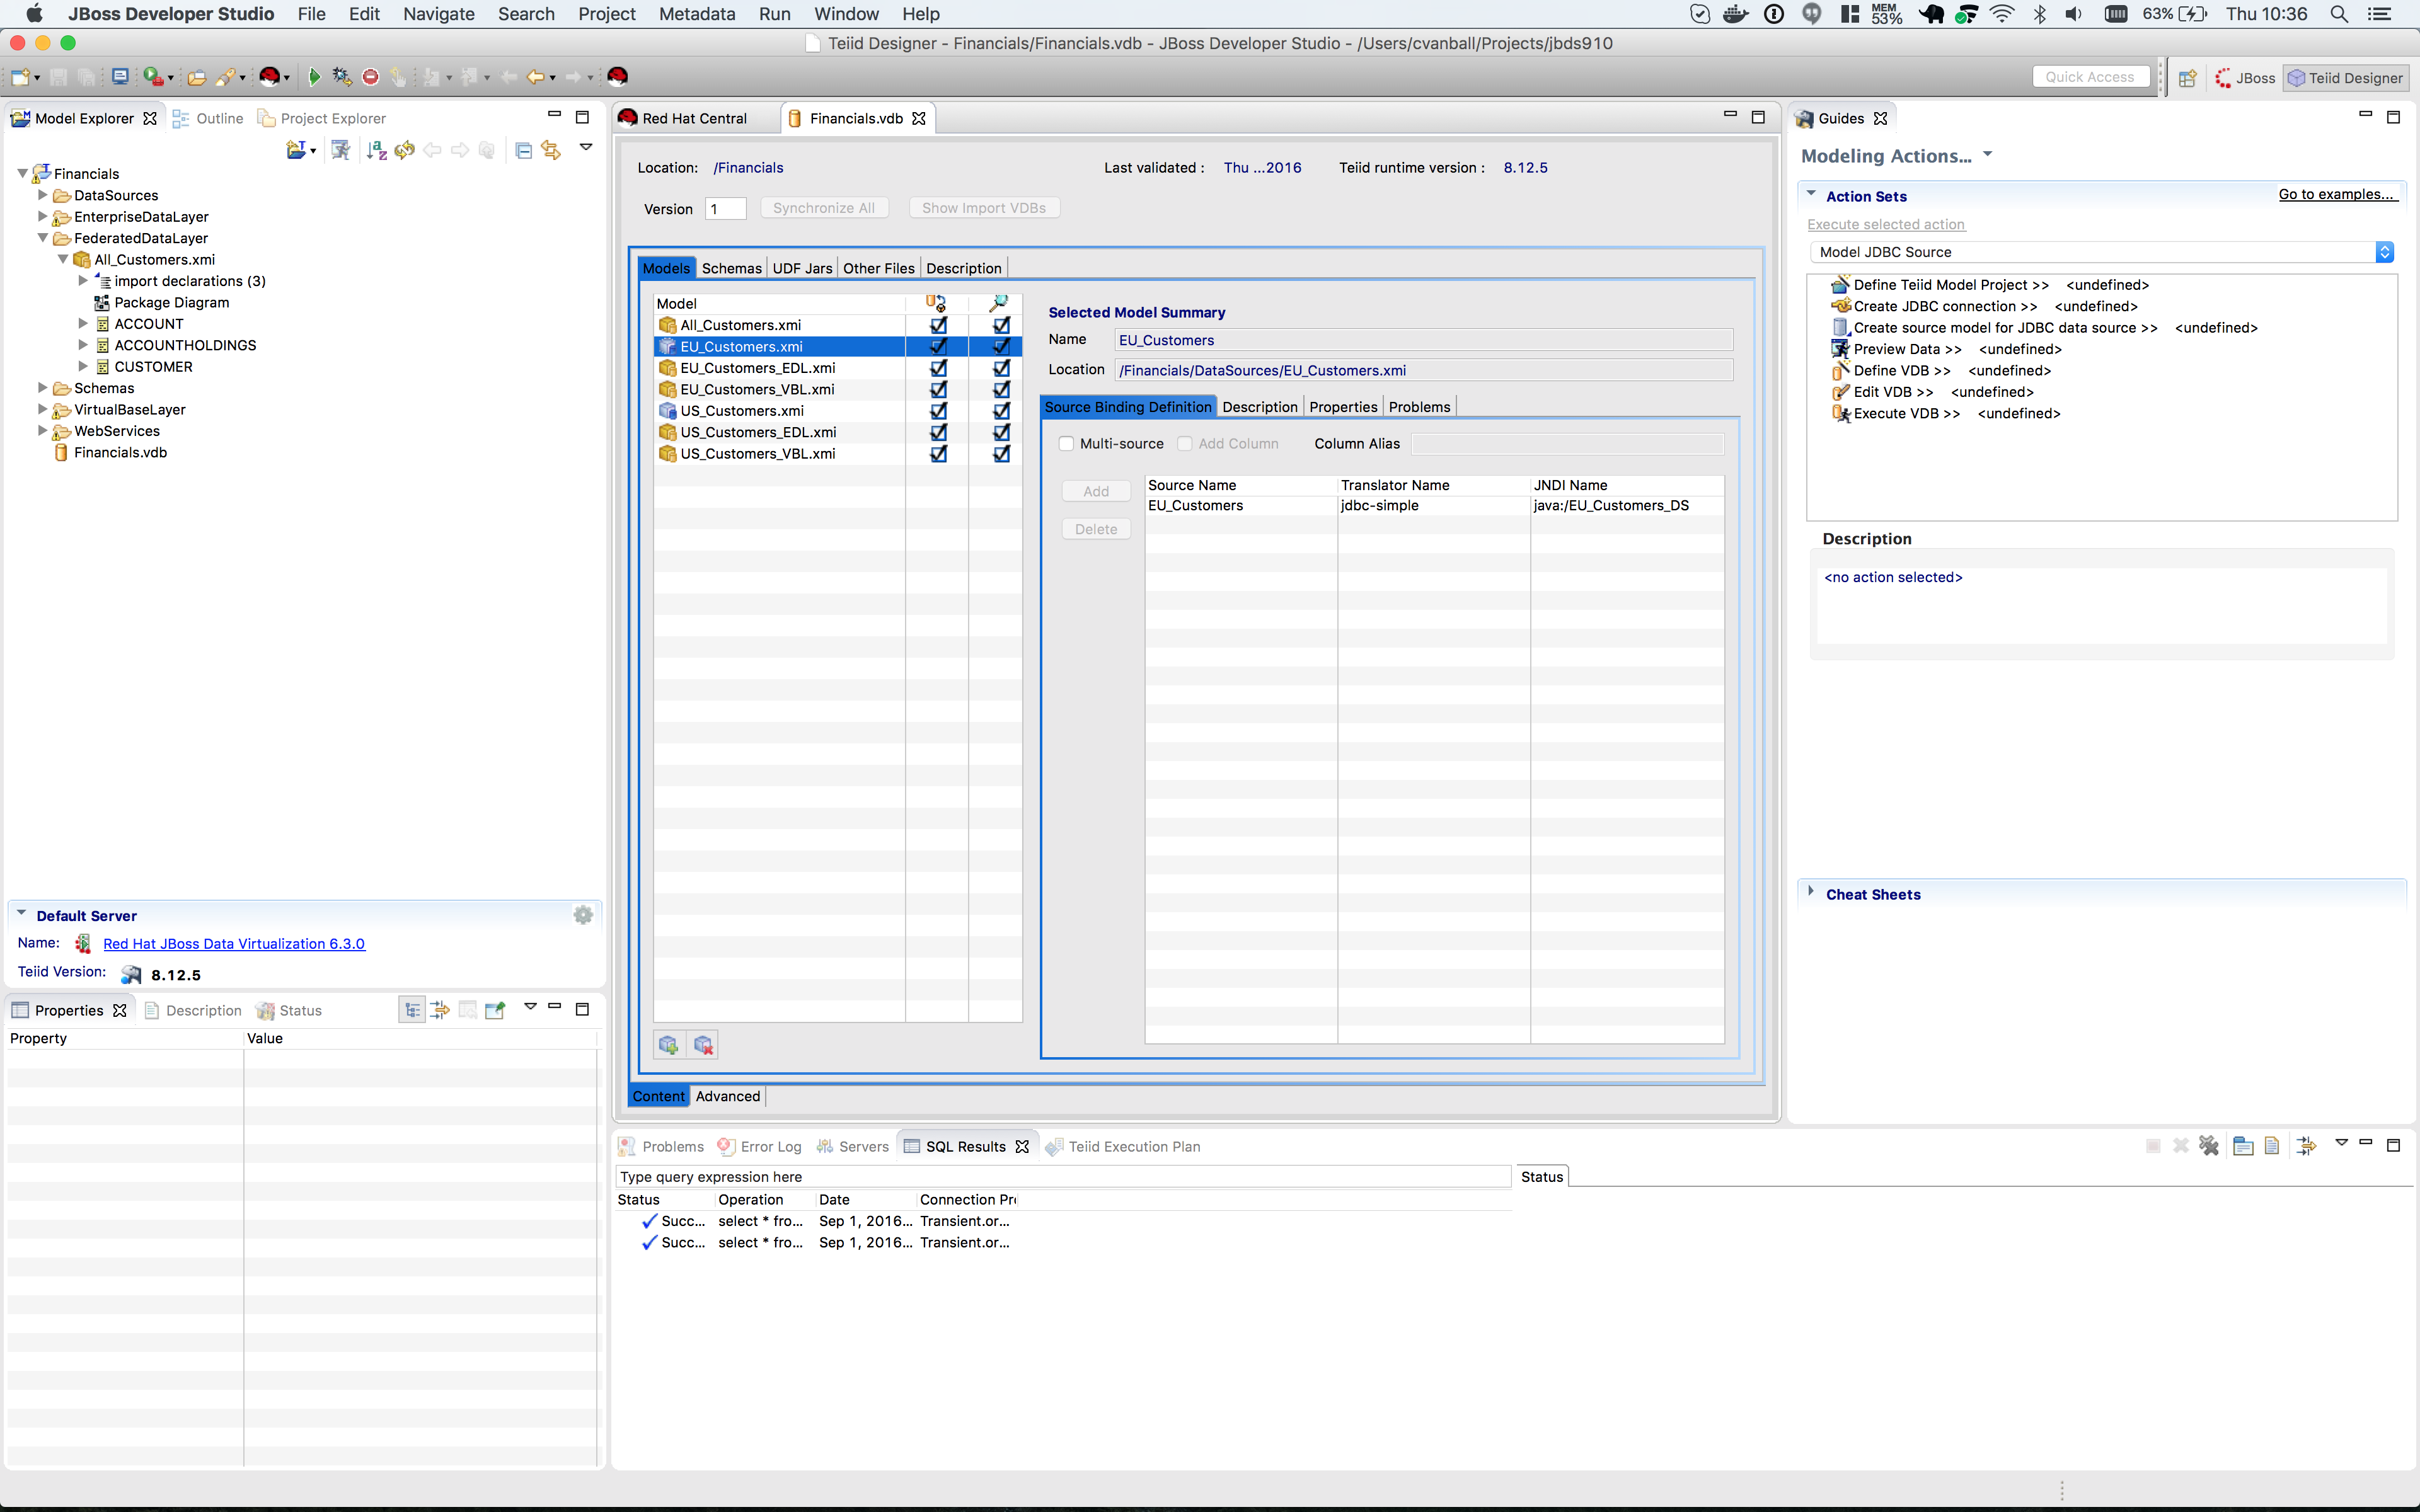
There is one thing we need to do before we deploy the VDB to the server. We need to install the data sources into the JDV server’s deploy directory. This can be done in a number of ways. If we have the DataSource-ds.xml file we can simply drop it into the deploy directory. Note however that the JNDI name that the VDB expects must match. The JNDI name the VDB expects is in a column named JNDI Name. For this example, the JNDI names are Products_DS, MarketData_DS, EU_Customers_DS and US_Customers_DS and are derived automatically from the Source model name. This column is visible in the illustration below.
We can also use Teiid Designer to pass the data source information that we captured in our model on to the Server. Not doing this automatically is an intentional security feature. To begin creating the required data sources, we need to ensure that the Teiid Panel is open. The panel is located in the Teiid tab along the bottom portion of JBDS. In fact, this is a "view" into the Teiid Instance that we created a connection to in an earlier lab. In the Teiid tab, there will be a top-level folder called Red Hat JBoss Data Virtualization 6.3.0. Again, this name will be the name that you used in an earlier lab when we were connecting to this instance. Below the top-level folder, there are two additional folders, Data Sources and VDBs. The view of this tab can be seen in the illustration below.
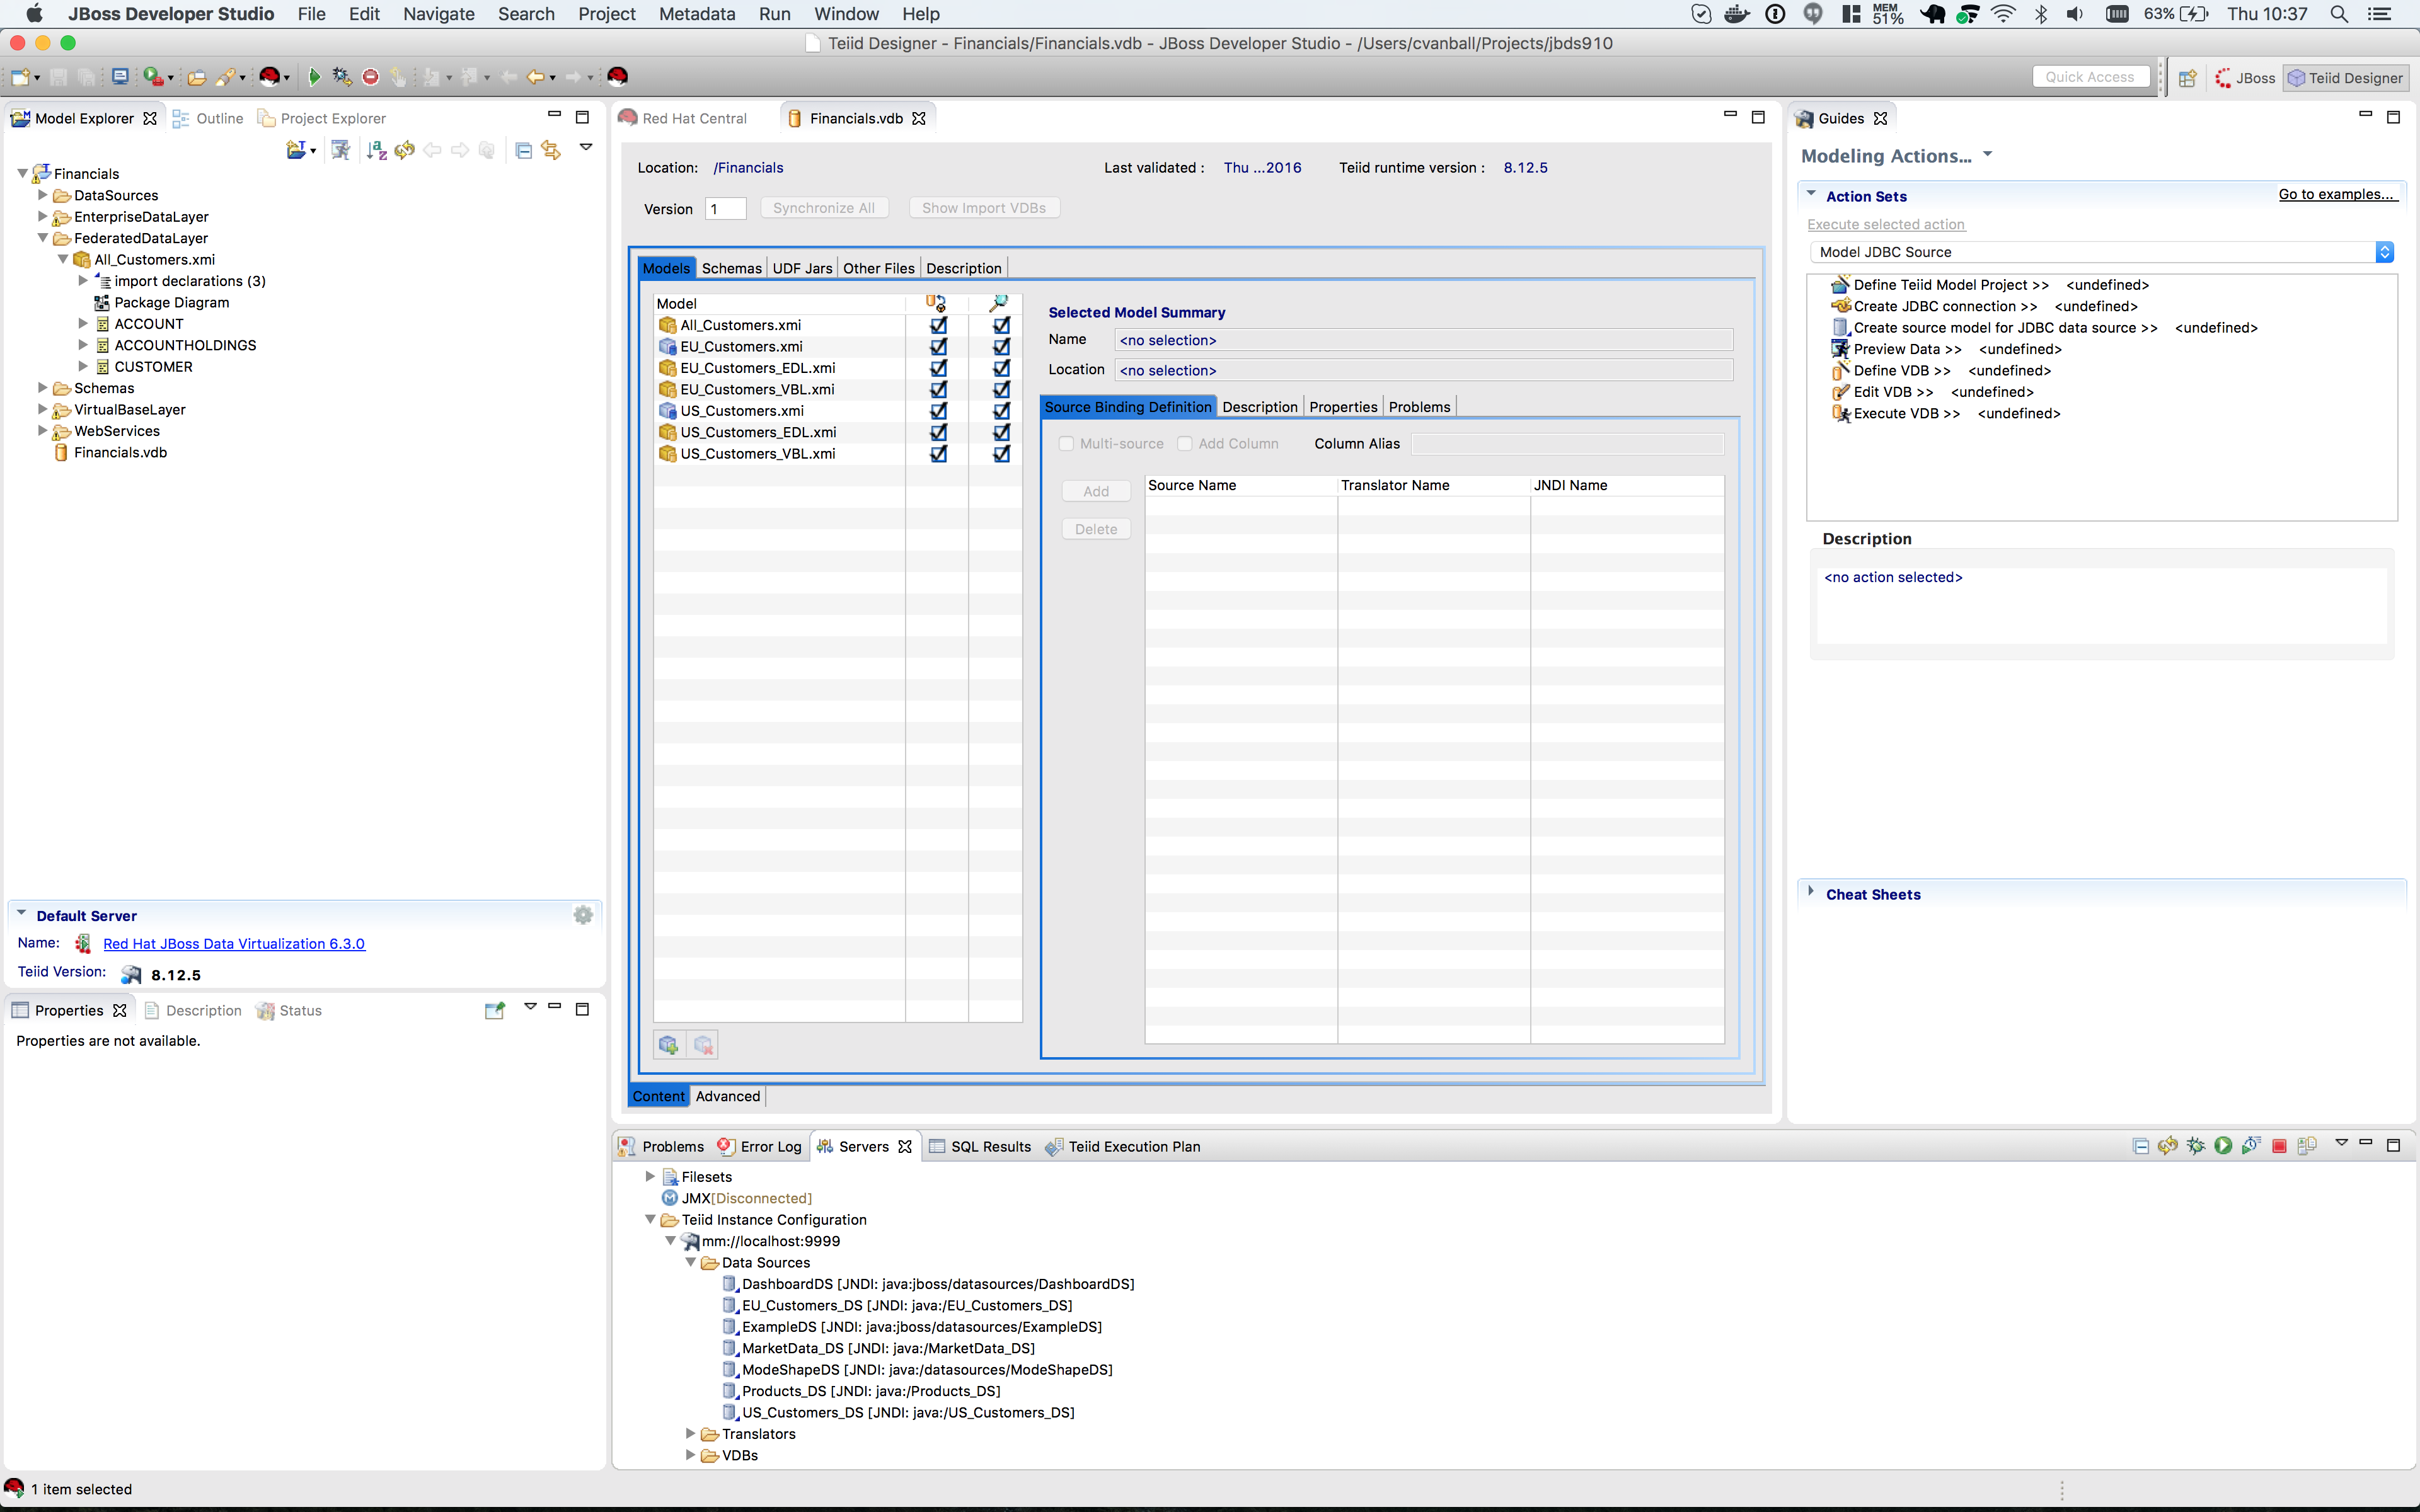
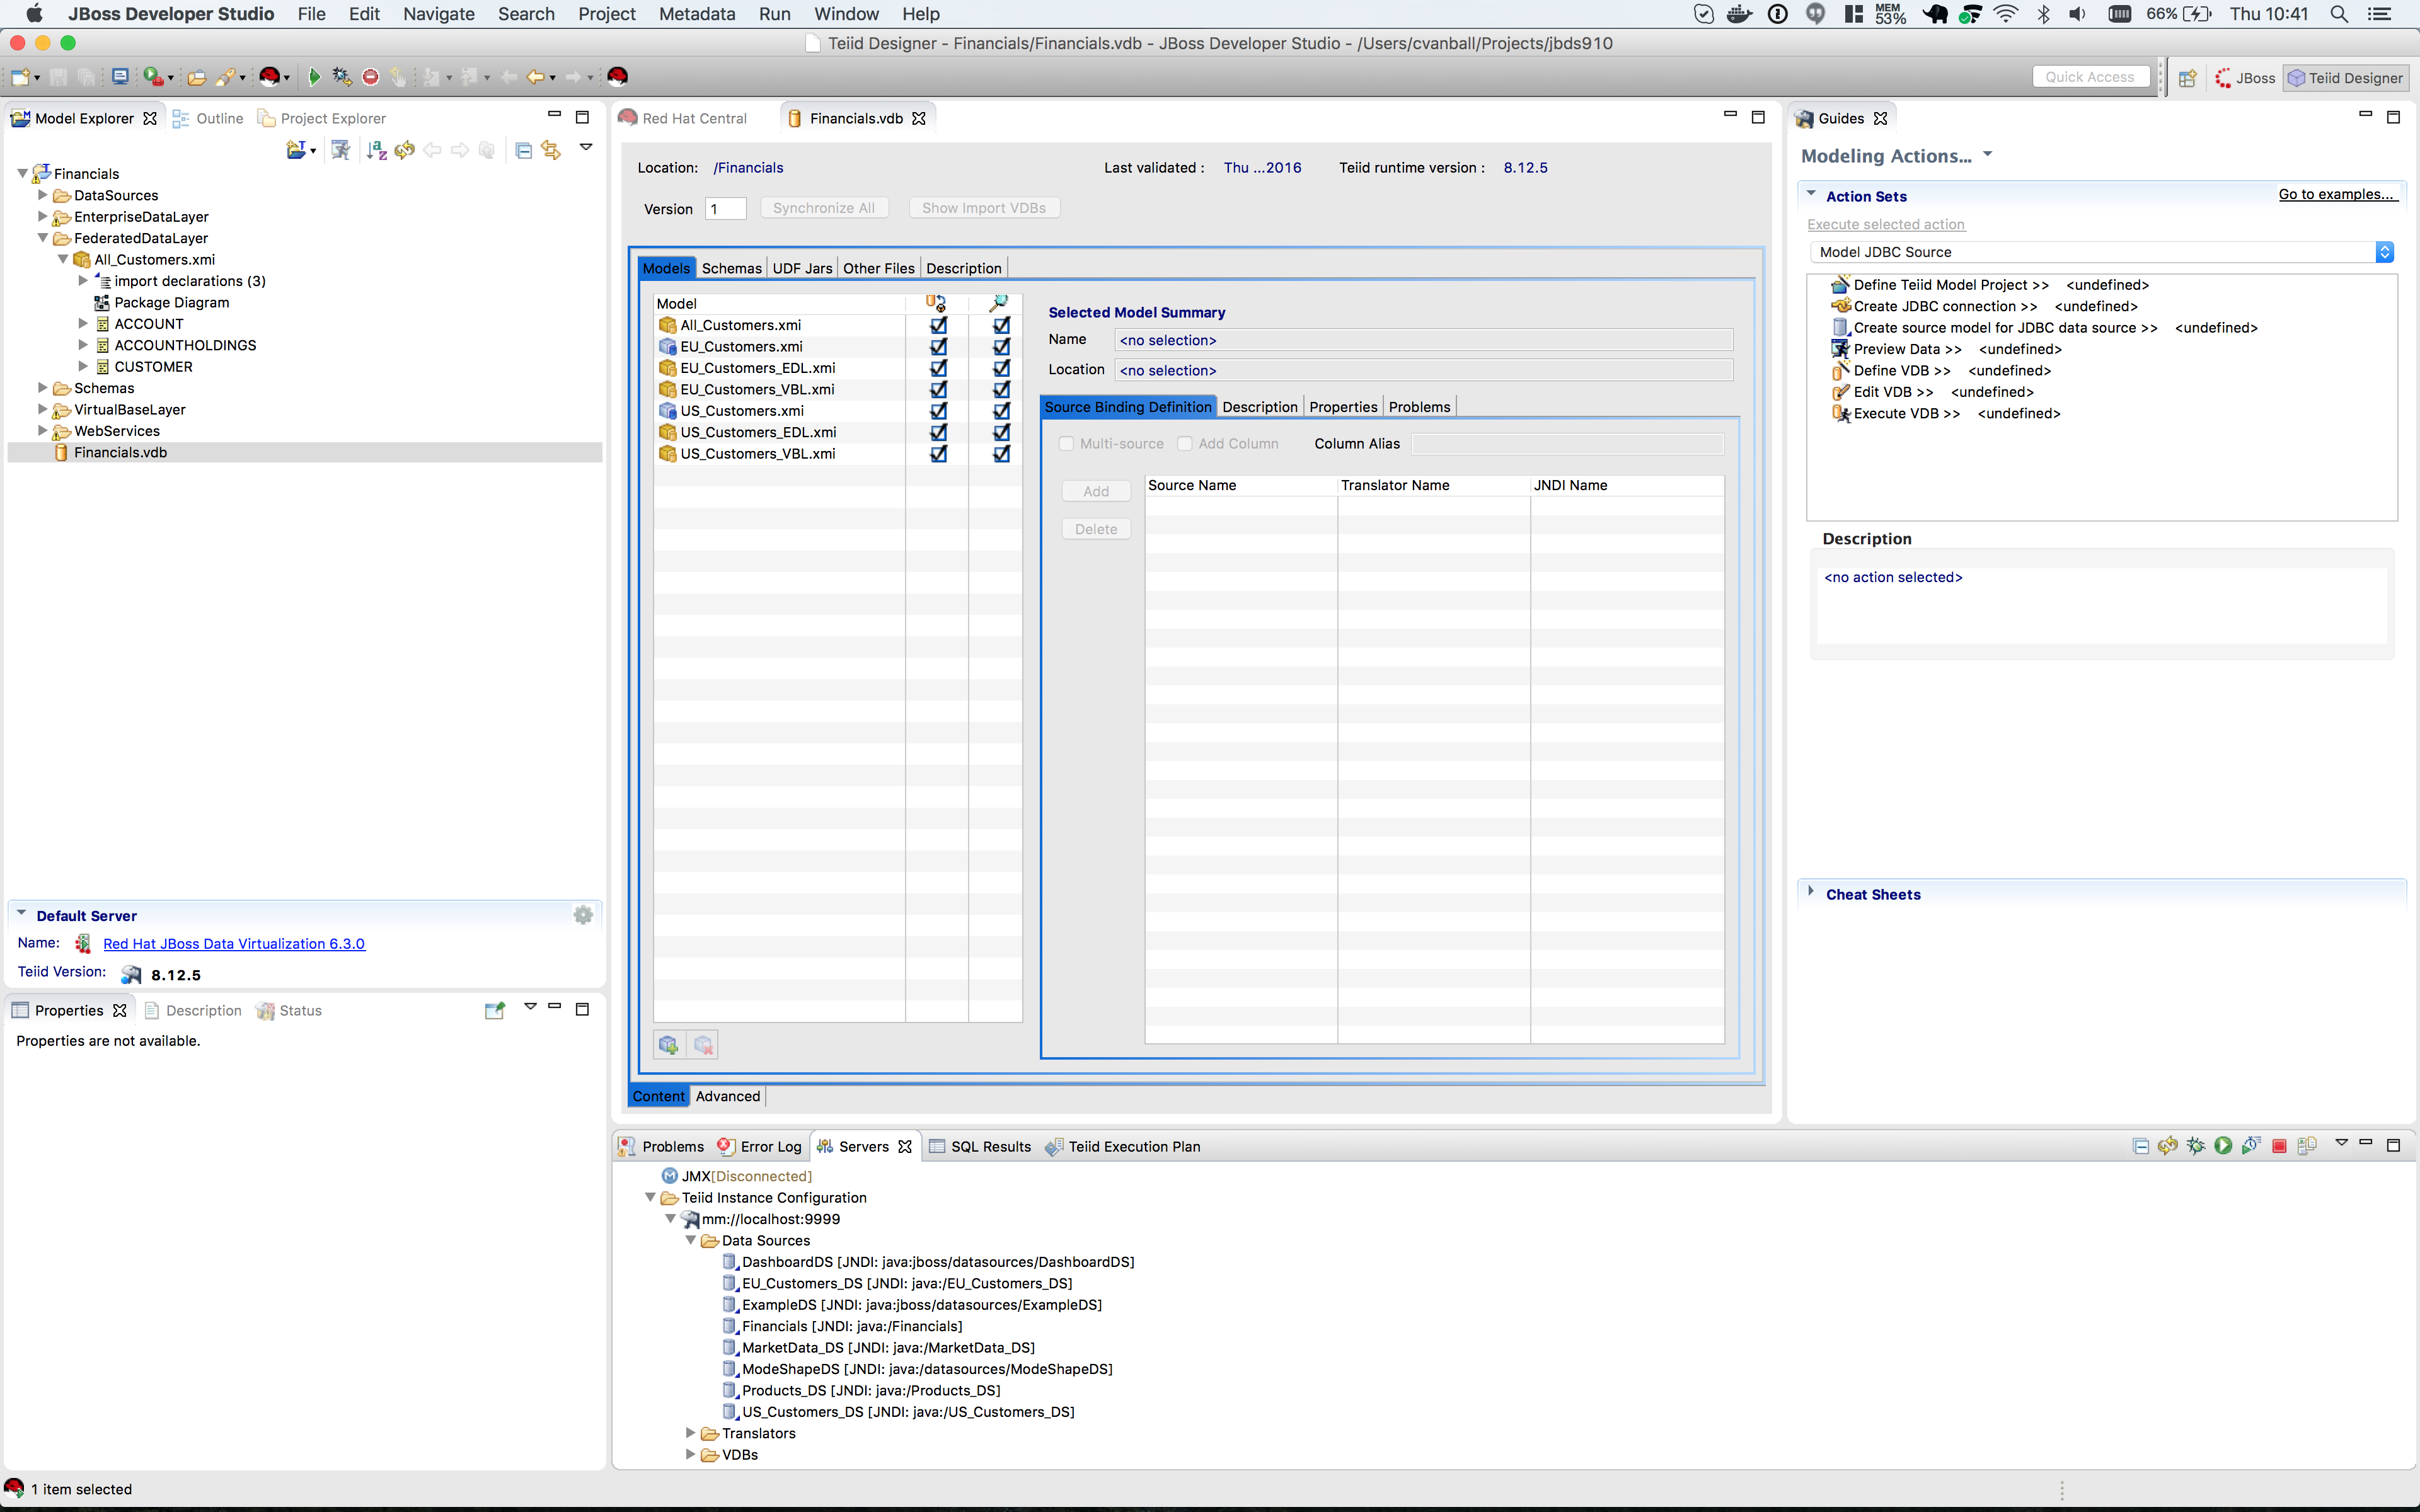
Once complete, you should note that these data sources are already available, along with some of the internal sources used by JBoss Data Virtualization. Your Data Sources view should look like that below.
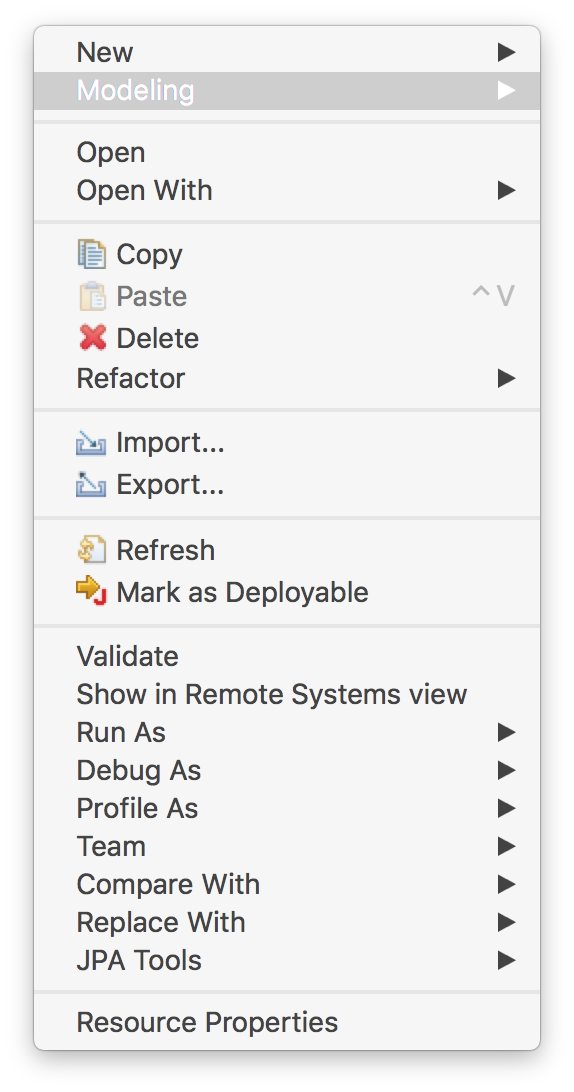
At this point, we are ready to deploy the VDB to the server. This could not be easier. Simply right-click on Financials VDB model and select Modeling → Deploy.
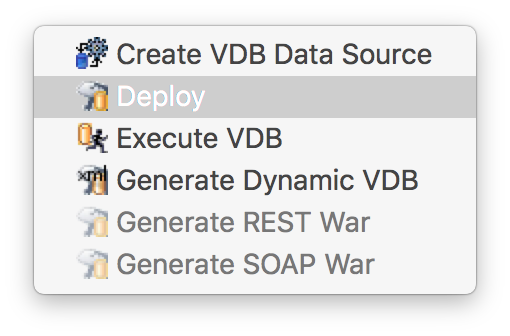
Before the VDB will be deployed the Create VDB Data Source dialogue window appears to create a data source automatically for the VDB or to skip it.
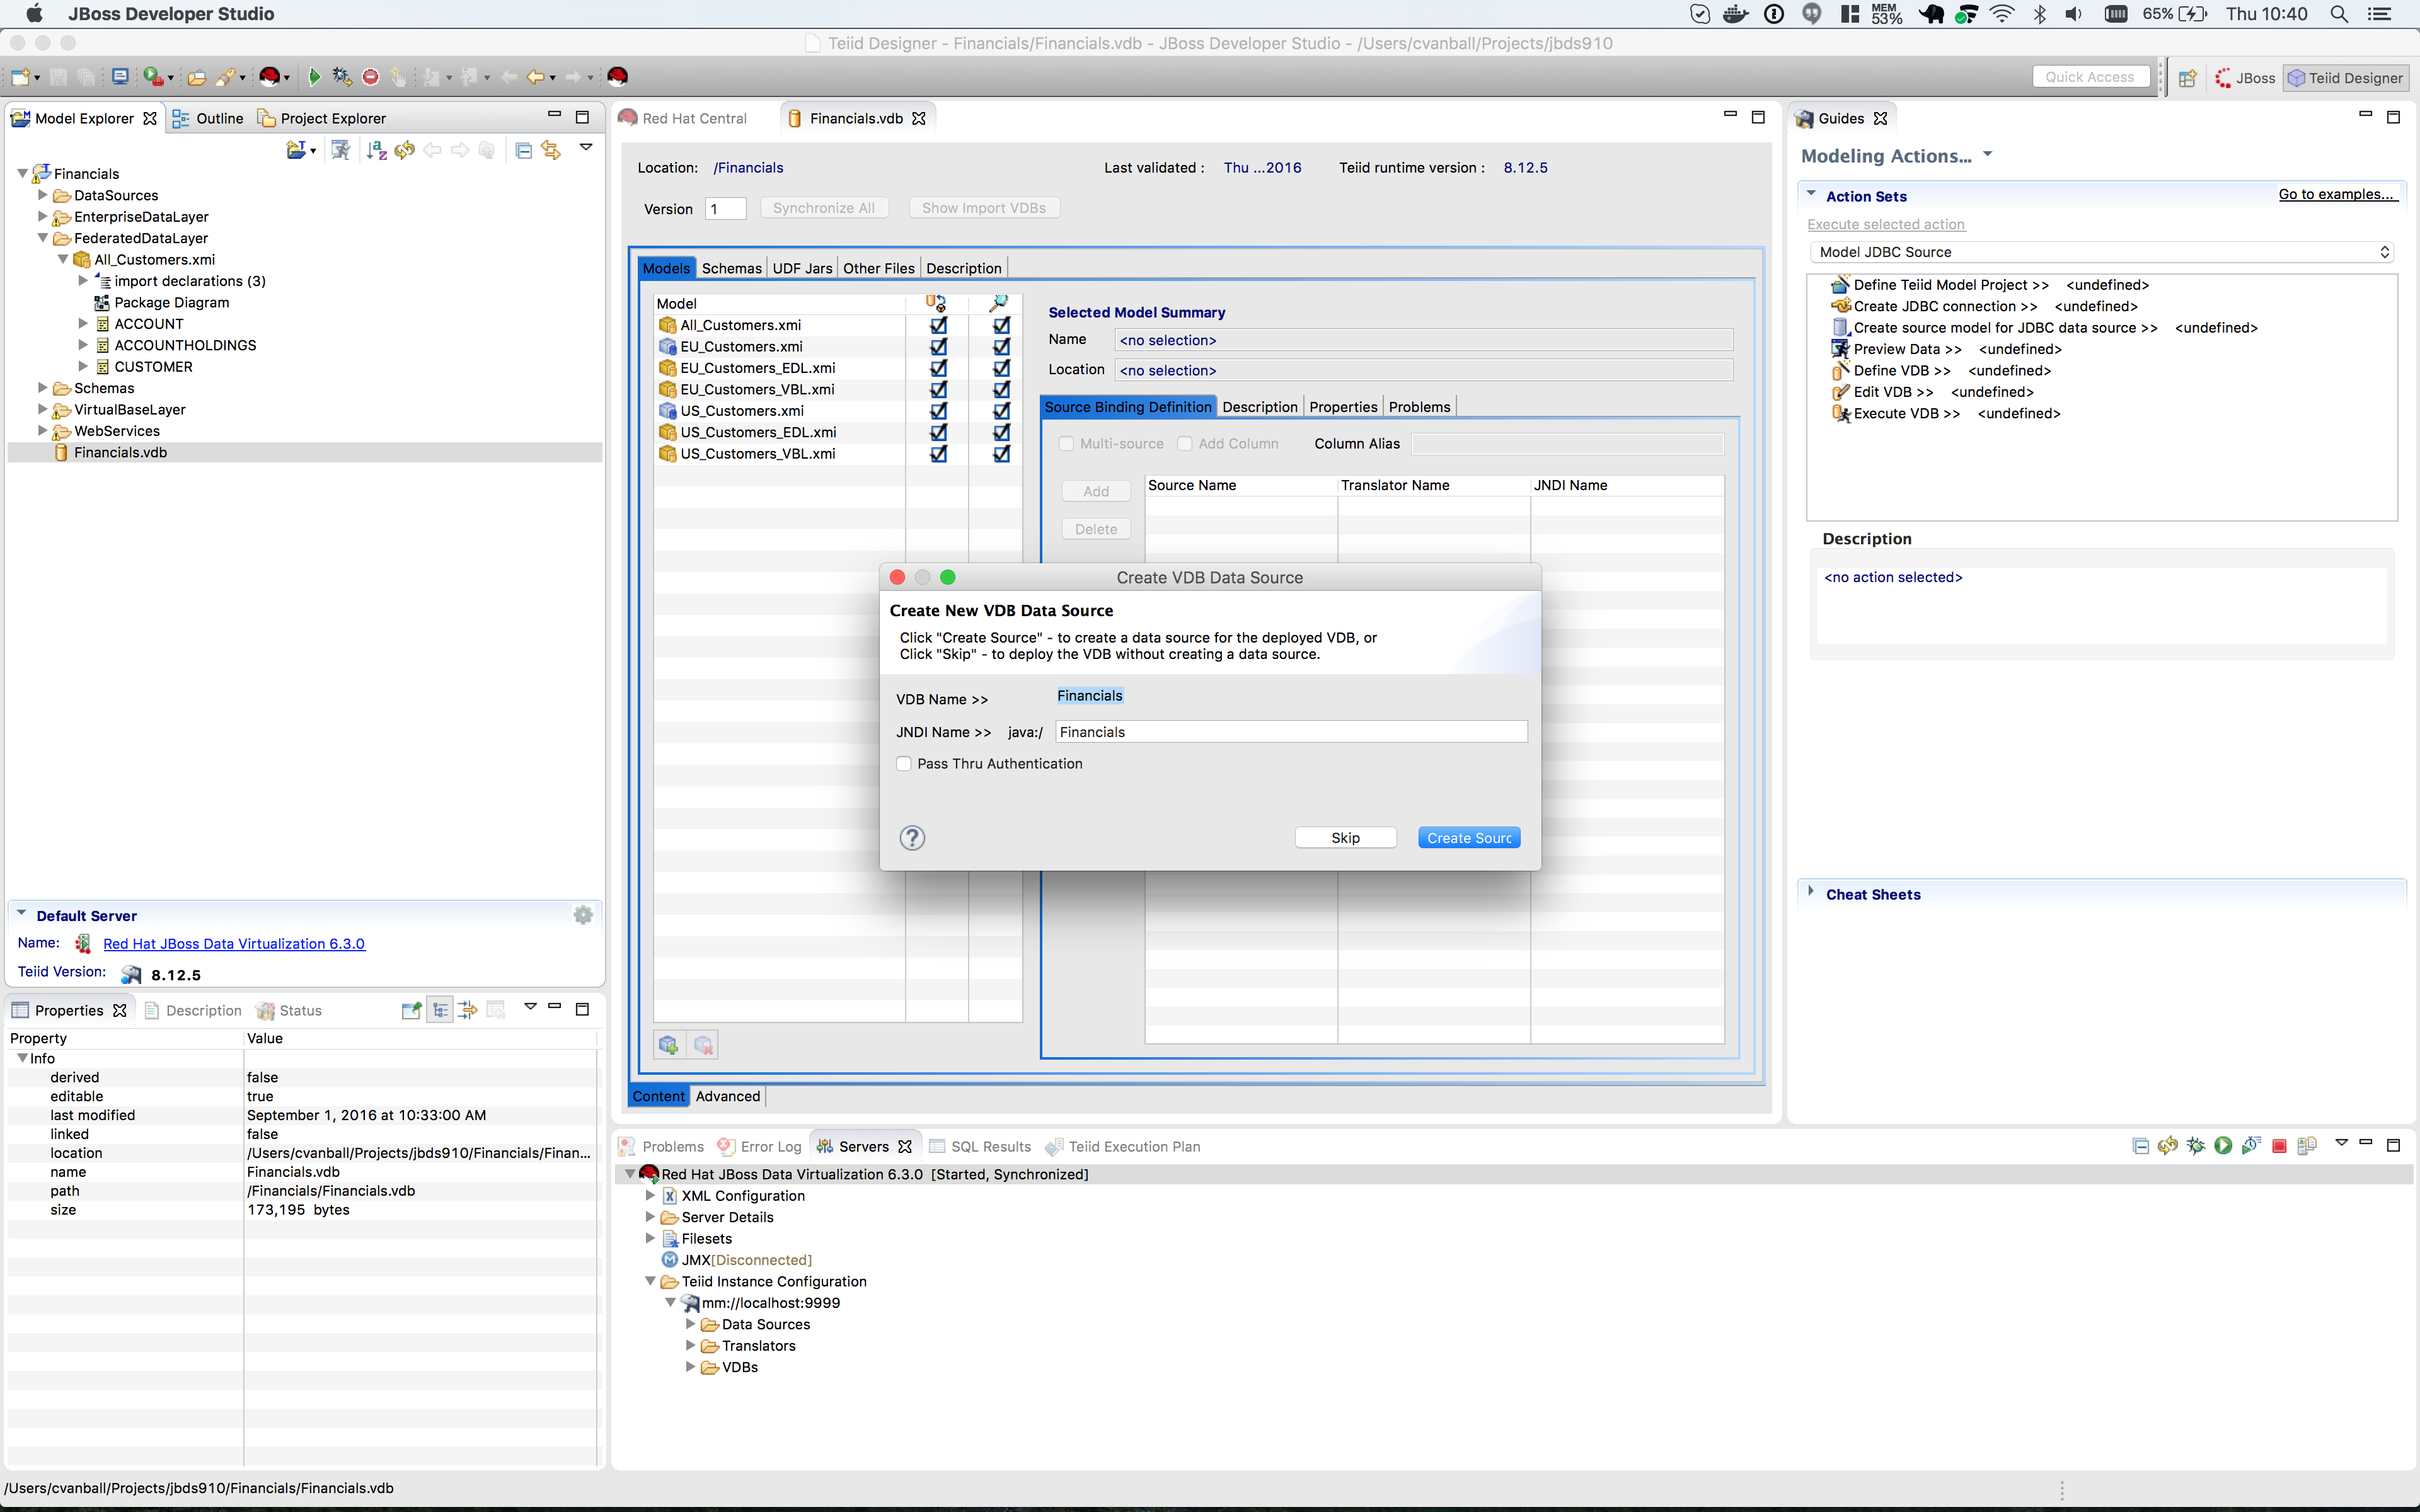
Click btn:[Create Source] to create a data source for the Financials VDB. After the VDB is deployed one can check the Data Sources in the Server tab of JBDS, see below.
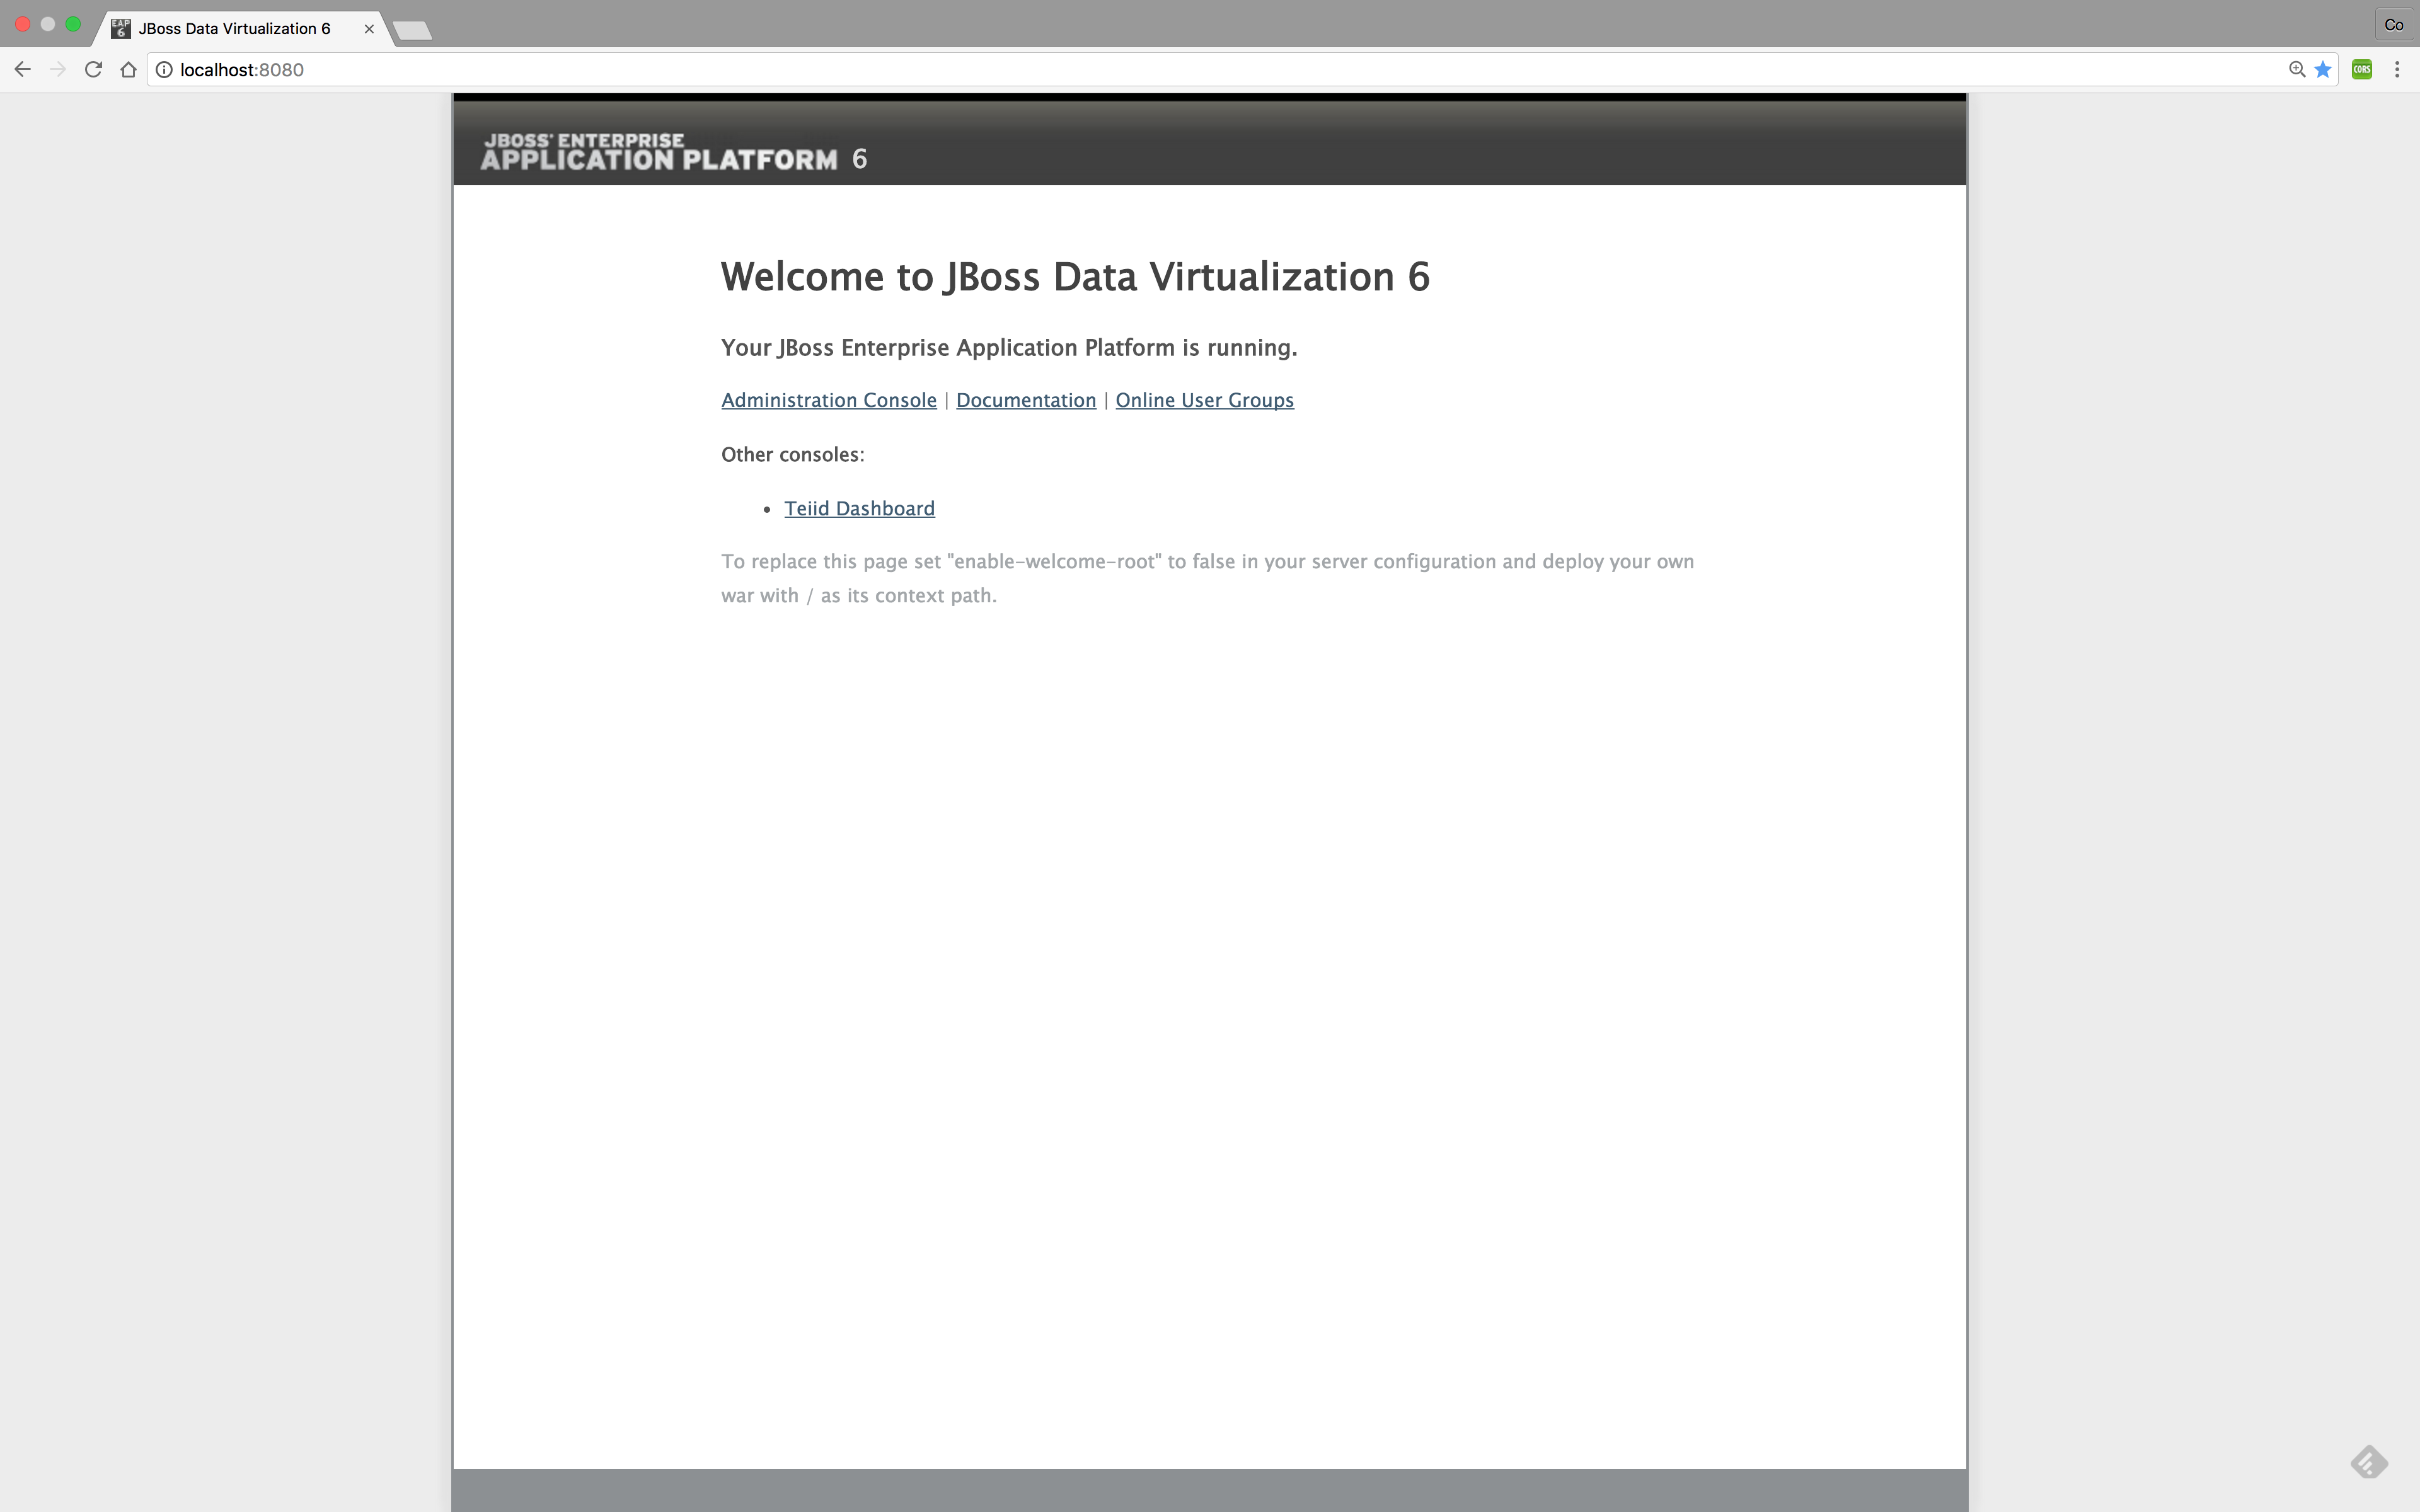
Now the deployment of the VDB will begin in the running Teiid Server instance. Now, open up a browser and point it to http://localhost:8080. This will open the console for administrative services for the JBoss Data Virtualization server. Click on "Administration Console". This is displayed in the illustration below.
Once the console is open, verify that the VDB has been deployed. Along the left-hand pane there is a Virtual Databases menu option. By clicking this option, we can see that the Financials VDB has been successfully deployed. By following the illustration below, click tab Models, you should be able to see the deployed data services.
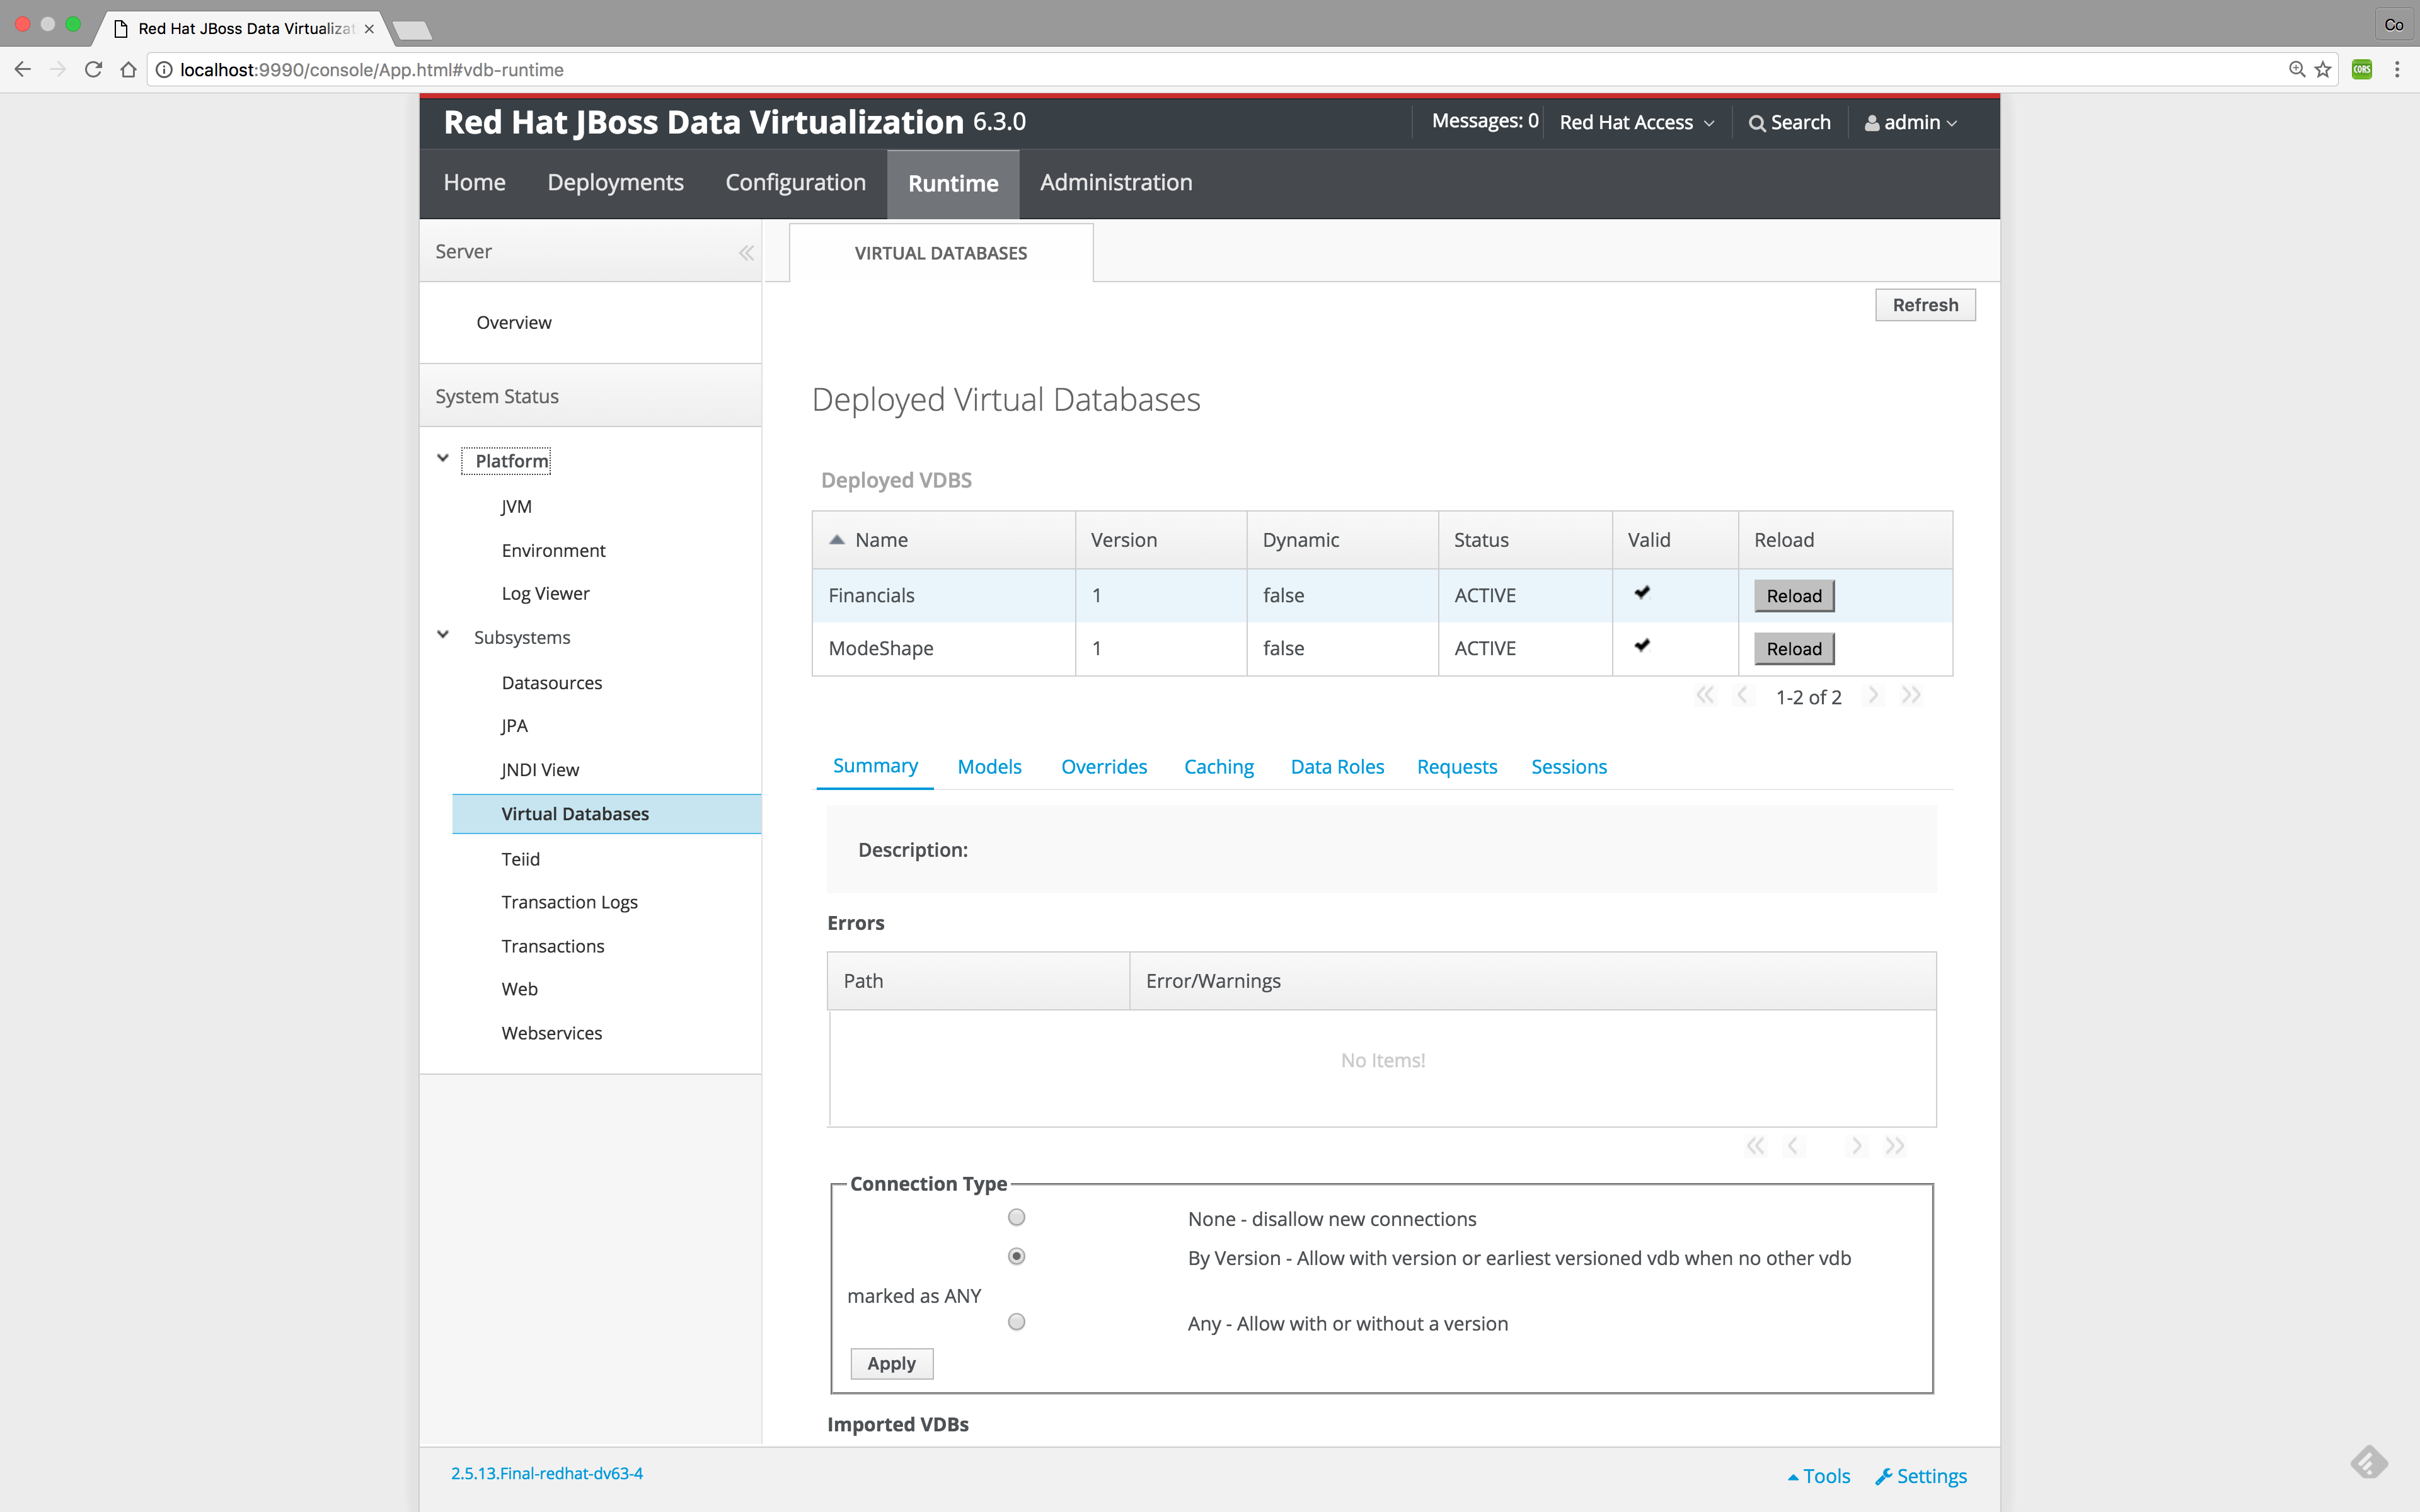
Upon closer inspection, you will notice that there is a "1" that has been appended to the VDB. This is simply the version number of the VDB. This enables you to deploy multiple versions of a VDB and have them accessible by your applications.
Dependency Diagrams
There is a very useful feature for modeling in the Teiid Designer. Right-click on the All_Customers.CUSTOMER table and select Modeling → Show Dependency Diagram.
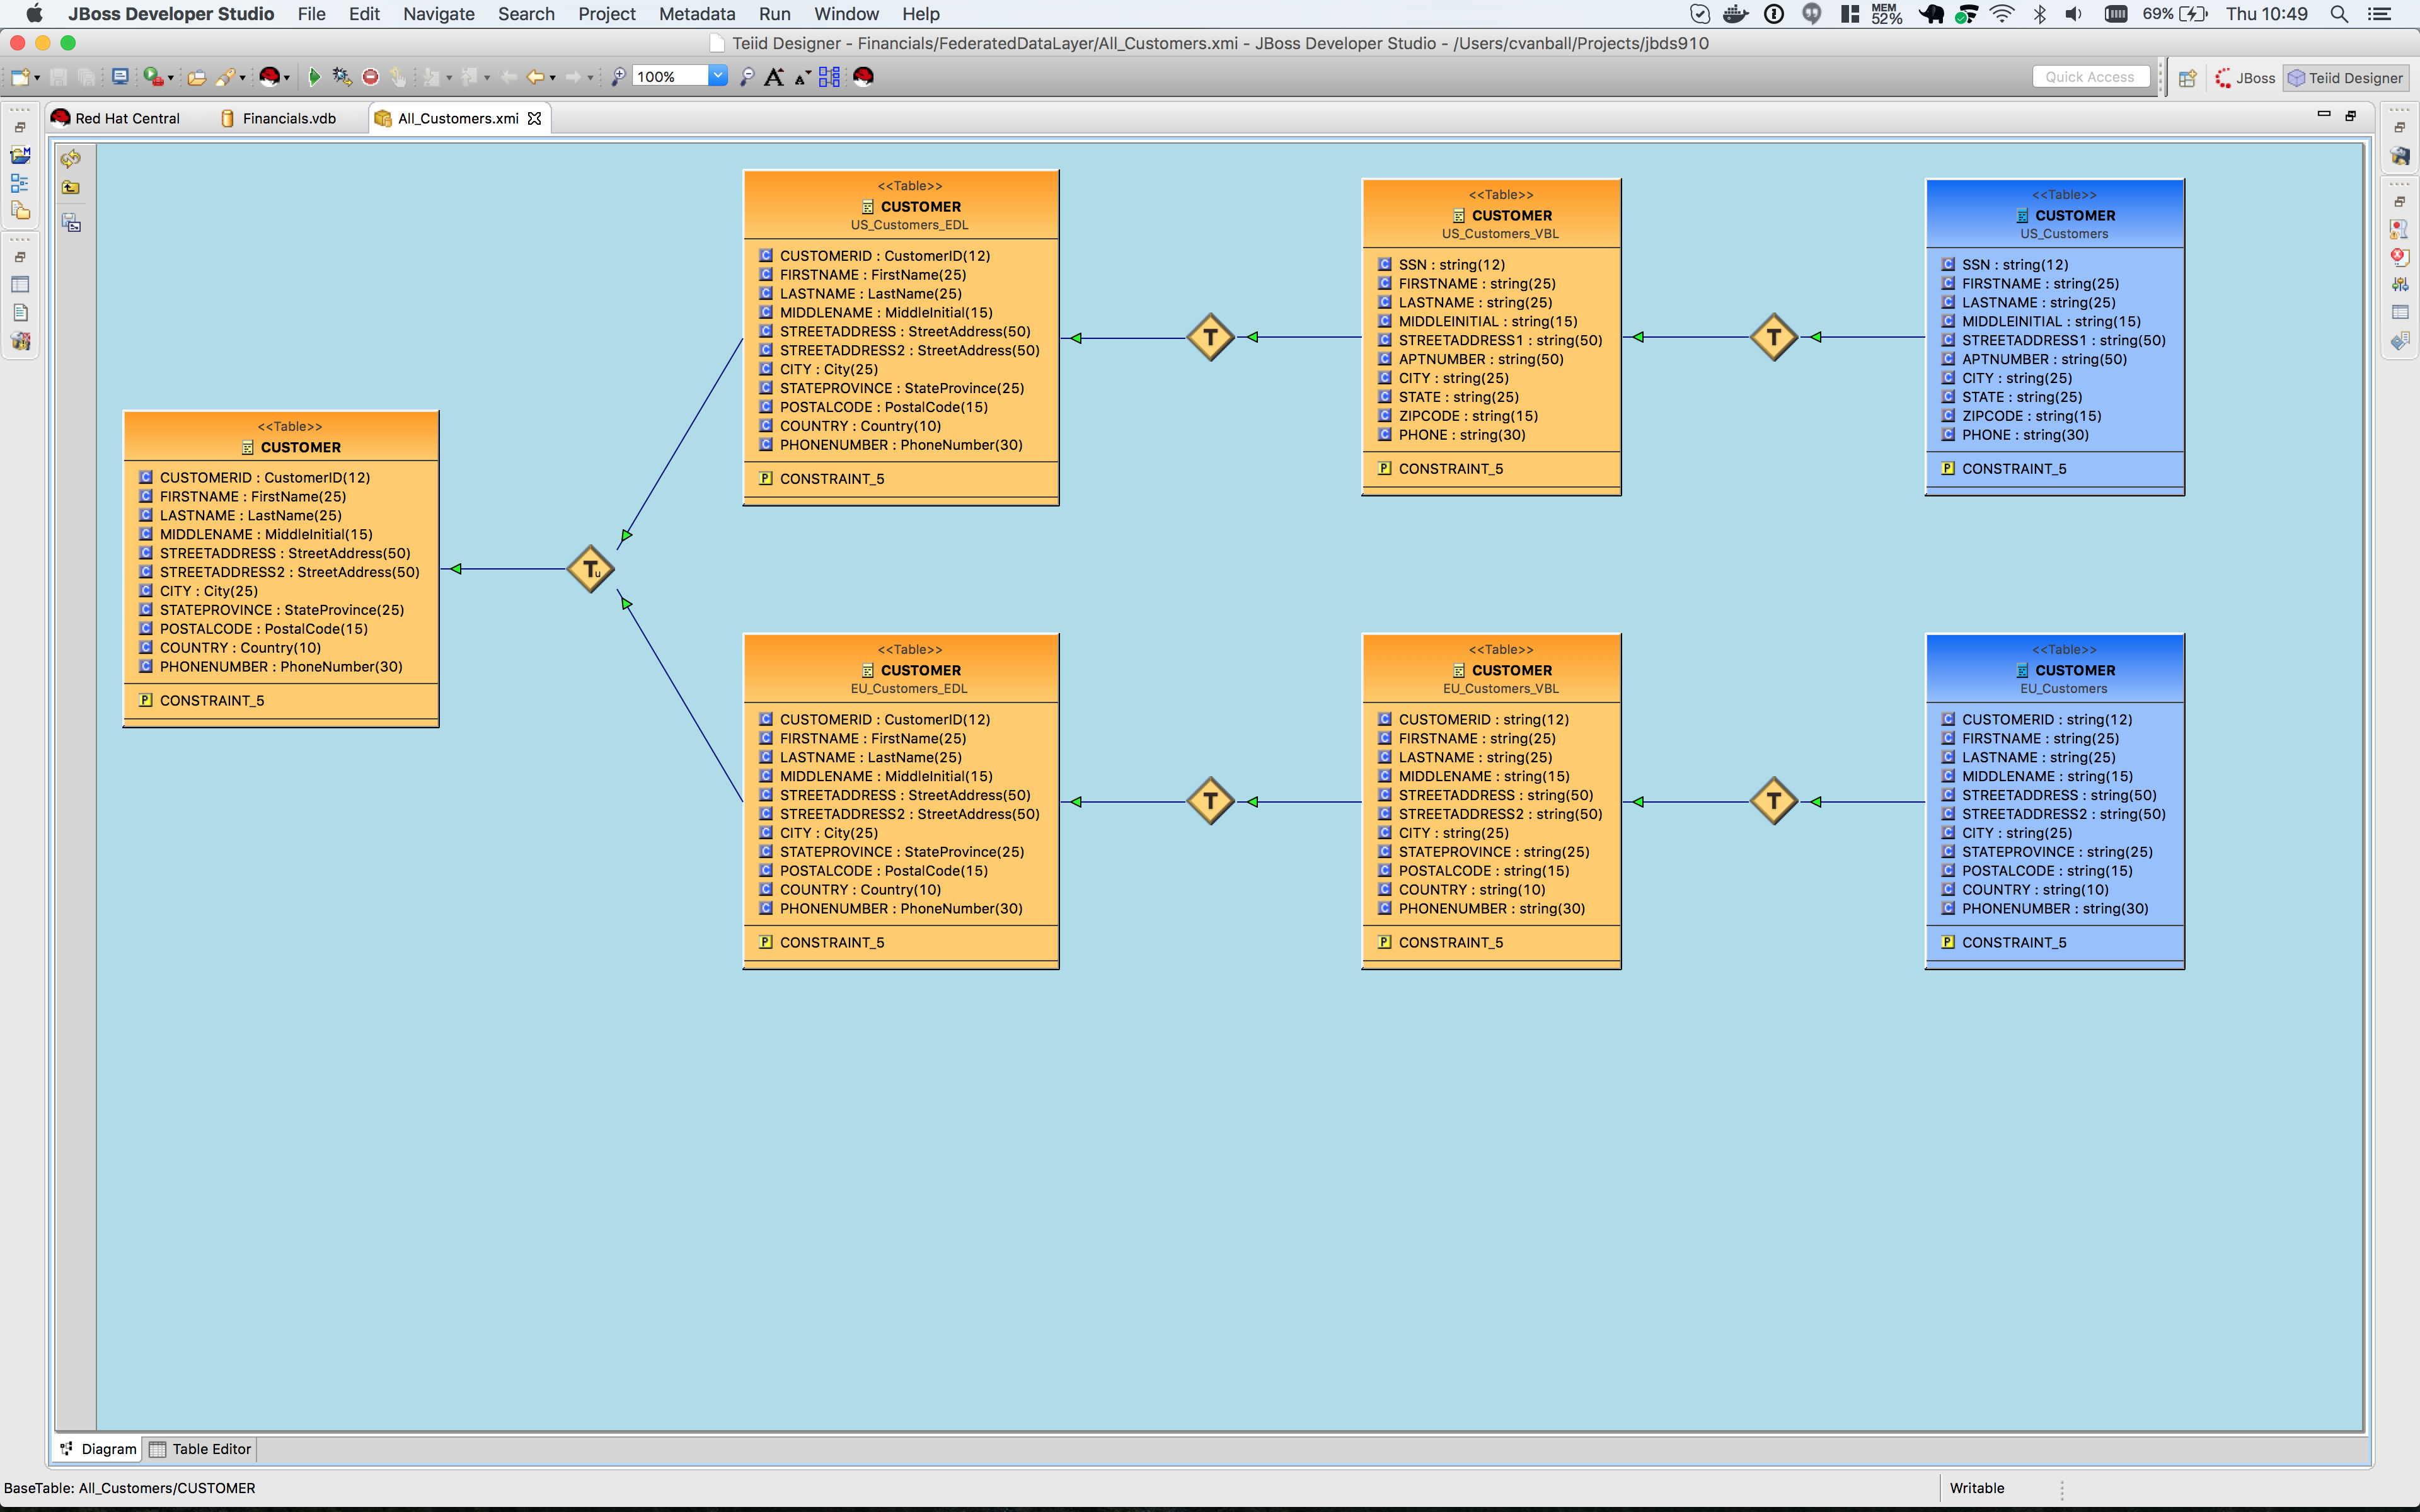
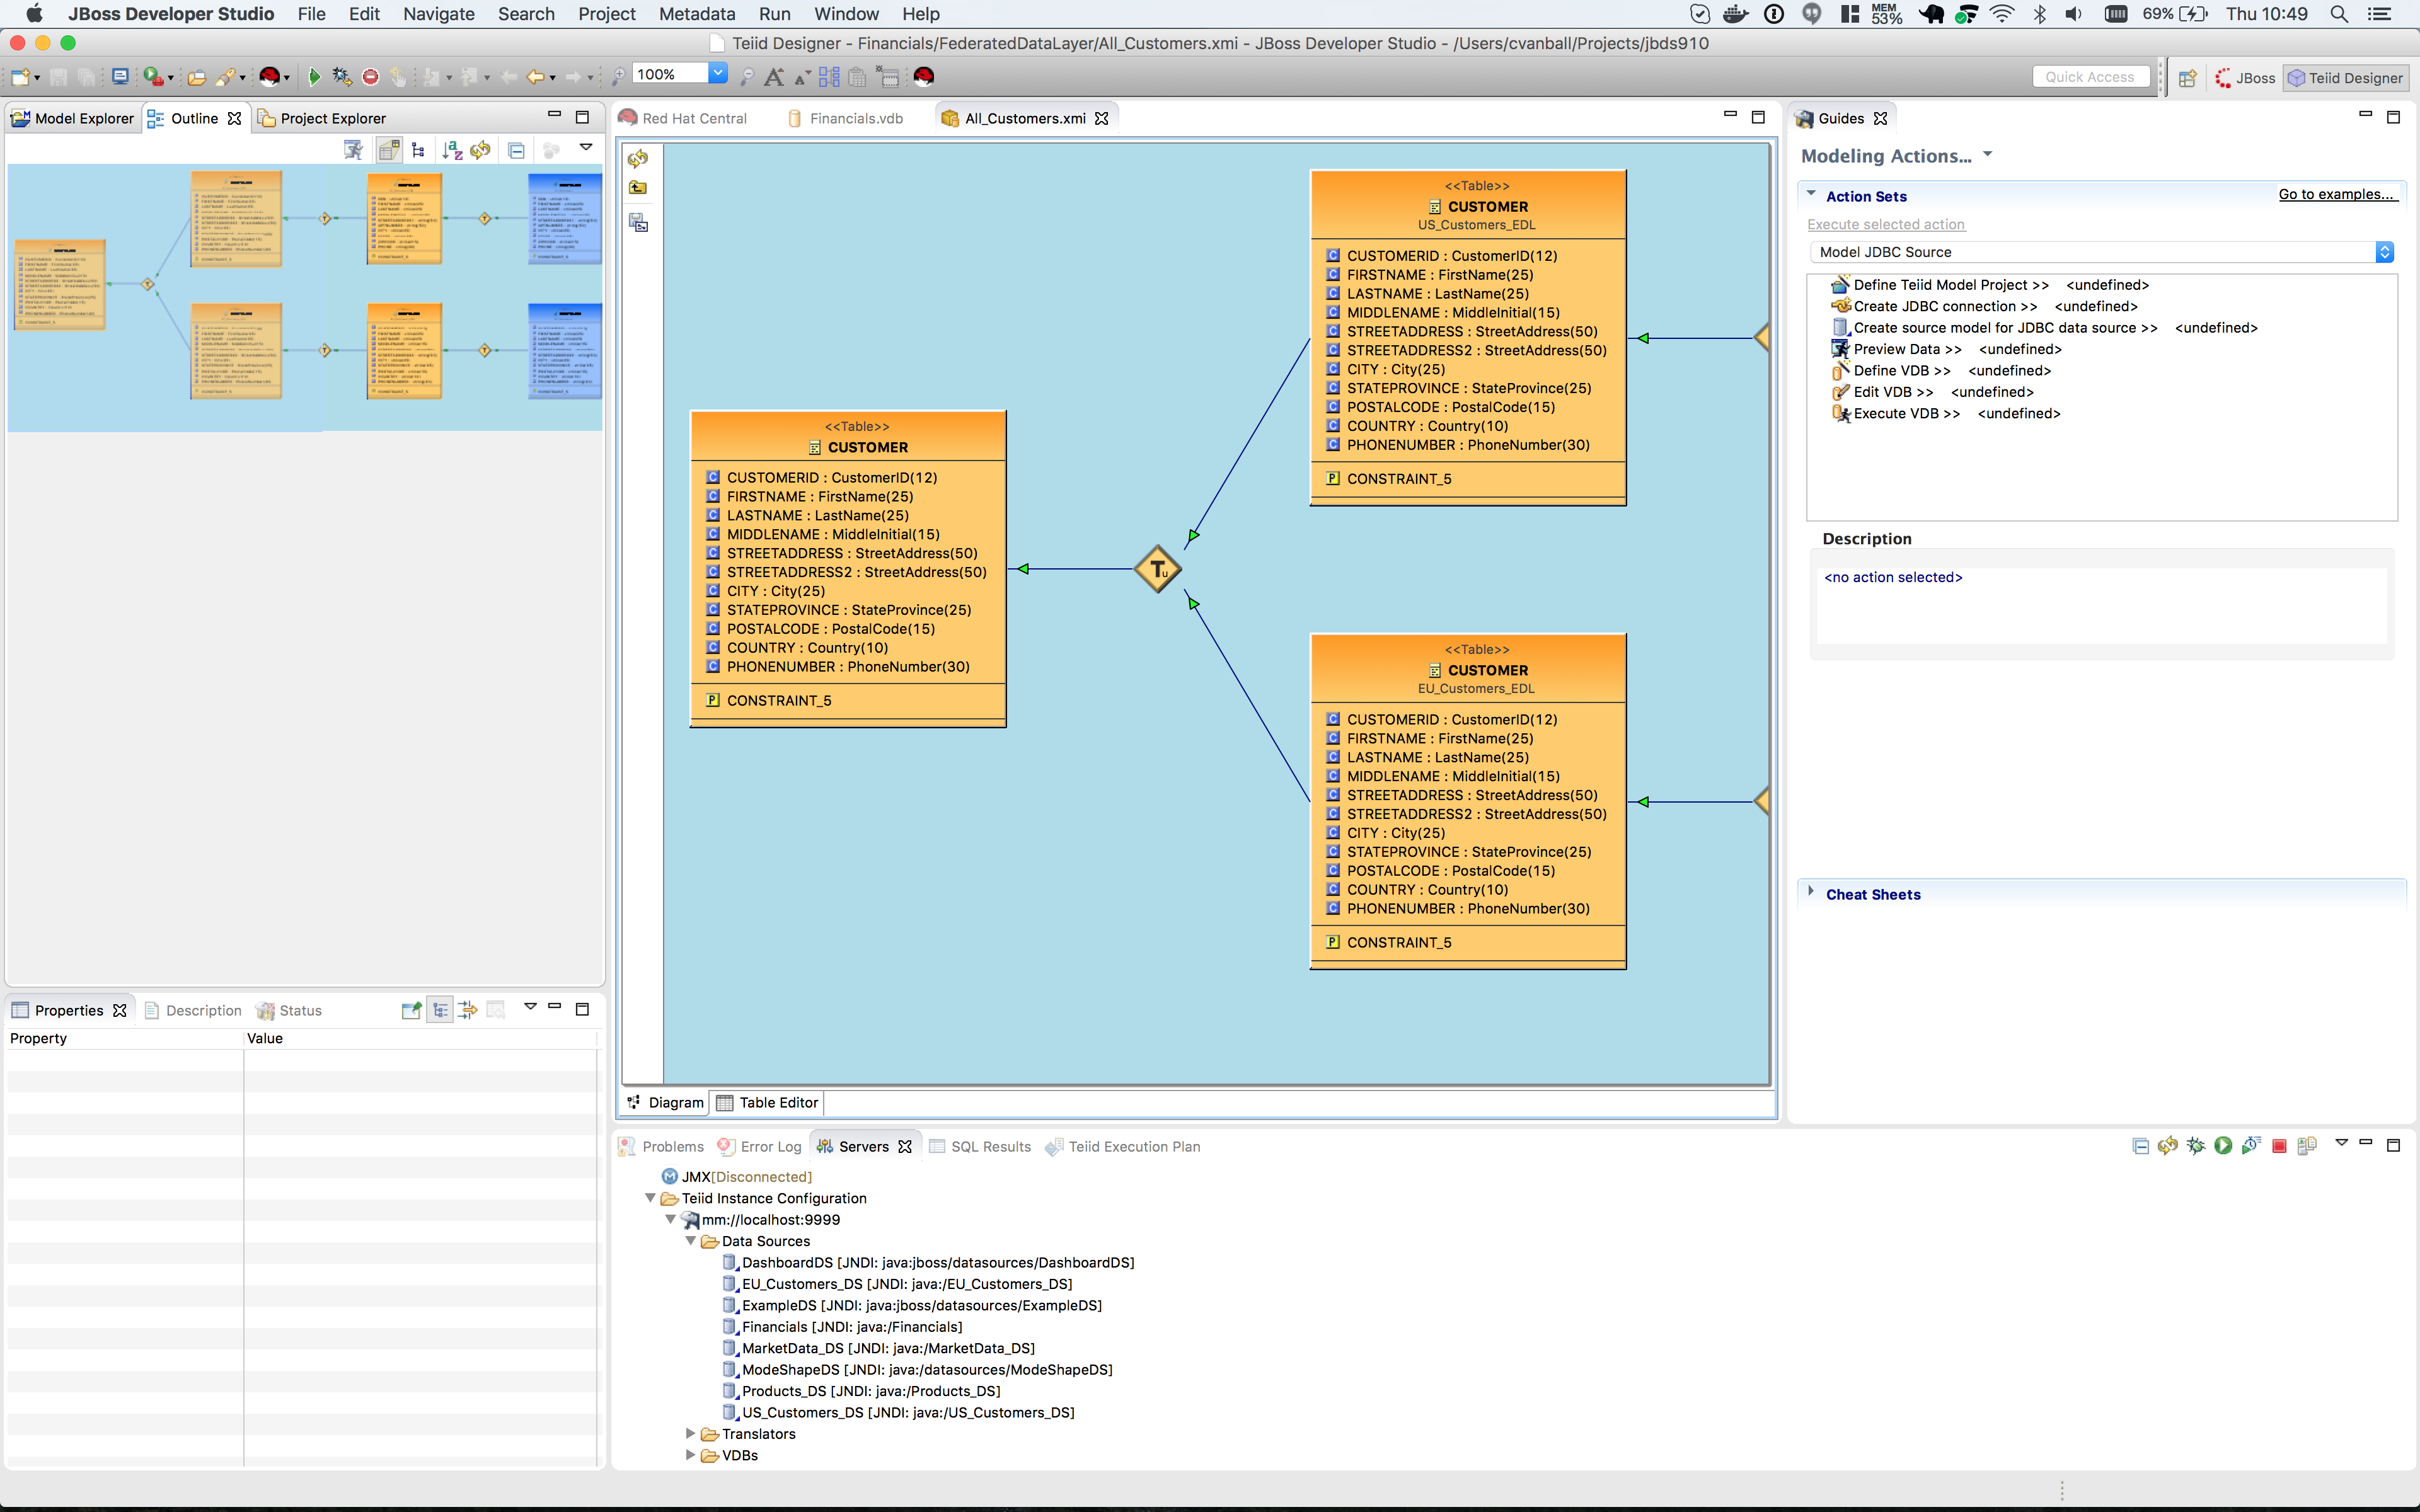
Then, choose the Outline view. This is the tab that is right next to the Model Explorer tab in the left-hand pane of JBDS. If the Outline View is not visible, simply enable it by going to menu:Window[Show View > Outline]. Finally, select the btn:[Show Diagram Overview] button. This is the button located right under the Outline tab. You should see something similar like the following illustration.
|
Note
|
You can scroll the "viewfinder" on the left in the Outline view to navigate the model on the right. You can also hover your mouse over the transformations (the diamond-shaped "T" nodes) on the right to examine the content of the transformations. |
This capability is helpful for navigating among large, complicated models, and also shows the provenance/lineage of any selected data service. As was noted at the beginning, there is tremendous power and reusablility that results from the ability to create data service layers without a performance penalty.
Congratulations, you have now completed this lab.